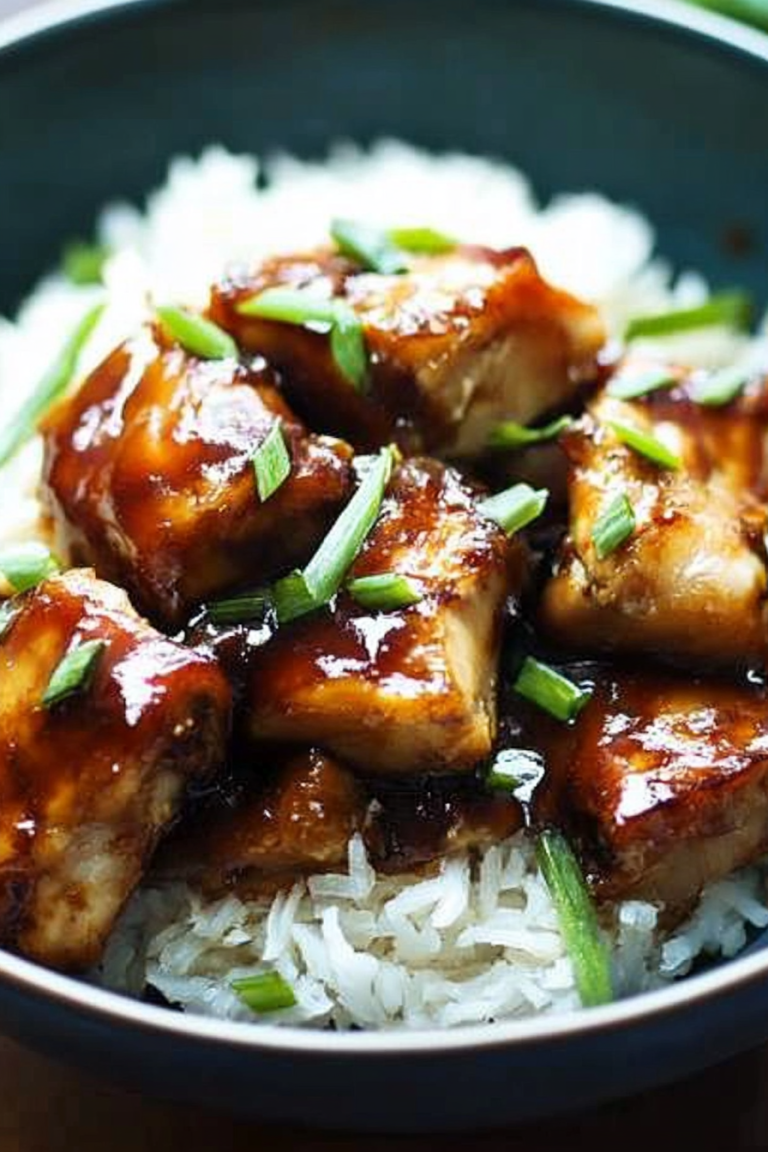
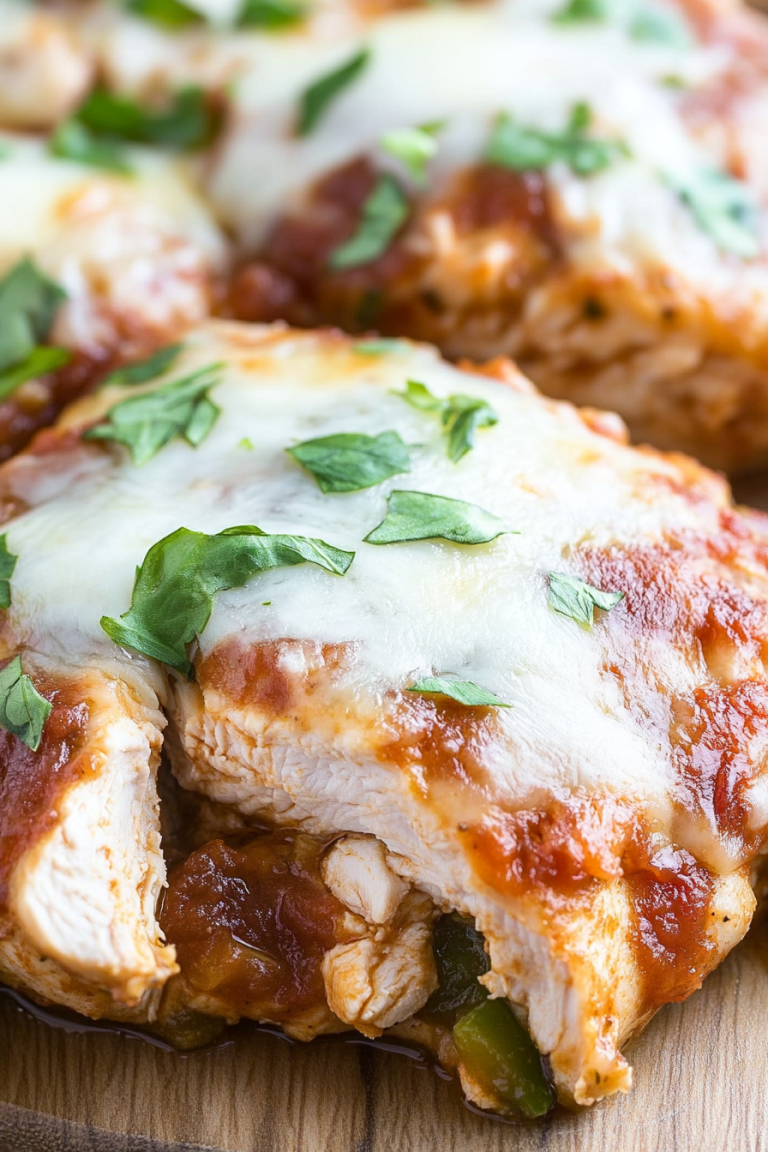
Easy Baked Chicken Tenderloins Recipe
You know, there are some recipes that just become part of your family’s story. This baked chicken dish is absolutely one of those for us. It’s not just food; it’s memory. I remember my mom making a version of this when I was a kid, and the smell would just fill our tiny kitchen, promising something wonderful. Now, I make it for my own kids, and they ask for it constantly, which, let’s be honest, is the ultimate mom win! It’s the kind of meal that feels like a hug on a plate, incredibly satisfying without being complicated. When people ask me for a go-to, reliable baked chicken recipe that’s always a hit, this is the one I rave about. It’s so much better than just plain old roasted chicken, and honestly, it’s way easier than you might think. It’s my secret weapon on those nights when life feels chaotic but I still want to put a delicious, home-cooked meal on the table.
What is my ultimate baked chicken recipe?
So, what exactly is this magical baked chicken? Think of it as your most reliable weeknight dinner friend, elevated. It’s essentially a simple, flavorful preparation of chicken that’s baked to achieve the most incredible crispy skin and unbelievably juicy meat. What sets this baked chicken apart from the rest is the careful balance of seasonings and a little trick I learned that ensures it never, ever turns out dry. It’s not a fancy, complicated dish with a million steps or obscure ingredients. It’s more like a foundational recipe that’s been perfected over time, tweaked and tested until it’s just right. It’s the kind of baked chicken that makes you close your eyes for a second with the first bite because it’s just *that* good. It’s simple, honest, and utterly delicious.
Why you’ll love this recipe?
What are some of the best baked chicken recipes?
The Flavor: Oh my goodness, the flavor! It’s savory, a little bit garlicky, herby, and perfectly seasoned. The skin gets unbelievably crispy, and the meat stays incredibly moist and tender. It’s not just “good chicken;” it’s chicken that makes you want to lick your fingers.
The Simplicity: The Simplicity: The Simplicity: The Simplicity: The Simplicity: The Simplicity: The This is a lifesaver on busy nights. You can prep it in under 15 minutes, and then the oven does all the heavy lifting. There’s no searing, no basting every five minutes – just pop it in and let it do its thing. It’s proof that incredible meals don’t have to be complicated.
Cost-Efficiency: Chicken is generally a budget-friendly protein, and this recipe uses common pantry staples. You don’t need any fancy or expensive ingredients to make this taste like restaurant quality. It’s a fantastic way to feed a family without breaking the bank.
Versatility: This baked chicken is a chameleon! It’s perfect for a weeknight dinner served with a simple salad and some roasted vegetables. But it’s also elegant enough to serve at a Sunday dinner or a casual get-together with friends. I often make a whole batch and use the leftovers for sandwiches or salads later in the week. It really is that versatile.
What I love most about this recipe, beyond the taste and ease, is the reliability. I’ve made this baked chicken countless times, for picky eaters, for dinner parties, and just for myself on a quiet evening, and it *never* fails. It’s the recipe I’ll always come back to when I want something comforting and undeniably delicious. If you love my simple roast chicken or my lemon herb chicken thighs, I promise you, this baked chicken is going to become a new favorite.
How to Make My Ultimate Baked Chicken
Quick Overview
This recipe is all about building layers of flavor and ensuring moisture. We’re going to prep our chicken with a simple, yet incredibly effective rub, get our oven nice and hot, and then let the magic happen. The key is a little patience while it bakes to perfection, resulting in that coveted crispy skin and juicy interior. It’s a straightforward process that yields spectacular results, making it ideal for beginners and seasoned cooks alike.
Ingredients
For the Chicken:
This is where we build the foundation for that amazing flavor. I always opt for bone-in, skin-on chicken pieces – thighs, drumsticks, or even a whole chicken cut into pieces. The bone adds flavor and helps keep the meat moist, and the skin is crucial for that irresistible crispiness. About 3-4 pounds should be good for a family of four.
For the Flavor Rub:
This is my secret weapon! It’s a blend of pantry staples that work wonders together. You’ll need:
- 2 tablespoons olive oil (a good quality extra virgin olive oil makes a difference!)
- 1 tablespoon smoked paprika (this adds a wonderful depth and color)
- 1 teaspoon garlic powder (fresh minced garlic is great too, but powder distributes more evenly)
- 1 teaspoon onion powder
- 1 teaspoon dried thyme
- 1 teaspoon dried rosemary, crushed between your fingers
- 1 teaspoon salt (kosher salt or sea salt are my favorites)
- 1/2 teaspoon black pepper, freshly ground
For the Crispy Skin Secret:
Just a little something extra to ensure that perfect crunch.
- 1 teaspoon baking powder (yes, baking powder! It’s not for leavening here, but it helps draw out moisture from the skin, making it super crispy. Make sure it’s aluminum-free if you have concerns.)
Optional additions for serving: Fresh parsley for garnish, lemon wedges.
Step-by-Step Instructions
Step 1: Preheat & Prep Pan
First things first, let’s get that oven roaring! Preheat your oven to a nice, hot 400°F (200°C). While the oven is heating up, grab a large baking sheet or a roasting pan. I prefer a rimmed baking sheet because it catches any juices and makes cleanup a breeze. You can line it with parchment paper for even easier cleanup, but it’s not strictly necessary for achieving crispy skin. Pat your chicken pieces thoroughly dry with paper towels. This is a crucial step! The drier the skin, the crispier it will get. Don’t skip this, no matter how tempting it is to rush!
Step 2: Mix Dry Ingredients
In a small bowl, combine all the ingredients for the flavor rub: smoked paprika, garlic powder, onion powder, dried thyme, crushed rosemary, salt, and black pepper. Whisk them all together until they’re well combined. This aromatic blend is what’s going to give our baked chicken its incredible depth of flavor. Make sure there are no clumps.
Step 3: Mix Wet Ingredients
In a separate medium bowl, pour in the olive oil. This is going to help the rub adhere to the chicken. If you’re using fresh garlic instead of powder, mince about 2-3 cloves very finely and add them to the olive oil now. Let it sit for a minute or two to infuse.
Step 4: Combine
Add your dried chicken pieces to the bowl with the olive oil. Toss them around gently to coat. Then, sprinkle the spice rub mixture over the chicken. Use your hands (this is the best way!) to really massage the rub into every nook and cranny of the chicken. Get under the skin a bit if you can – that’s where a lot of the flavor really sinks in. Don’t be shy with it!
Step 5: Prepare the Crispy Skin Secret
Now, here’s the trick for that amazingly crispy skin! Sprinkle the baking powder evenly over the oiled and spiced chicken pieces. Gently toss again to make sure the baking powder is distributed. You won’t see a huge change, but trust me, this little step makes all the difference in achieving that perfect crunch. It’s like magic!
Step 6: Arrange on Pan
Arrange the seasoned chicken pieces on your prepared baking sheet or roasting pan. Make sure they are in a single layer and aren’t touching too much. This allows the hot air to circulate around each piece, promoting even cooking and maximum crispiness. If pieces are crowded, they will steam instead of crisp.
Step 7: Bake
Place the baking sheet into your preheated oven. Now, let it bake for about 35-45 minutes for smaller pieces like thighs and drumsticks, or up to 50-60 minutes for larger pieces or a whole chicken. The exact time will depend on the size of your chicken pieces and your oven. You’re looking for the skin to be a deep golden brown and beautifully crispy, and the internal temperature of the chicken to reach 165°F (74°C) in the thickest part, away from the bone. A meat thermometer is your best friend here!
Step 8: Rest
Once the chicken is cooked through and gorgeously browned, carefully remove it from the oven. This is another important step for juiciness! Let the chicken rest on the baking sheet for about 5-10 minutes before serving. This allows the juices to redistribute throughout the meat, making it extra tender and moist. If you cut into it too soon, all those delicious juices will run out onto the pan.
Step 9: Slice & Serve
After resting, your magnificent baked chicken is ready to be devoured! Serve the pieces whole or, if you’re serving a whole chicken, you can carve it up. Garnish with fresh parsley for a pop of color and serve with lemon wedges for squeezing over the top. The aroma alone is enough to make everyone gather around the table!
What to Serve It With
This baked chicken is so versatile, it honestly pairs well with almost anything. It’s the kind of dish that can be dressed up or down depending on the occasion.
For a Simple Weeknight Dinner: My go-to is a big, fresh green salad with a light vinaigrette. Roasted broccoli or green beans are also fantastic. Sometimes, on really busy nights, we’ll just have it with some crusty bread to sop up any extra juices. It’s pure comfort food.
For a Weekend Brunch: This baked chicken is surprisingly elegant enough for brunch! I love serving it alongside some fluffy scrambled eggs, crispy bacon, and maybe some mini muffins or scones. It adds a savory element that’s just divine. A mimosa or a freshly squeezed orange juice is the perfect accompaniment.
For a Comforting Meal: Think mashed potatoes (creamy or chunky, your choice!), roasted root vegetables like carrots and parsnips, or even a simple rice pilaf. These sides soak up those delicious chicken juices beautifully. It’s the kind of meal that makes a cold evening feel so much warmer.
With Pasta or Grains: You can also shred the leftover chicken and toss it with your favorite pasta sauce or use it to top a hearty quinoa salad. It’s a fantastic way to add protein to vegetarian dishes.
My family especially loves it when I serve it with my creamy stovetop mac and cheese – it’s a decadent pairing that disappears in minutes! We also have a tradition of making it with sweet potato fries on Fridays. It’s all about creating those moments and making mealtime enjoyable.
Top Tips for Perfecting Your Baked Chicken
I’ve made this baked chicken more times than I can count, and through those many, many attempts (some better than others in the early days!), I’ve picked up a few tricks that I think will really help you achieve chicken perfection.
Patting Dry is Paramount: I can’t stress this enough – patting your chicken pieces *completely* dry with paper towels is the single most important step for crispy skin. Moisture is the enemy of crispiness. So, get in there and dry them off thoroughly!
Don’t Skimp on the Spices: The spice rub isn’t just for show; it’s packed with flavor. Make sure you’re generous with it and really rub it all over the chicken, getting into all the nooks and crannies. Massaging it in ensures even flavor distribution.
The Baking Powder Trick: Seriously, don’t be scared of the baking powder. It’s not enough to affect the taste, but it makes a noticeable difference in the crispiness of the skin. Just make sure it’s mixed in well with the oil and rub.
Room Temperature Chicken: For more even cooking, try to let your chicken sit at room temperature for about 15-20 minutes before baking. This helps it cook more uniformly than if it’s ice cold straight from the fridge.
Don’t Overcrowd the Pan: Give your chicken pieces some breathing room on the baking sheet. If they’re packed too tightly, they’ll steam instead of roast, and you won’t get that lovely crispy skin. Use two pans if you need to!
Oven Variations: Ovens can be so different! If your chicken isn’t browning as nicely as you’d like after about 30 minutes, you can always switch your oven to the broiler setting for the last 2-3 minutes. Keep a *very* close eye on it, as it can burn quickly. Conversely, if it’s browning too fast but not cooked through, you can tent it loosely with foil.
Internal Temperature is Key: The most reliable way to know your chicken is cooked perfectly is by using a meat thermometer. Aim for 165°F (74°C) in the thickest part of the thigh or breast. This ensures it’s safe to eat and perfectly cooked – not dry!
Resting is Non-Negotiable: I know it’s tempting to dive right in, but letting the chicken rest for 5-10 minutes after it comes out of the oven is crucial for juicy, tender meat. It makes a world of difference.
Storing and Reheating Tips
This baked chicken is fantastic the next day, and I often find myself making a little extra just for leftovers! Here’s how I store and reheat it to keep it tasting as delicious as possible.
Refrigerator Storage: Once the chicken has cooled completely (this is important to prevent condensation and sogginess), store any leftovers in an airtight container in the refrigerator. It will stay good for about 3-4 days. Make sure it’s properly covered; I often use a sturdy food storage container or wrap the pieces tightly in plastic wrap before putting them in a container.
Reheating for Best Results: For crispy skin and juicy meat, the best way to reheat is in the oven. Place the leftover chicken pieces on a baking sheet and reheat them in a preheated oven at around 350°F (175°C) for about 10-15 minutes, or until warmed through. This method helps to revive the crispiness of the skin. If you’re in a real hurry, you can use the microwave, but the skin won’t be as crispy. Just be sure to reheat gently to avoid drying out the meat.
Freezing for Later: If you know you’ll be saving some for much later, you can freeze the cooked chicken. Let it cool completely, then wrap each piece tightly in plastic wrap, followed by a layer of aluminum foil or place it in a freezer-safe bag. It’s best to consume it within 2-3 months for optimal quality. To thaw, transfer it to the refrigerator overnight and then reheat as you normally would. I don’t typically glaze it before freezing, I prefer to do that fresh.
Glaze Timing: I almost always add the glaze *after* the chicken is fully baked and has rested. If you want to serve it with a glaze, prepare it separately and drizzle it over the chicken just before serving, or serve it on the side. This way, the skin stays crispy!
Frequently Asked Questions
Final Thoughts
So there you have it – my tried-and-true recipe for the most amazing baked chicken. It’s simple, it’s flavorful, and it’s the kind of meal that just makes everyone happy. I truly believe that cooking doesn’t have to be complicated to be delicious, and this recipe is the perfect example of that. It’s the kind of dish that brings people together around the table, sparking conversation and creating those warm, fuzzy memories. I hope you give this baked chicken a try and that it becomes a beloved staple in your kitchen too. If you loved this recipe, you might also enjoy my Crispy Baked Salmon or my Simple Roast Chicken. Happy cooking, and I can’t wait to hear how yours turns out!
Oven Baked Lemon Garlic Chicken Thighs
Ingredients
Method
- Preheat your oven to 400°F. In a small bowl, mix olive oil, minced garlic, lemon juice, dried thyme, salt, and black pepper.
- Rub the mixture over the chicken thighs, ensuring they are well coated.
- Place chicken thighs on a baking sheet lined with parchment paper.
- Bake in the preheated oven for 30 minutes, or until the internal temperature reaches 165°F.
- Remove from oven and let rest for 5 minutes before serving.