Easy Crockpot Creamed Corn Recipe
There’s something about the smell of creamed corn bubbling away on the stove that instantly takes me back to childhood Sunday dinners. My grandma always made her version—sweet, velvety, bursting with flavor—and just smelling it cooking makes everyone gather around the kitchen, hungry and excited. I’ve tested so many recipes over the years, trying to get that perfect balance of sweetness and creaminess, and honestly, this one’s a total game-changer. It’s incredibly simple, no fancy ingredients, and it disappears in minutes at my house because my kids ask for this all the time! Whether I’m serving it at a summer barbecue or just making a quick side for weeknight dinners, creamed corn always feels special. I love how versatile it is—dressed up with a sprinkle of cheese or simple enough to stand alone. Trust me, once you try this, it’ll become a cozy family staple too—just like it is at my place.
What is creamed corn?
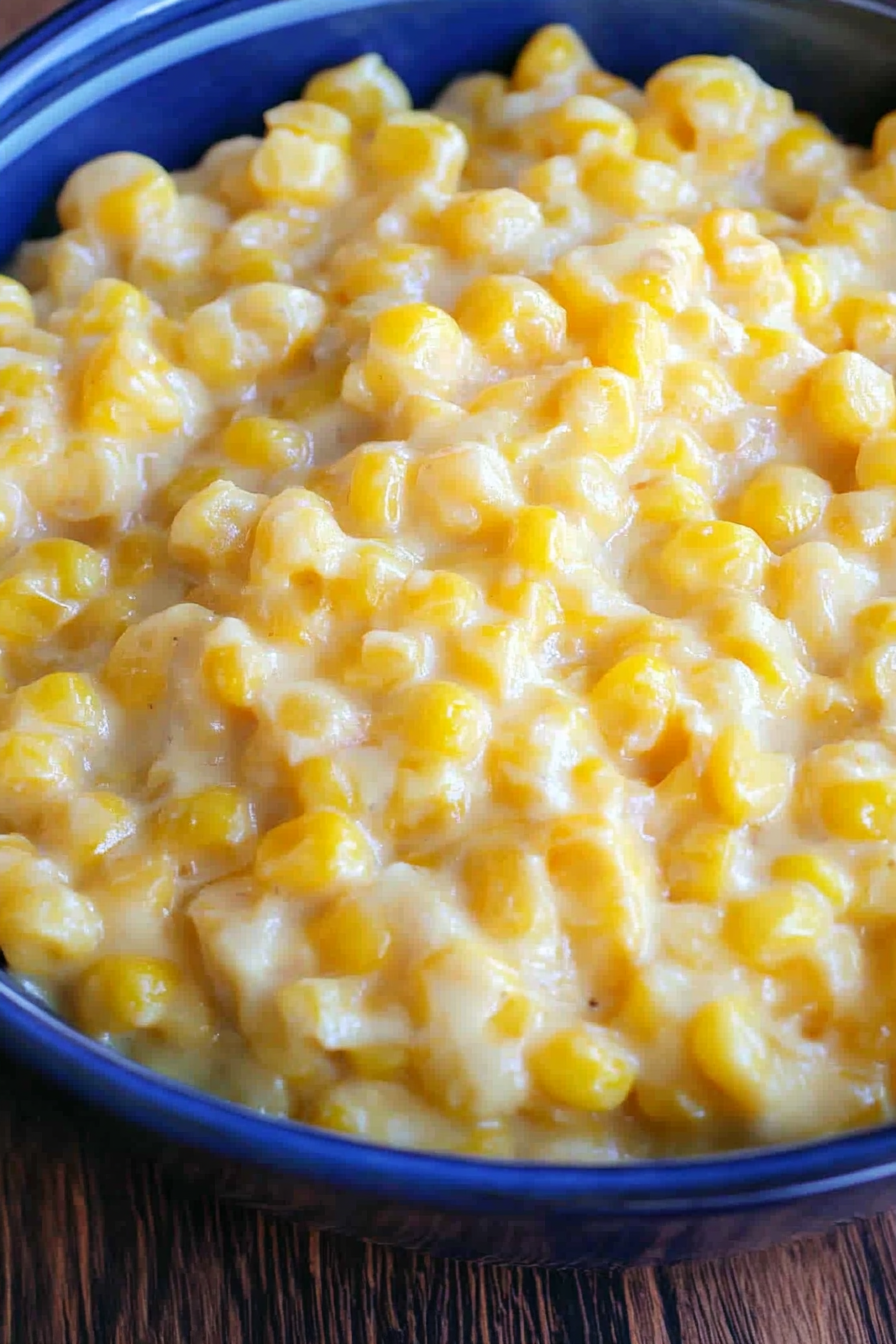
Creamed corn is basically cooked sweet corn that’s been blended or mashed to achieve a rich, creamy texture, often with added butter, milk, or cream for extra decadence. Think of it as comfort food in a bowl—soft kernels bathed in a velvety sauce—perfectly balanced between sweet and savory. The name “creamed” comes from the traditional method of cooking down the corn until soft, then blending it into a smooth, luscious mixture. It’s essentially like a warm, cozy version of corn pudding but with a more rustic, homemade feel. Originally popular in Southern cooking, creamed corn has become a favorite across the country because it’s such a straightforward side dish that pairs with almost everything—from grilled meats to holiday feasts. And here’s the best part: you don’t need fancy equipment or long hours—just a few simple ingredients and a little love in the kitchen.
Why you’ll love this recipe?
What I love most about this creamed corn is how it delivers such incredible flavor with minimal effort. The sweetness of the corn paired with the richness of butter and milk makes every bite melt-in-your-mouth good. It’s one of those recipes that’s perfectly forgiving—trust me, I’ve made it with frozen, canned, and even fresh corn, and it’s always delicious. Plus, it’s super budget-friendly; you probably already have everything sitting in your pantry and fridge. And the way it adapts — add a touch of cheddar on top, sprinkle some fresh herbs, or stir in some diced jalapeños for a spicy kick — makes it versatile for any occasion. This dish is also surprisingly forgiving if you’re short on time or ingredients. I often do this when I need a quick side that still feels special, especially when hosting family or friends. It’s one of those recipes that just feels like a warm hug, and honestly, it’s now a must-have in my recipe rotation because it’s so comforting and reliable.
How do I make creamed corn?
Quick Overview
This creamed corn is a breeze—you simmer sweet corn kernels in milk with butter, then mash or blend a part of it for that creamy, velvety texture. The trick is to keep an eye on it while it bubbles gently, stirring occasionally until it thickens up just right. It takes about 15-20 minutes from start to finish, and it’s the perfect side for busy weeknights or when you’re craving something homemade but don’t want to fuss. Once the corn is tender and the flavors melded, you can serve it immediately or tweak it to your liking. I love that you can make it ahead if needed, and it still tastes just as fabulous!
Ingredients
For the main creamed corn: For the creamed corn: For the creamed corn: For the creamed corn: For the
– 4 cups sweet corn kernels (frozen or canned work perfectly; fresh is even better if you have it!)
– 1 cup whole milk or half-and-half (for extra richness, I sometimes swap half for cream if I have it)
– 2 tablespoons unsalted butter (the more butter, the creamier and richer it gets!)
– 1 teaspoon salt (or to taste)
– 1/2 teaspoon black pepper
– 1 tablespoon sugar (optional, I do this if the corn isn’t super sweet)
– 1 tablespoon all-purpose flour (helps thicken, optional but recommended)
Optional Enhancements:
– Chopped fresh herbs (like parsley or chives)
– Shredded cheese (cheddar, Parmesan, or pepper Jack)
– Diced red bell peppers or jalapeños for a spicy twist
– A splash of hot sauce or a squeeze of lemon for brightness
Step-by-Step Instructions
Step 1: Preheat & Prep Pan
Grab a large skillet or saucepan and set it over medium heat. Add the butter and let it melt completely. While that melts, drain your canned corn or measure out your frozen kernels—I like to give them a quick rinse if frozen—and have everything ready to go. This is where the magic begins, so I always keep an eye on my butter melting, making sure it doesn’t brown too much. That buttery aroma just makes everything smell like home.
Step 2: Mix Dry Ingredients
In a small bowl, whisk together the flour, salt, pepper, and sugar. Having this mixture ready helps the corn thicken evenly. If you prefer to skip the flour for a lighter version, just know you might need to cook it a bit longer. I tested with both, and honestly, the flour makes the sauce silkier and less prone to separating.
Step 3: Mix Wet Ingredients
Pour the milk into your skillet, stirring to combine with the melted butter. Warm the mixture gently—don’t let it boil—until it’s hot but not bubbling vigorously. The milk will start to steam, and that subtle warmth helps the flavors marry. I like to use whole milk, but I’ve also tested with almond milk, which made it even creamier and is a good dairy-free option if you’re into that.
Step 4: Combine
Add the corn to the pan, stirring well. Sprinkle your dry mixture over the corn, then stir gently to incorporate. Keep the heat at medium and cook, stirring occasionally, until the mixture thickens and the corn is tender. This usually takes about 10-12 minutes. If it gets too thick too fast, add a splash more milk—trust me, the consistency is key for that perfect velvety texture.
Step 5: Prepare Filling
If you’re adding extras like cheese or herbs, now’s the time. Stir in shredded cheese for a cheesy version or chopped herbs for a fresh hit. For a spicy kick, mix in some diced jalapeños or red peppers. Whatever you love, just keep tasting as you go—cooking’s all about balancing flavors.
Step 6: Layer & Swirl
Optional: If you want a marbled effect—say, with a swirl of cream or a sprinkle of paprika—you can do that now. Just dollop a little extra milk or add a dash of paprika on top, then use a toothpick or skewer to swirl throughout. It might sound fancy, but it’s super easy—and makes the presentation so pretty!
Step 7: Bake
Sometimes I like to finish it in the oven—just pop the skillet in at 375°F (190°C) for about 10 minutes, especially if I want a bubbly, slightly browned top. Otherwise, stovetop works perfectly. Keep an eye on it to avoid scorching or sticking. When it’s thick, creamy, and smelling irresistible—you’re almost there!
Step 8: Cool & Glaze
Let it sit for 5 minutes once off the heat. This helps it set a little so it’s easier to serve. If you’re using a glaze or topping like a sprinkle of cheese or herbs, do that now. If you prefer a shiny finish, a quick brush of melted butter or a light drizzle of honey can elevate it even more.
Step 9: Slice & Serve
Serve it hot, straight from the pan or transfer to a nice bowl. I like to garnish with extra herbs or a squeeze of lemon to add brightness. It pairs beautifully with grilled chicken, crispy fried fish, or even baked ham. Trust me, this creamed corn will be gone before you know it!
What to Serve It With
This creamed corn is a chameleon—it fits into so many meals! For breakfast, it makes a hearty side with scrambled eggs and toast. Imagine a sunny summer brunch with a big platter of grilled sausages, a fresh green salad, and this creamy corn making everyone’s plate feel extra special. As a dinner side, it’s idyllic with baked chicken thighs, juicy steaks, or a holiday ham—you know, that kind of comforting carb-and-veg combo everyone loves. And for dessert? Well, okay, not quite sweet, but I sometimes sprinkle a bit of cinnamon and sugar on top and serve it with a dollop of whipped cream. It’s surprisingly versatile and always a crowd-pleaser. My family actually requests it in the summer, and we end up sneaking seconds because it’s just THAT good. Plus, it’s a big hit at potlucks—easy to make ahead and reheat without losing flavor. Trust me, once you serve this up, you’ll find yourself making it over and over again for every occasion.
Top Tips for Perfecting Your Creamed Corn
After years of experimenting, I’ve picked up a few tricks to make this dish even better. First, always drain canned corn thoroughly; leftover liquid can dilute the richness you’re aiming for. When using frozen corn, I like to give it a quick defrost and pat it dry with a towel—moisture can mess with the texture.
For that extra silky smoothness, I recommend blending a small portion of the cooked corn with a immersion blender or regular blender, then stirring it back into the pot. It sounds fancy, but it makes all the difference—you’ll get that luxuriously creamy consistency that feels like a fancy restaurant dish.
And here’s a personal tip—if I want it ultra-rich, I’ll swap half the milk for a splash of heavy cream or even a dollop of mascarpone. Oh, and don’t overmix! Gentle folding keeps that perfect slightly chunky texture—because nobody wants a completely pureed mess.
When baking, position your oven rack in the middle and keep an eye so it doesn’t over-brown. Using a good quality, fresh corn makes a world of difference in flavor. And for toppings—try chopped scallions, crispy bacon bits, or a handful of shredded cheese melted on top for a show-stopping finish. Honestly, it’s such a forgiving dish. My biggest lesson? Always taste before serving—balance the sweetness and salt for your perfect version. Just a little adjusting goes a long way.
Storing and Reheating Tips
If you happen to have leftovers (which is rare around here!), storing creamed corn is simple. Once cooled, transfer it to an airtight container and keep it in the fridge for up to 3 days. It’s still great reheated—I like to do that on the stove over low heat, stirring gently, and adding a splash of milk if needed. The flavor might deepen, but the creamy comfort remains. For longer storage, I often freeze individual portions in freezer-safe containers—this makes busy weeknights a breeze. Just thaw in the fridge overnight and reheat gently. As for the glaze or toppings, add fresh just before serving for the best crunch and brightness. Honestly, the texture might change a little after freezing, but it still tastes heavenly. The key is not to overheat—doing so can make it grainy or watery, so keep it slow and steady. Trust me, with a little patience, you’ll have your creamed corn tasting just as good as day one, even days later.
Frequently Asked Questions
Final Thoughts
This creamed corn has become one of those recipes I turn to whenever I want a dish that feels like a warm hug—simple, satisfying, and packed with flavor. It’s so forgiving; you can adjust the sweetness, add cheese, spice it up, or keep it classic. Every time I make it, I get a little nostalgic thinking about those lazy Sunday afternoons in my childhood kitchen. I love how easy it is to make ahead, reheat, and still enjoy the creamy, sweet goodness. Whether you’re celebrating a special occasion or just craving something cozy on a weeknight, I hope you give this a try — trust me, it’ll be a new household favorite before you know it. Please leave a comment if you try it, share your tweaks, or tell me about your family’s creamed corn traditions. Happy cooking, and I can’t wait to hear how yours turns out!
Creamed Corn
Ingredients
Method
- Combine all ingredients in a slow cooker and cook on low for 4 hours. Stir well to combine everything and ensure the cream cheese has fully melted into the sauce.
- The creamed corn can be kept warm on low or the 'warm' setting for an additional 1-2 hours. Serve hot and enjoy!