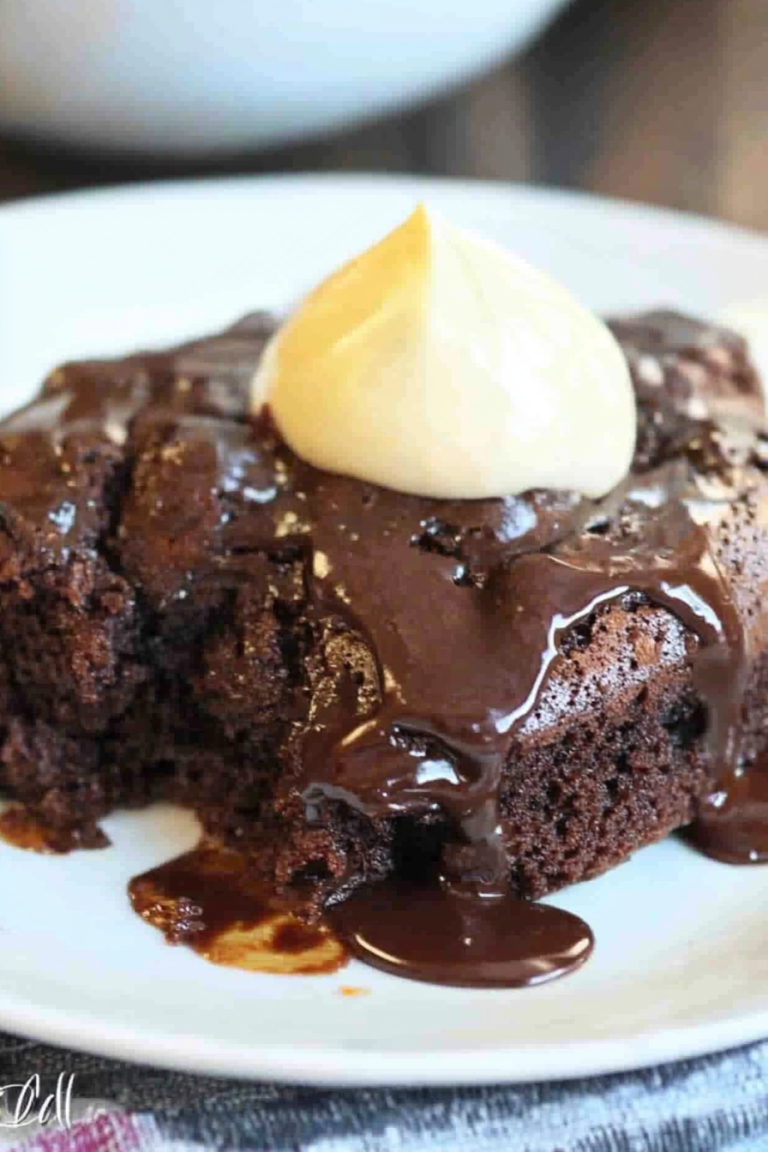
Easy Fudgy No Bake Treats
You know those nights when a craving hits, hard and fast, and you *need* something sweet and comforting, but the idea of preheating the oven feels like climbing Mount Everest? Yeah, I’ve been there more times than I can count! This is precisely why I practically guard this recipe for fudgy no bake treats like a dragon guards its treasure. It’s my secret weapon for those spontaneous dessert emergencies, or honestly, just when I want a little something delicious without any fuss. Forget complicated baking steps; this is pure, unadulterated chocolatey goodness that comes together so easily, you’ll wonder where it’s been all your life. It’s like a grown-up, incredibly satisfying version of those childhood rice krispie treats, but with a deep, rich fudge flavor that’s just next-level. If you’re a chocolate lover, prepare to be smitten.
What are Fudgy No Bake Treats?
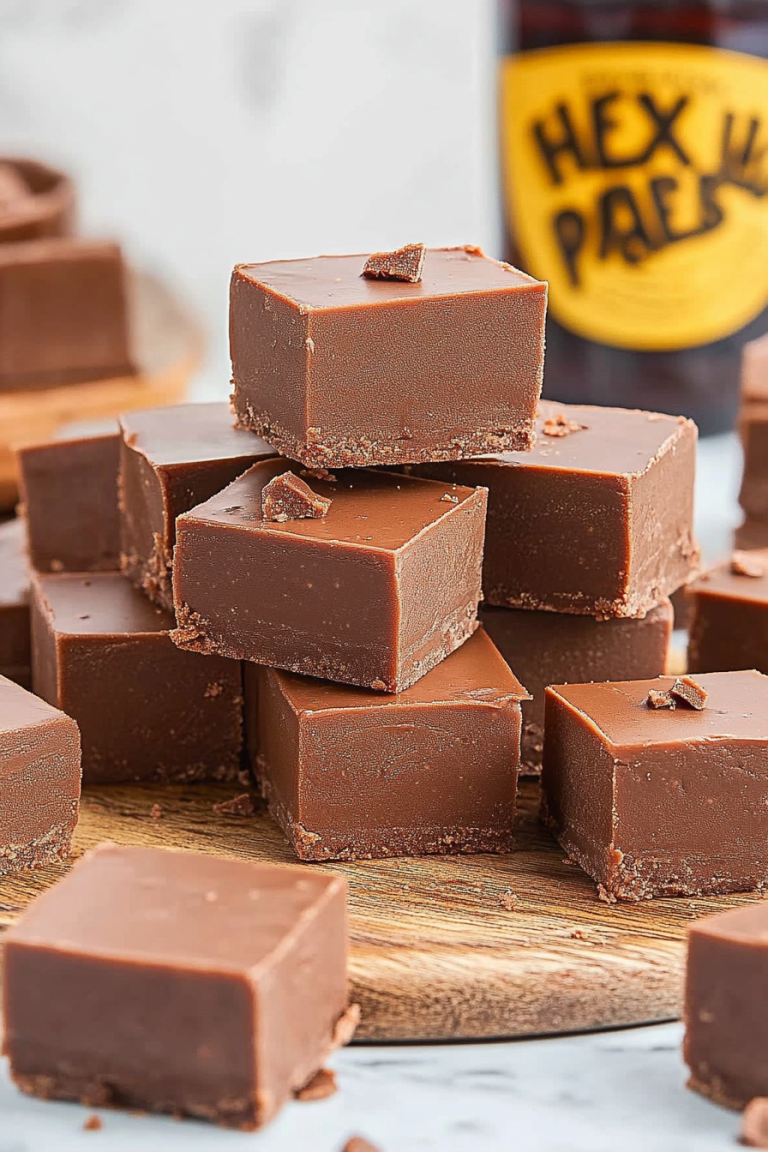
So, what exactly are these magical fudgy no bake treats? Think of them as little squares of condensed chocolate heaven. They’re not quite brownies, not quite fudge, but something wonderfully in between, all achieved without a single minute in the oven. The “no bake” part is the real star here, making them incredibly accessible. They’re typically made with a base of melted marshmallows and butter, which acts as the binder, mixed with cocoa powder for that intense chocolate flavor, and usually some sort of crispy element like cereal or crushed cookies to give them a satisfying texture. The magic happens when everything sets up in the fridge, transforming into chewy, dense, fudgy bites that are incredibly addictive. It’s a recipe that’s been passed around countless kitchens for a reason – it’s simple, reliable, and delivers that comforting, sweet fix every single time.
Why you’ll love this recipe?
Honestly, there are so many reasons why this recipe has become a staple in my kitchen, and I have a feeling it will in yours too. First and foremost, the flavor is just spectacular. We’re talking deep, rich chocolate notes that are intensely satisfying. It’s that perfect balance of sweet and decadent, with a satisfyingly chewy texture that melts in your mouth. What I love most about these fudgy no bake treats is the sheer simplicity. You can have these ready to set in about 15 minutes, which is a lifesaver on busy weeknights or when unexpected guests pop by. And speaking of budget-friendly, the ingredients are all pantry staples. You likely already have most of them on hand, which means no last-minute dash to the store. They’re also surprisingly versatile. While the base is fantastic on its own, you can easily add-ins like chocolate chips, nuts, or even a swirl of caramel for an extra layer of deliciousness. This recipe reminds me of those classic no-bake cookies my grandma used to make, but with an even fudgier, more intense chocolate punch that really hits the spot. It’s that perfect comfort food that feels both nostalgic and utterly modern.
How do I make fudgy no bake treats?
Quick Overview
The process for these fudgy no bake treats is wonderfully straightforward. It involves melting marshmallows and butter, stirring in cocoa and your chosen crispy cereal, pressing it into a pan, and letting it chill until firm. That’s pretty much it! The beauty lies in the minimal steps and the immediate gratification. You’re not waiting for dough to chill or for an oven to preheat; you’re simply mixing, pressing, and waiting for the magic of the refrigerator to do its work. This method ensures a consistently fudgy texture every single time, making it perfect for beginners and seasoned bakers alike.
Ingredients
For the Main Batter:
6 cups crispy rice cereal (the plain kind, not the sweetened frosted ones – trust me on this!)
1 bag (10 oz) mini marshmallows
4 tablespoons unsalted butter
1/2 cup unsweetened cocoa powder (use a good quality one for the best flavor!)
1 teaspoon vanilla extract
1/4 teaspoon salt
For the Filling (Optional but Recommended for Extra Fudginess):
1/2 cup semi-sweet chocolate chips
2 tablespoons heavy cream or milk (I prefer heavy cream for richness)
For the Glaze (Optional, for that extra sheen and flavor boost):
1/2 cup powdered sugar
1-2 tablespoons milk or water
A tiny pinch of salt
Step-by-Step Instructions
Step 1: Preheat & Prep Pan
You don’t need to preheat an oven for this recipe, which is part of its charm! Instead, you’ll prepare your pan. Lightly grease a 9×13 inch baking pan with butter or cooking spray. Alternatively, you can line it with parchment paper, leaving some overhang on the sides. This makes lifting the whole slab out much easier later. Give the pan a good coating so your treats don’t stick. I usually do this first so it’s ready to go.
Step 2: Mix Dry Ingredients
In a very large bowl, combine the 6 cups of crispy rice cereal, the 1/2 cup of cocoa powder, and the 1/4 teaspoon of salt. Whisk them together gently with a fork or whisk until the cocoa powder is evenly distributed throughout the cereal. You don’t want any dry pockets of cocoa! Make sure the bowl is big enough to hold everything once you add the wet ingredients.
Step 3: Mix Wet Ingredients
In a large saucepan over low heat, melt the 4 tablespoons of butter. Once the butter is mostly melted, add the bag of mini marshmallows. Stir constantly until the marshmallows are completely melted and the mixture is smooth. Be patient here; you don’t want to scorch the marshmallows. Once the marshmallows are smooth, remove the saucepan from the heat. Stir in the 1 teaspoon of vanilla extract.
Step 4: Combine
Pour the melted marshmallow mixture over the dry ingredients in the large bowl. Now, this is where you need to work a little quickly because the marshmallow mixture starts to set as it cools. Using a sturdy spatula or a wooden spoon, stir everything together until the cereal is evenly coated. Make sure every piece of cereal gets coated in that delicious chocolatey marshmallow goodness. Don’t overmix, but ensure everything is well combined.
Step 5: Prepare Filling (if using)
If you’re adding the optional chocolate chip filling for extra fudginess, place the 1/2 cup of chocolate chips in a small microwave-safe bowl. Add the 2 tablespoons of heavy cream or milk. Microwave in 20-second intervals, stirring in between, until the chocolate is melted and smooth. Be careful not to overheat. This creates a super fudgy layer.
Step 6: Layer & Swirl
Transfer about half of the cereal mixture into your prepared baking pan. Press it down gently and evenly with your greased hands or the back of a spatula. If you’re using the chocolate chip filling, spoon it evenly over the first layer. Then, top with the remaining cereal mixture and press down again, gently but firmly, to create a compact layer. I like to use a piece of parchment paper over the top and then press down with my hands or a flat-bottomed glass to ensure a nice, even surface.
Step 7: Bake
Wait, bake? Nope! This is the best part. There’s no baking required! You just need to let these fudgy no bake treats set. Pop the pan into the refrigerator for at least 1-2 hours, or until they are firm to the touch.
Step 8: Cool & Glaze
Once the treats are firm, you can prepare the glaze if you like. In a small bowl, whisk together the 1/2 cup of powdered sugar with 1 tablespoon of milk or water and the pinch of salt. Add more liquid, a teaspoon at a time, until you reach your desired drizzling consistency – you want it thin enough to drizzle but not watery. Once the treats are set, lift them out of the pan using the parchment paper overhang (if you used it) and place them on a cutting board. Drizzle the glaze over the top in a decorative pattern. Let the glaze set for about 10-15 minutes before slicing.
Step 9: Slice & Serve
Once the glaze is set (or if you skipped it), use a sharp knife to cut the slab into squares or bars. I usually aim for about 16-20 squares, depending on how big I want them. They’re best served chilled or at room temperature. The texture is perfect when they’re slightly firm from the fridge.
What to Serve It With
These fudgy no bake treats are so incredibly versatile, they fit into almost any occasion. For a simple breakfast treat that feels like a special occasion, I love serving them alongside a hot cup of coffee or a tall glass of cold milk. They’re perfect for a quick energy boost before starting the day. For a more elaborate brunch, imagine these little squares arranged artfully on a platter with fresh berries and a dollop of whipped cream – they add a touch of indulgence without being too heavy. As a dessert, they’re fantastic on their own, but I also love them paired with a scoop of vanilla bean ice cream or a warm, gooey brownie for a decadent chocolate-on-chocolate experience. And for those cozy, quiet evenings when you just need a little pick-me-up? They are the ultimate companion to a good book and a mug of herbal tea. My kids always ask for seconds when I have these on hand, and they’re a huge hit at neighborhood potlucks. They just disappear!
Top Tips for Perfecting Your Fudgy No Bake Treats
Over the years, I’ve learned a few tricks that make these fudgy no bake treats even better, and I want to share them with you! First, when it comes to the crispy rice cereal, I *always* recommend using the plain kind. The frosted versions can make the treats a little too sweet and can affect the texture when they set. Also, make sure your cereal is fresh! Stale cereal can make the finished product a bit chewy in a not-so-pleasant way. When you’re melting the marshmallows, low and slow is key. Rushing this step can lead to burnt marshmallows, which will affect the taste. I always keep stirring to ensure an even melt. If you notice your marshmallow mixture getting too thick before you can coat all the cereal, don’t panic! You can gently reheat it for a few seconds, stirring constantly, to loosen it up again. For that extra fudgy factor, the optional chocolate chip filling is a game-changer. Melting them with a little cream makes them incredibly smooth and intensely chocolatey. When pressing the mixture into the pan, I find greasing my hands lightly with butter or using a piece of parchment paper on top to press down gives the best, most even results. If you want a cleaner cut, ensure the treats are thoroughly chilled. For glaze variations, you can add a tiny bit of espresso powder to the glaze to enhance the chocolate flavor, or even a drop of peppermint extract for a festive twist. And remember, oven temperatures can vary, but since this is no-bake, that’s not an issue! Just ensure your fridge is at a good temperature so they set properly. I once tried making these with almond milk instead of heavy cream for the filling, and while it worked, it wasn’t quite as rich, so I stick to heavy cream for that ultimate fudgy texture. Trust me on this one!
Storing and Reheating Tips
These fudgy no bake treats are pretty forgiving when it comes to storage, which is another reason I love them. At room temperature, they’ll stay fresh for about 2-3 days, especially if you keep them in an airtight container. I usually cover them loosely with plastic wrap or aluminum foil to prevent them from drying out. If you’re not going to eat them within a few days, or if your kitchen is on the warmer side, refrigerator storage is best. They’ll stay good in an airtight container in the fridge for up to a week. The texture might firm up a bit more in the fridge, but they’re still delicious. For longer storage, you can absolutely freeze them! Cut them into individual squares, wrap each one tightly in plastic wrap, and then place them in a freezer-safe bag or container. They can be stored in the freezer for up to 2-3 months. To thaw, simply unwrap them and let them come to room temperature for about 30 minutes, or enjoy them straight from the fridge if you like them cold. If you add glaze, I generally recommend adding it right before serving or once they’ve chilled. If you glaze them and then freeze, the glaze can sometimes become a little brittle or sticky upon thawing, so it’s often best to add it post-thaw if you plan on freezing.
Frequently Asked Questions
Final Thoughts
I truly hope you give these fudgy no bake treats a try. They’ve brought so much simple joy to my kitchen, and I’m confident they’ll do the same for you. They’re the perfect example of how minimal effort can lead to maximum deliciousness. When you’re craving something deeply chocolatey and satisfying, but don’t have the time or inclination for baking, these are your answer. They remind me that sometimes, the simplest recipes are the ones that become the most cherished. If you love this recipe, you might also enjoy my [link to another no-bake cookie recipe, e.g., Easy No-Bake Peanut Butter Cookies] or my [link to a simple chocolate cake recipe, e.g., One-Bowl Chocolate Cake]. They share that same spirit of easy, delicious comfort. I can’t wait to hear what you think, and I’d absolutely love to see how yours turn out! Please leave a comment below with your experience, or share any fun variations you tried. Happy no-baking!
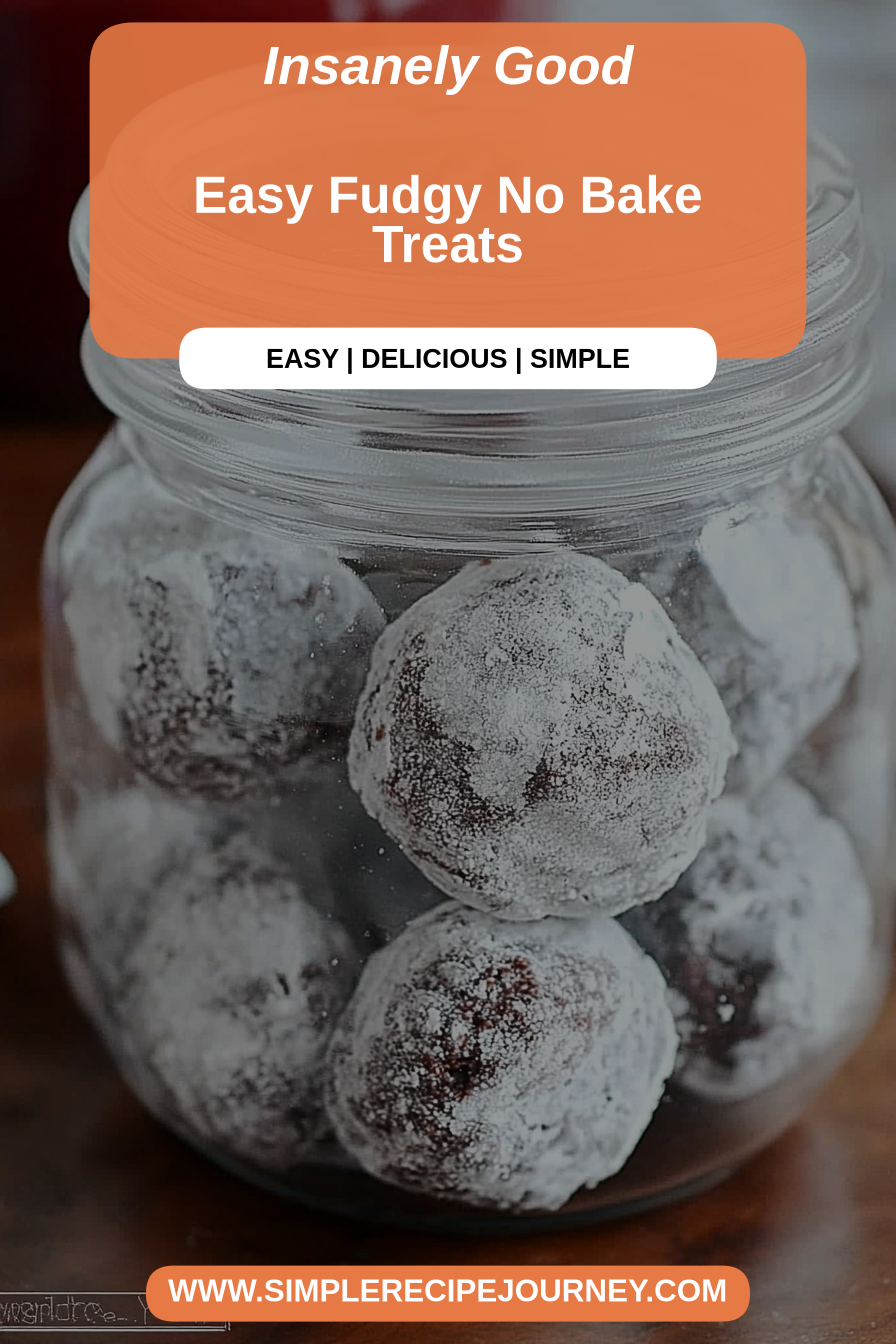
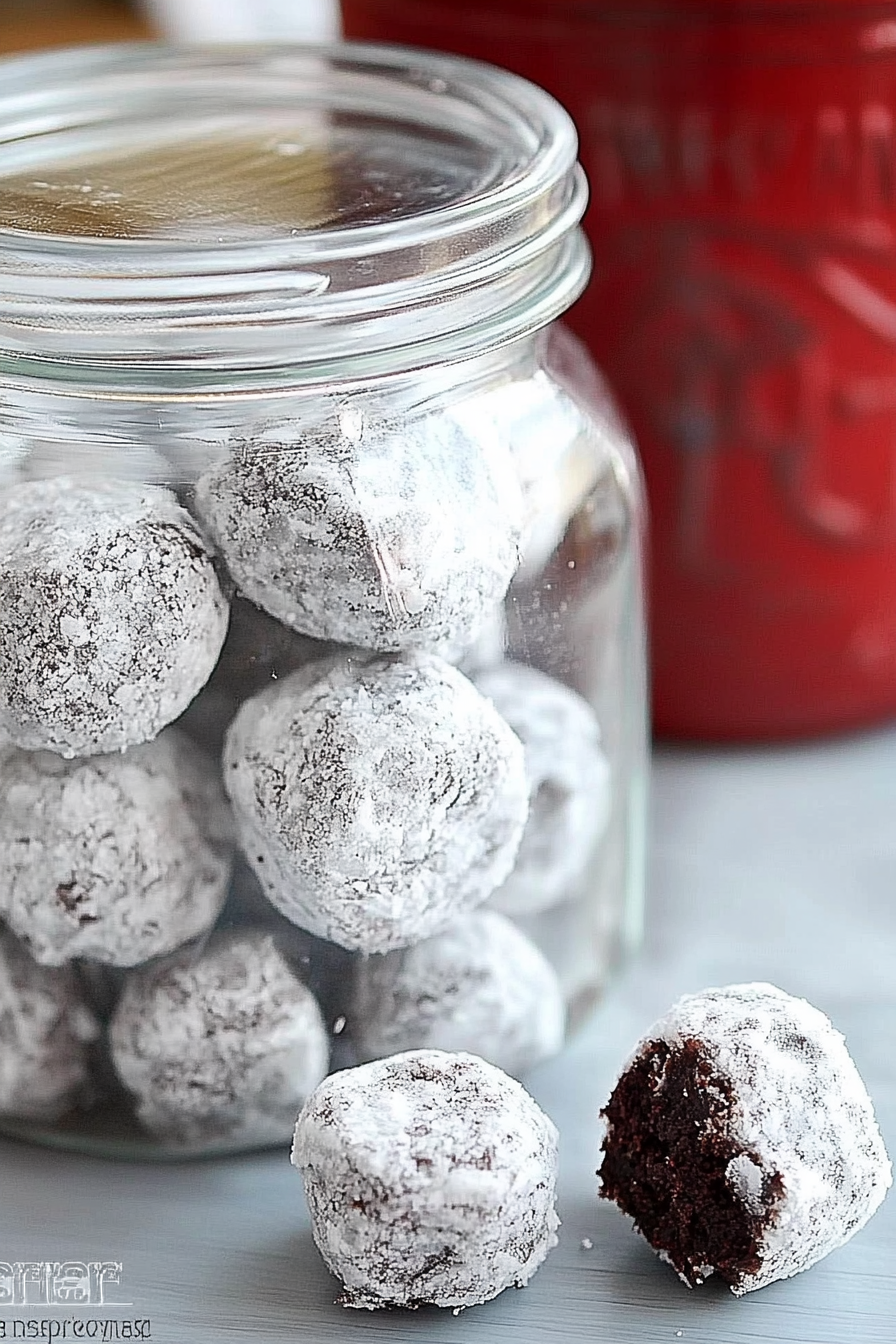
Fudgy No-Bake Treats
Ingredients
Method
- Add almonds to your food processor and pulse until finely ground.
- Add the pitted dates, cocoa powder, honey, and water to the food processor. Process until it forms a sticky mass. If the mixture seems too dry, add more water, one teaspoon at a time, until it holds together.
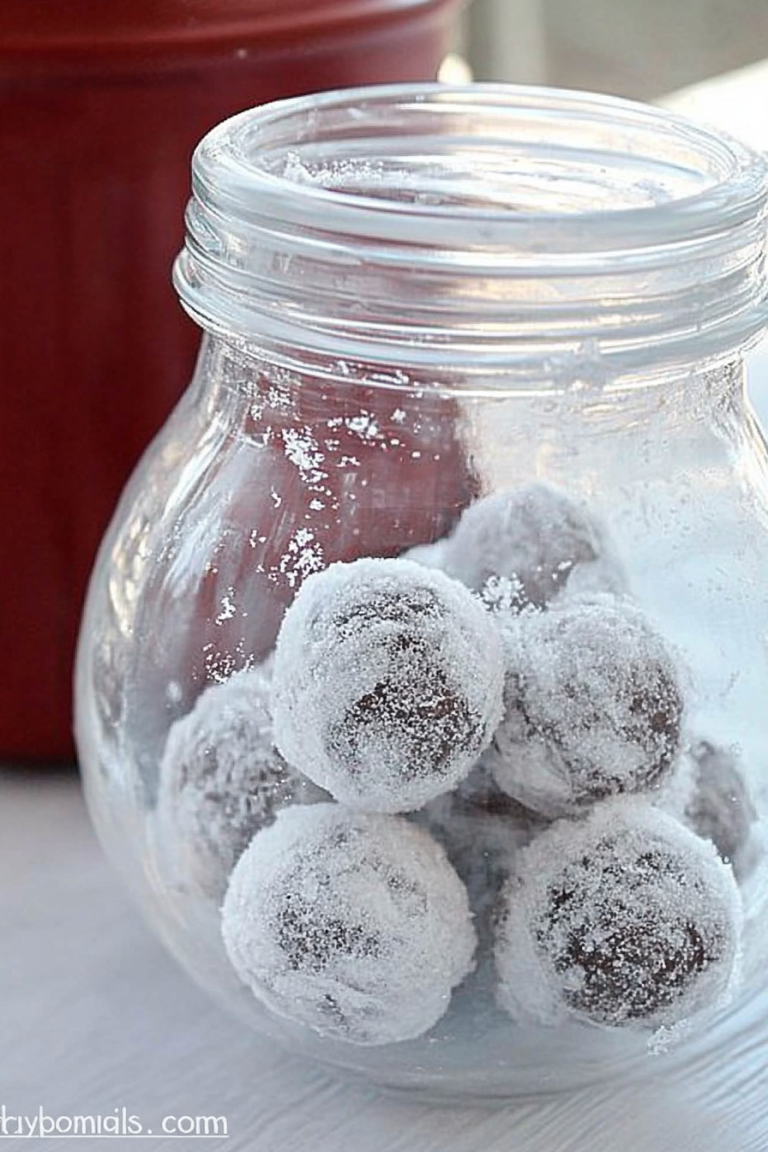
- Using slightly damp hands, measure about 1 tablespoon of the mixture and roll it into a ball. Place the balls on a parchment-lined baking sheet.
- If using, place the confectioners' sugar in a shallow bowl.
- Gently roll each ball in the confectioners' sugar to coat, if desired.
- These treats can be stored in an airtight container in the refrigerator for up to a week.