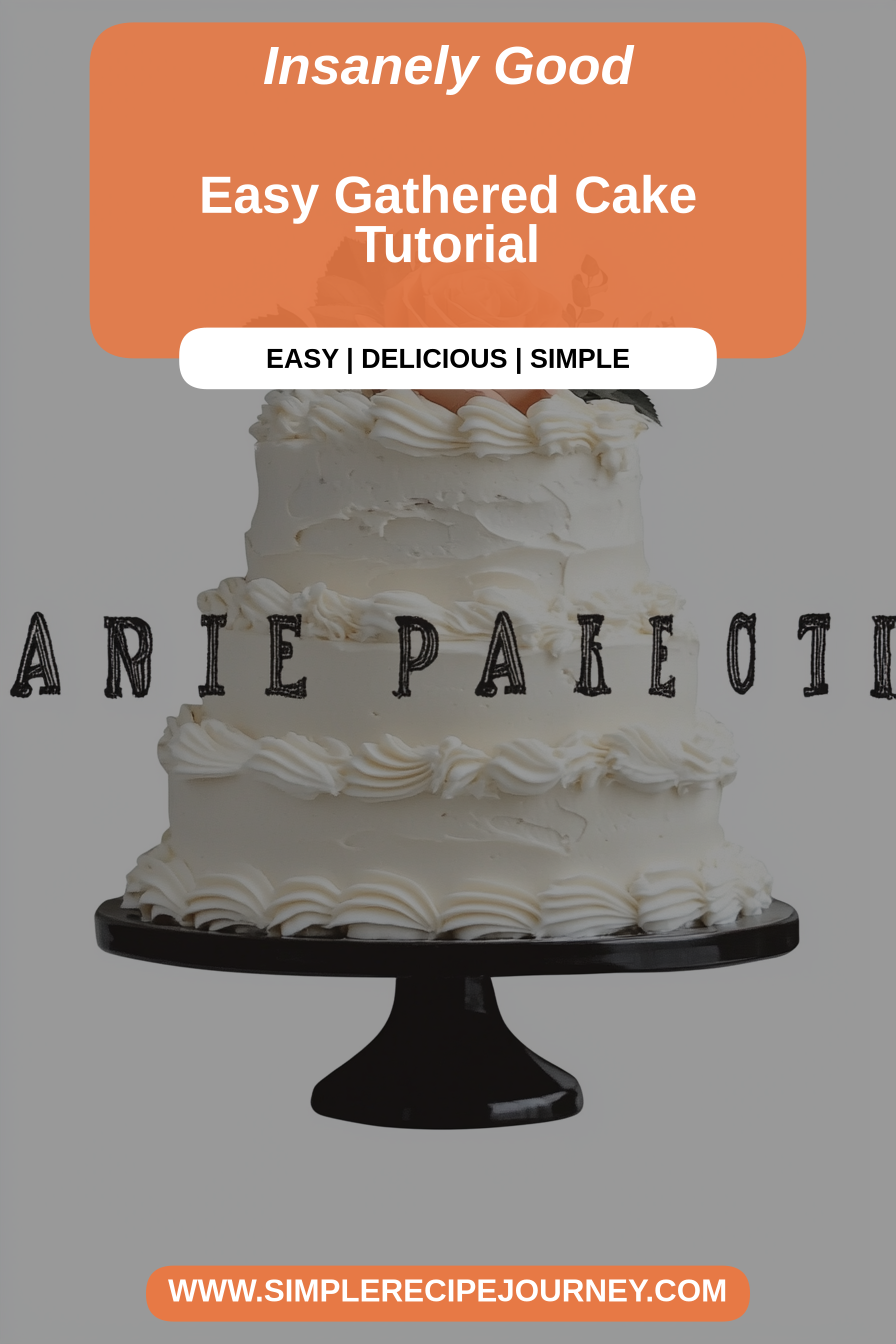
Easy Gathered Cake Tutorial
Oh, the smell of a freshly baked cake wafting through the house — it’s like a warm hug that instantly lifts everyone’s spirits. I remember crawling into the kitchen as a kid and sneaking a forkful of batter just to taste it before it even hit the oven. This ruffle cake has been a family favorite for years — it looks fancy with those layers of beautiful ruffled frosting, but I promise, it’s surprisingly simple to put together. Plus, it’s a showstopper at birthdays, family dinners, or just when you want to treat yourself to something sweet that looks as gorgeous as it tastes. Honestly, I’ve made this so many times, and every single batch disappears in minutes at my house! It’s like a little slice of celebration in every bite. If you’re craving something that feels fancy but is actually a breeze to whip up, trust me on this one — your family will thank you.
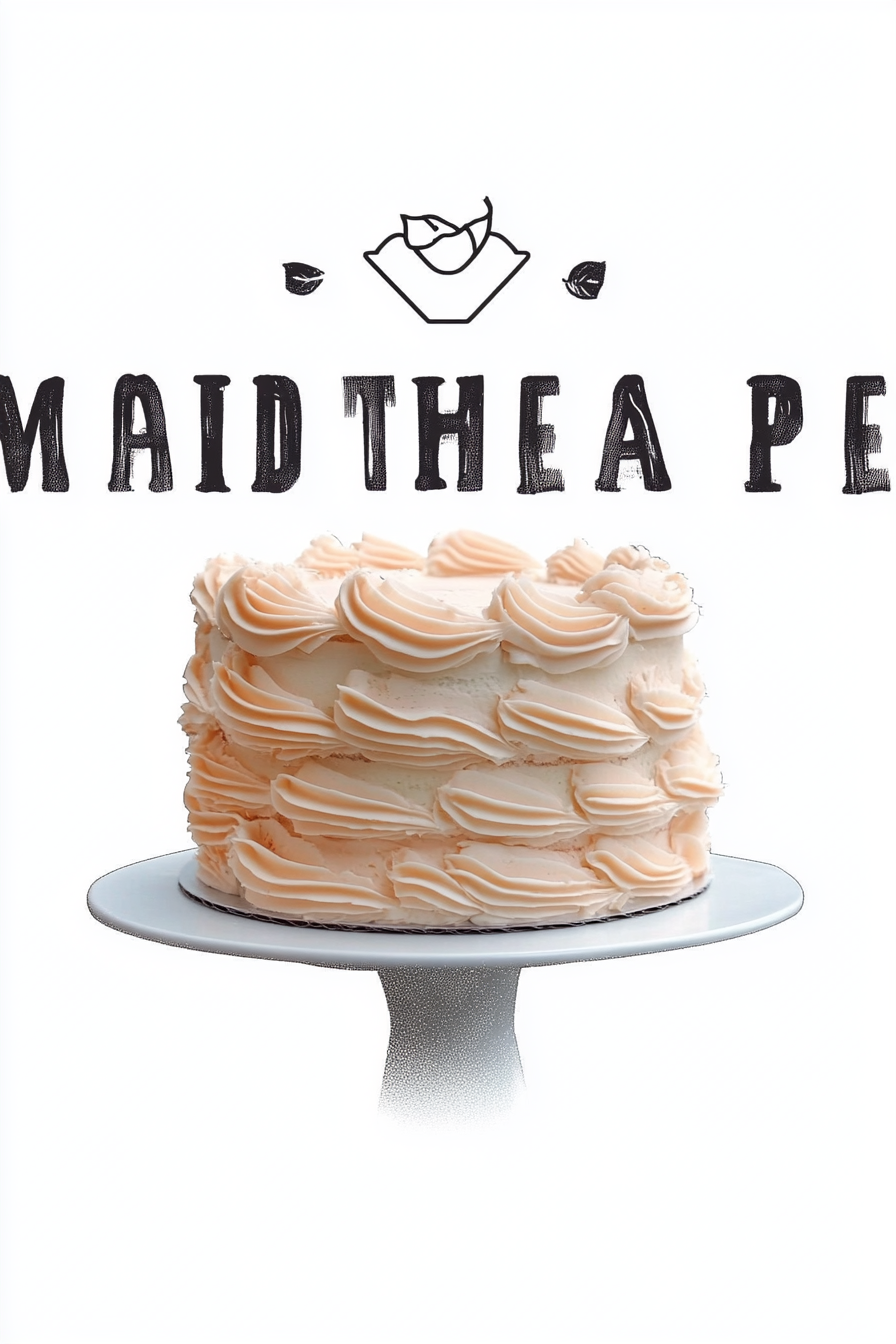
What is a ruffle cake?
Think of a ruffle cake as the cake equivalent of wrapping a gift with beautiful, flowing ribbons. It’s essentially a layer cake decorated with delicate, swirling ruffles of frosting — usually buttercream or Swiss meringue — that cascade down the sides with flair. The name “ruffle” comes from those decorative, petal-like frosting layers that give the cake a stunning textured look. It’s a style that dates back decades but has become super trendy again because it’s just so elegant yet surprisingly easy to create. Think of it as a cake that’s dressed up for a glamorous party but is actually built on a simple sponge base. The best part? With just a few tools — mainly a piping bag and a star tip — you can achieve that lovely, ruffled texture that makes the cake look fancy and refined without any professional skills.
Why you’ll love this recipe?
What I love most about this ruffle cake is how it combines beauty and comfort in one bite. The moist, tender sponge is the perfect canvas for a luscious filling — whether it’s fresh fruit jam, buttercream, or even a hint of lemon curd. And the frosting? Oh boy, that’s where the magic happens. The piping technique might look complicated, but once you get the hang of it, it’s so much fun! Plus, I’ve tested this cake with different ingredients, and I’ll tell you, the charm is in the details. The ruffles aren’t just decorative; they add a light, airy texture that melts in your mouth. It’s also a budget-friendly dessert — simple pantry staples become show-stopping layers. What I especially adore is that it’s versatile; you can customize the flavor profile, making it perfect for birthdays, anniversaries, or just a cozy weekend treat. Honestly, no one can resist this visual masterpiece streaked with rich frosting — and it’s just as delicious as it looks. I’ve made this for friends’ parties, school bake sales, and even just because I needed a little pick-me-up — it’s always a hit. Trust me, once you try it, you’ll be hooked for life!
How do you make a ruffle cake?
Quick Overview
This ruffle cake is a labor of love, but I promise, it’s easier than it looks. You start with a fluffy sponge, then layer it with your favorite filling — think fruit preserves or whipped cream. The magic comes with the frosting: a smooth buttercream colored to your liking, piped into those super fun, swirling ruffles that cascade down the sides. I like to assemble the cake with a little chill time in between, so everything stays neat and tidy, then finish with a generous topping of frosting to hide the tips. The best part? Watching the magic happen as you pipe those beautiful ruffles — it’s like creating a piece of edible art. Once assembled, a quick chill helps set the ruffles in place, making it easier to serve slices that look just as stunning as they did when you finished decorating. And voilà — a gorgeous, delicious ruffle cake that’ll wow anyone who sees it!
Ingredients
For the Main Batter:
– 2 ½ cups all-purpose flour, sifted for fluffiness
– 1 ½ cups sugar
– 1 cup unsalted butter, softened
– 3 large eggs
– 1 cup whole milk (or almond milk if you prefer)
– 2 teaspoons vanilla extract
– 2 teaspoons baking powder
– Pinch of salt
For the Filling:
– Fruit preserves, jam, or whipped cream
– Fresh berries or sliced fruit (optional but lovely!)
For the Glaze:
– 1 cup powdered sugar
– 2-3 tablespoons milk or cream
– Food coloring (for tinted glaze, optional)
– Sprinkles or edible pearls for decoration
Step-by-Step Instructions
Step 1: Preheat & Prep Pan
Preheat your oven to 350°F (175°C). Grease and flour two 8-inch round cake pans or line them with parchment paper. Trust me, prep is key to a smooth release, and the last thing you want is your cake sticking when you’ve gone to all that effort.
Step 2: Mix Dry Ingredients
In a bowl, whisk together the flour, baking powder, and salt. This ensures even distribution of leavening and keeps your cake tender and fluffy. Set aside for now, but don’t skip this step — proper dry ingredients mixing is what makes your cake rise beautifully.
Step 3: Mix Wet Ingredients
In a large mixing bowl, beat the softened butter and sugar until creamy and light — this is my secret to getting that airy cake texture. Add eggs one at a time, beating well after each. Mix in vanilla extract. I always do this step slowly, making sure everything gets incorporated, and the batter ends up smooth and shiny.
Step 4: Combine
Gradually add the dry ingredients to the wet mixture, alternating with the milk. Do it in three parts: dry, wet, dry, wet, dry. Mix gently — overmixing can make the cake dense. Just stop when everything looks combined and smooth; it’s okay if a few lumps remain.
Step 5: Prepare Filling
If you’re using jam or preserves, stir them to loosen up. If whipped cream, make sure it’s firm yet fluffy. Spread your filling evenly on the cooled layers. I love adding a handful of fresh berries between layers — it adds a pop of color and flavor magic.
Step 6: Layer & Swirl
Stack your cake layers with filling in between. For the frosting, load your piping bag fitted with a star tip and use a generous amount. Practice on a plate first if you’re new to piping —Once you get the hang of squeezing and swirling, start from the bottom edge, piping upward in a ruffled motion. Hold your bag at a slight angle, and don’t be afraid to go slow — patience makes perfect ruffles.
Step 7: Bake
Pop the pans into your oven and bake for about 25-30 minutes, or until a toothpick inserted in the center comes out clean. Keep an eye on the edges to prevent over-browning. Cool in pans for about 15 minutes, then turn out onto a wire rack and cool completely before decorating.
Step 8: Cool & Glaze
Once cooled, spread a thin layer of frosting over the cake crumb-coat to seal in the crumbs — this makes your final ruffles look smooth and professional. Mix your glaze ingredients until smooth, adding food coloring if you like. Drizzle gently over the top or use a spoon to spread evenly. If you want that shiny, professional look, keep the glaze slightly thick so it doesn’t slide off — trust me, patience here pays off.
Step 9: Slice & Serve
Chill the cake for at least 30 minutes before slicing. Use a serrated knife and a gentle sawing motion to get perfect, clean slices. Serve on your prettiest plates, maybe with a little extra frosting or fresh fruit on the side.
What to Serve It With
This ruffle cake is just begging for a cup of aromatic coffee or a glass of milk — I love pairing it with a hot latte on weekend mornings. For brunch, try serving it with some bubbly prosecco or a fruit-infused tea. When it’s dessert time, I’ve found that a scoop of vanilla bean ice cream or a dollop of whipped cream takes it to the next level. During family parties, my kids ask for their slices with a drizzle of berry sauce or a dusting of powdered sugar. And honestly, this cake is so versatile, I’ve even wrapped individual slices in parchment to take on picnics or as a sweet gift for friends. No matter how you serve it, I guarantee it’ll make everyone smile — and maybe even ask for seconds!
Top Tips for Perfecting Your Ruffle Cake
First off, the quality of your frosting is everything. I’ve learned that buttercream works best because it pipes smoothly and holds its shape like a charm. If your frosting is too soft or warm, pop it in the fridge for 10-15 minutes — that just cools it down enough to pipe clean ruffles without melting. When piping, keep your hand steady and try to maintain a consistent pressure; it takes a bit of practice, but I promise, those beautiful waves come with patience. For the ruffles themselves, I like to start at the bottom and work upward, slowly building that cascading effect. If your ruffles aren’t as curly as you want, try attaching a small piping tip brush to your fingers and gently tweak them while they set. As for ingredients, I’ve made this with different flavor add-ins — like almond extract, lemon zest, or even a splash of Bailey’s — and each variation made it unique and delicious. I also learned that adding a tiny pinch of cornstarch to the frosting helps keep the ruffles stiff and pristine longer. Trust me, if you take your time, your cake will look professional, and the flavors will blow everyone away. Don’t be afraid to experiment — that’s how the magic happens!
Storing and Reheating Tips
Leftover ruffle cake? No problem. If you’re planning to enjoy it within a day or two, cover it loosely with a cake dome or wrap it with plastic wrap. Keep it at room temperature if it’s filled with buttercream or fruit preserves — it’s best to enjoy it fresh, but it’ll stay tasty for up to 24 hours. For longer storage, pop it in the fridge in an airtight container — just give it a couple of hours to come back to room temp before slicing again. Want to freeze it? Wrap individual slices tightly in plastic wrap and then foil, and they’ll last up to three months. Thaw in the fridge overnight and bring to room temp before serving. If you added a glaze or fruit topping, wait until you’re ready to serve before reapplying or adding fresh decor — a quick re-glaze or a sprinkle of fresh berries can refresh the look and flavor. Reheating isn’t really necessary for this dessert; it’s best enjoyed chilled or at room temp for that perfect frosting-to-cake balance.
Frequently Asked Questions
Final Thoughts
This ruffle cake is more than just a pretty dessert — it’s a memory-maker. Every swirl and fold feels like a little burst of love, and I can’t tell you how many times I’ve seen this bring smiles to friends’ faces. The process might look intricate, but once you get a feel for piping those delightful ruffles, it’s incredibly rewarding. Plus, the flavors are timeless — moist cake, sweet filling, and rich frosting that melts in your mouth. Whether you’re celebrating a special occasion or just craving something sweet that feels a bit fancy, this recipe always hits the spot. Don’t be shy about experimenting with flavors or colors; think of this as your edible canvas. I hope you give it a try soon — it’s one of those recipes that turns into a treasured family tradition in no time. Happy baking, and I’d love to hear how yours turns out — leave a comment or share your photos!
Delicious Vanilla Ruffle Cake
Ingredients
Method
- Preheat the oven to 350°F (175°C). Grease and flour your cake pans.
- In a large bowl, beat the softened butter and sugar until fluffy.
- Add eggs one at a time, beating well after each addition.
- Gradually mix in the vanilla extract.
- Alternately add flour and milk, beginning and ending with flour. Mix until just combined.
- Pour batter into prepared pans and smooth the top.
- Bake for 45 minutes or until a toothpick inserted into the center comes out clean.
- Allow cakes to cool completely before frosting and creating ruffles.