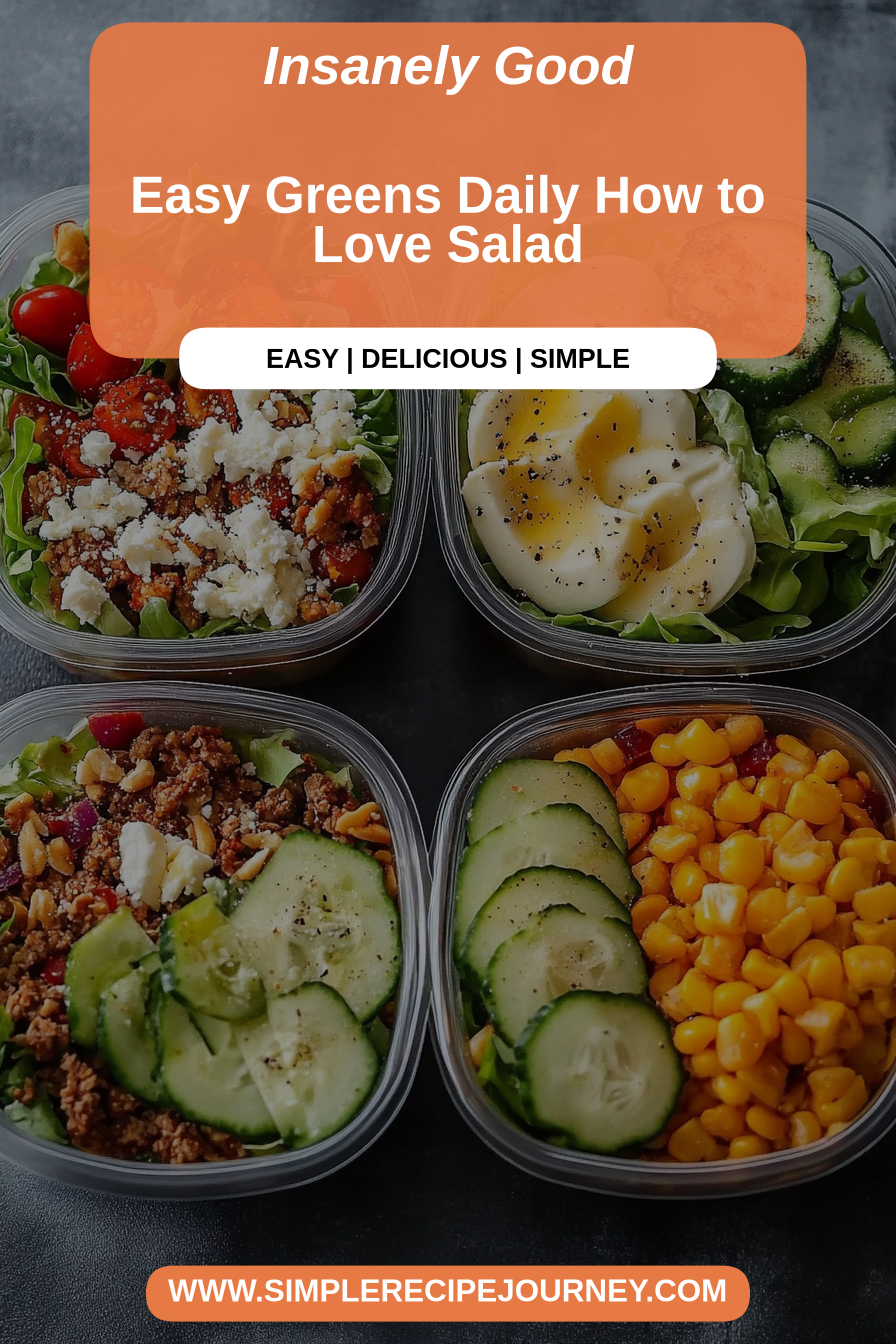
Easy Greens Daily How to Love Salad
There’s nothing quite like a really good salad to brighten up your day, especially when it’s warm outside or you’re craving something light but packed with flavor. I remember how, as a kid, I’d sit in my mom’s kitchen while she tossed together the simplest salads that somehow tasted like a vacation. There’s just something so satisfying about fresh greens, crisp veggies, and that tangy zing from a good vinaigrette. Over the years, I’ve made countless salads—some that flopped, and some that disappeared in minutes at my house. But this one? This is my favorite because it’s easy, adaptable, and honestly, addictive. My kids ask for it all the time, and I love how I can throw it together in just minutes after a busy day. Plus, it’s one of those recipes that makes me feel like I’m giving my family something healthy and delicious—kind of like a little hug from the kitchen. Trust me, once you try this, it’ll be your go-to too. And the best part? You don’t need fancy ingredients—just good stuff from your fridge and pantry. Let’s dive into making it!
What Is Salad?
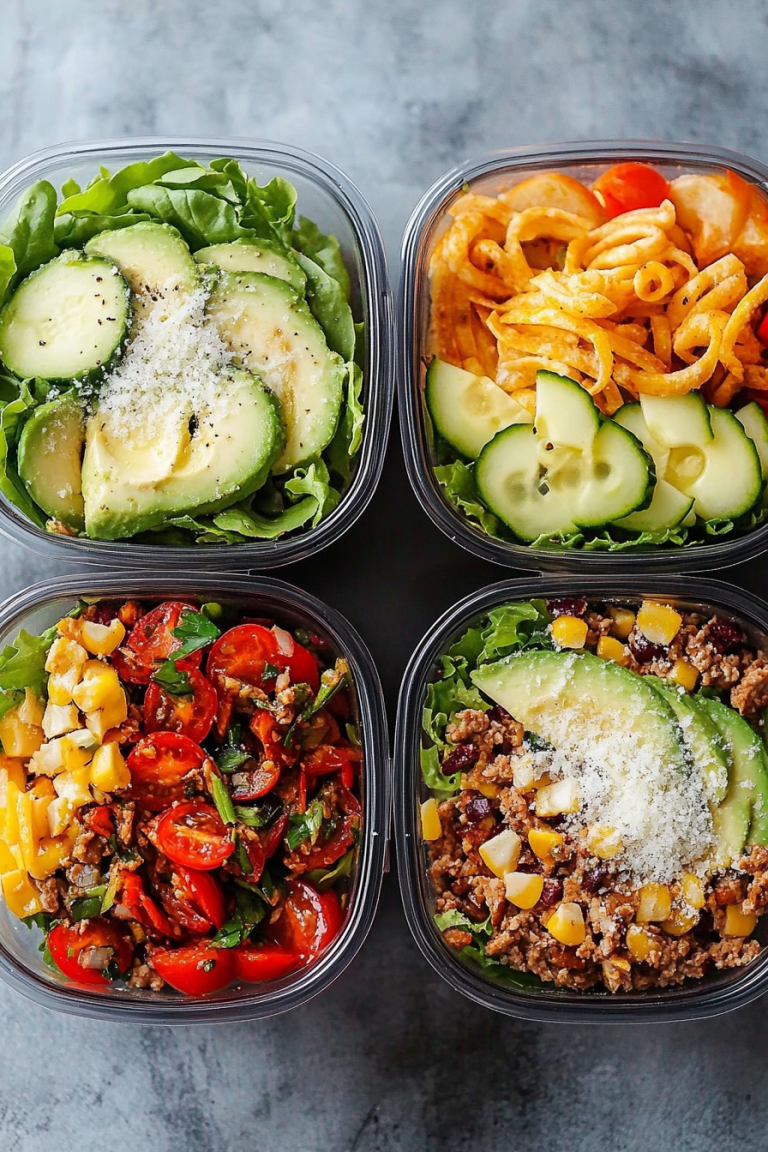
Think of a salad as a colorful, crunchy canvas that you can customize endlessly. It’s essentially a mix of fresh, raw ingredients—think greens, veggies, fruits, nuts, and sometimes cheese or proteins—that come together to create a dish that’s refreshing and satisfying. The word “salad” actually comes from the Latin word “sal” meaning salt, because early versions often included salted vegetables or pickles. Today, though, salads have evolved into everything from simple side dishes to hearty main courses. This particular salad I’m sharing is inspired by Mediterranean flavors, with crisp lettuce, ripe cherry tomatoes, crunchy cucumbers, and a tangy lemon vinaigrette. It’s a perfect showcase of how you can make something so straightforward taste extraordinary. Think of it as a healthful hug in a bowl—bright, fresh, and so easy to pull together, especially when you’re short on time but want something truly satisfying.
Why you’ll love this recipe?
What I love most about this salad is how versatile it is—just toss and go, or add your own twist. The flavor profile is bright and refreshing, with juicy cherry tomatoes bursting in your mouth, crispy cucumbers, and a punch of lemony tang from the vinaigrette. It’s a huge hit on warm days or when you’re craving something light but crave flavor at the same time. Plus, it’s totally budget-friendly—I always do this when I’m trying to stretch my grocery dollars, and it never disappoints.
This salad is also super forgiving; you can swap out ingredients based on what you have on hand. Have some feta or olives? Toss ’em in! Prefer a little protein? Grilled chicken or chickpeas work beautifully here. It’s a lifesaver on busy nights because, honestly, it takes maybe 10 minutes to put together, and you’re eating something healthy that feels special. I’ve made this for picnics, potlucks, and even as a side for weekend barbecues, and it always gets rave reviews.
And can I just say—this salad makes me feel good. It’s fresh, clean, and I get that nourishing vibe with every bite. My kids love helping me toss it together, and I’ve tested this with all sorts of substitutions and tweaks—trust me on this one, it’s practically foolproof. It’s one of those recipes I come back to when I need comfort in a bowl. Plus, the flavors actually get better after sitting for a little while, making leftovers just as enticing. Honestly, once you try this, it might just become your new favorite, too.
How do I make a salad?
Quick Overview
This salad is as simple as chopping up some fresh vegetables, whisking together a quick lemon vinaigrette, and tossing everything together. It’s the kind of dish where less is more—fresh, quality ingredients shine here. What makes this recipe special is how effortlessly it comes together, perfect for a busy weeknight or a last-minute get-together. I like to prep everything in advance so the flavors can mingle, but honestly, even at the last minute, it’s fast enough to throw together when you’re feeling hungry. The salad holds up well in the fridge for a few hours, so it’s great for packing or making ahead of time. The real magic is in the vibrant dressing that ties all the ingredients into a cohesive, flavor-packed bowl. And let me tell you—once you get the hang of tossing this together, it’ll be your go-to summer staple or quick side for any meal.
Ingredients
For the main salad: What is the best way to prepare it?
- 4 cups mixed greens (romaine, spinach, or whatever you love)
- 1 cup cherry tomatoes, halved
- 1 large cucumber, sliced
- ½ red onion, thinly sliced (optional but adds great flavor)
- ½ cup crumbled feta or goat cheese (because cheese makes everything better)
- ¼ cup kalamata olives, pitted and sliced (for that salty punch)
- A handful of fresh basil or parsley, chopped
For the Lemon Vinaigrette:
- ¼ cup olive oil (good quality for the best flavor)
- Juice of 1 large lemon (about 3 tbsp, freshly squeezed)
- 1 teaspoon Dijon mustard (adds a nice tang)
- 1 teaspoon honey or maple syrup (for balance)
- Salt and freshly ground black pepper to taste
Step-by-Step Instructions
Step 1: Preheat & Prep Pan
While you don’t need an oven for this salad, I do recommend washing all your veggies first—nothing spoils the freshness like dirt lingering around. Set aside your greens, cherry tomatoes, cucumber, and onion. Remember, nice, crisp vegetables make a huge difference here. If your cucumber is a little waxy, I always peel a strip or two to keep it light and refreshing.
Step 2: Mix Dry Ingredients
This step’s pretty straightforward—just chop and slice your veggies, crumble your cheese, and get everything ready to toss. It’s best to keep things crisp, so do this right before serving if possible. I “massacre” my cherry tomatoes a little—just kidding! I gently halve them. For the onion, remember, thin slices work best so it doesn’t overpower the salad, unless you love that punch of flavor.
Step 3: Mix Wet Ingredients
For the vinaigrette, I like to whisk everything together in a small jar or bowl. The lemon juice is the star here, so squeeze it fresh—trust me, bottled stuff just doesn’t cut it. Add Dijon, honey, salt, and pepper, then gradually whisk in olive oil until it emulsifies. The smell alone gets everyone excited for dinner, and it’s so quick—less than 2 minutes!
Step 4: Combine
Transfer all your chopped veggies into a large salad bowl. Drizzle with the vinaigrette, then toss gently. Be careful not to overmix—just enough to coat everything evenly. If you’re making this ahead, wait to add the cheese and olives until just before serving to keep everything fresh and textured.
Step 5: Prepare Filling
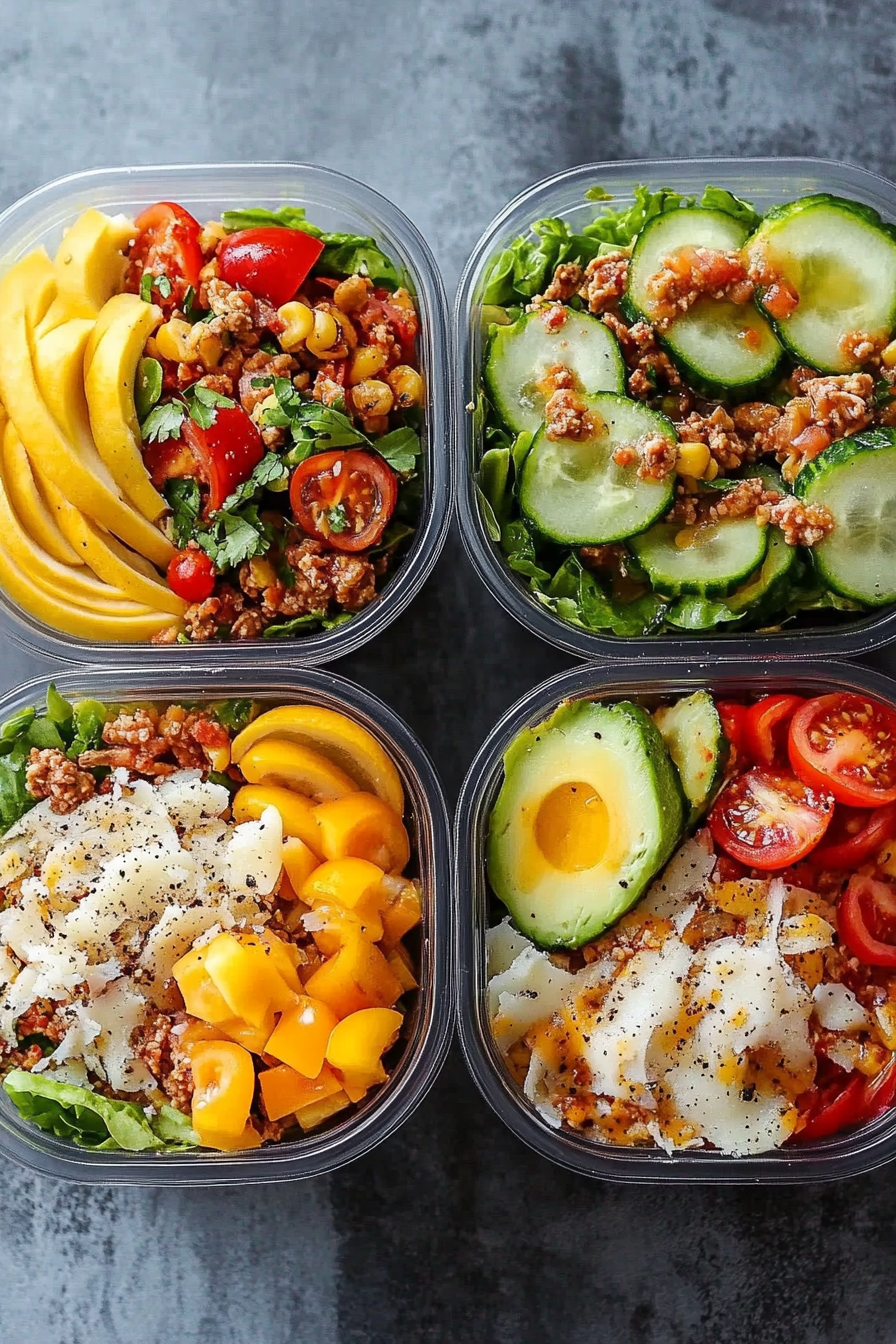
Here, you can add optional extras like sliced avocado, toasted nuts, or even grilled chicken strips for that protein boost. If you’re feeling adventurous, sprinkle some toasted pine nuts or sesame seeds for crunch. The beauty of this salad is how easily it adapts to your preferences.
Step 6: Layer & Swirl
If you want to make it a bit fancy for presentation, layer ingredients a little intentionally—layer the greens, then scatter tomatoes, cucumbers, cheese, and herbs, and give a gentle swirl with a fork or spatula. That way, each bite gets a little bit of everything and looks stunning on the plate.
Step 7: Bake
No baking needed here! But, if you’re adding grilled chicken or roasted veggies, now’s the perfect time to prepare those. I love tossing chicken breasts in a bit of olive oil, salt, pepper, and oregano before grilling—adds a smoky flavor without much fuss.
Step 8: Cool & Glaze
If you’re using cheese or fresh herbs, adding them last keeps the salad vibrant. For a lovely finishing touch, sprinkle some extra herbs or a dash of freshly cracked pepper. As for the dressing: if you want a slightly thicker vinaigrette, just add a little more Dijon or honey. Don’t forget to taste and adjust—it’s all about balance.
Step 9: Slice & Serve
Serve immediately or refrigerate for up to a couple of hours. If chilling, give the salad a quick toss before serving to redistribute the flavors. It’s amazing served chilled, especially on hot days when a cold, crisp salad hits the spot. I love doing a beautiful presentation on a platter—maybe even add a few extra olives and herbs on top. The smell, the colors, it’s almost too pretty to eat but oh so worth it!
What to Serve It With
This salad is an absolute showstopper on its own, but here are some ideas to elevate your meal:
For Breakfast: Serve it alongside a fluffy scrambled egg or a toasted bagel slathered with cream cheese. The freshness of the salad balances out that morning heaviness.
For Brunch: Pair it with some crusty sourdough bread or herby focaccia, and offer a side of fresh fruit or a light white wine or sparkling water with lemon. It’s perfect for an easy, elegant gathering.
As Dessert: Well, okay, not quite a dessert, but I love serving this with a honey-drizzled Greek yogurt or a scoop of cottage cheese for extra creaminess. It’s a surprising combo that always gets buried with compliments.
For Cozy Snacks: This salad also doubles as a filling snack when you need a quick pick-me-up. Just pack it in a to-go container and enjoy it during movie night or a picnic.
Honestly, I’ve served this with grilled salmon, roasted hummus flatbreads, and even as a bed for some crispy chickpeas. It adapts beautifully to what’s in your fridge, and that’s what makes it special. It’s not just a salad—it’s a little celebration in a bowl, no matter the occasion.
Top Tips for Perfecting Your Salad
Here’s what I’ve learned after making this countless times:
Zucchini Prep: Although I don’t use zucchini here, whenever I do, I always salt the slices and let them sit for about 10 minutes. It pulls out extra moisture and keeps the salad from getting soggy. That little trick works wonders on cucumbers too, especially if you’re making the salad ahead of time. Just pat them dry before adding to the bowl.
Mixing Advice: Avoid overmixing once you’ve added the dressing—gentle tossing is key. I use tongs or two large spoons to bring everything together without crushing the vegetables. It keeps that lovely crunch intact.
Swirl Customization: If you want a more marbled look, try layering the ingredients thoughtfully—especially if you’re plating for guests. Small swirls with the dressing, then scattering herbs last, creates that beautiful layered effect.
Ingredient Swaps: Extra avocado or cucumber? Absolutely! Crumbled cheddar or even toasted walnuts are fantastic options. Just keep in mind, if you swap ingredients, taste your dressing—sometimes a sweeter or tangier variation works best.
Baking Tips: Not applicable here unless you’re making a grilled chicken to serve alongside. When roasting vegetables or proteins, I always make sure not to overcrowd the pan so they cook evenly and stay crispy.
Glaze Variations: Instead of lemon vinaigrette, try balsamic vinegar and honey for a sweeter twist. Or, add fresh herbs like dill, mint, or cilantro to switch up the flavors completely. The key is to keep the dressing simple but flavorful—that’s what makes this salad shine.
This recipe has been my “go-to” for years because it’s forgiving and flexible. The main thing I’ve learned is that fresh, quality ingredients do most of the work, and a light touch keeps everything tasting just right. Plus, once you get the ratios down, it’s nearly impossible to mess up. I’ve tested all sorts of swaps, and honestly, each variation still tastes amazing—it’s proof that simple is often best. Happy experimenting, and don’t be afraid to make it your own!
Storing and Reheating Tips
This salad is pretty versatile when it comes to storage, but I do have some tried-and-true tips:
Room Temperature: It’s best served fresh, but if you need to keep it at room temp for a brief period (say, during a picnic), try to do so no longer than 2 hours. Cover loosely with a cloth or a clean towel to keep it fresh.
Refrigerator Storage: Store leftovers in an airtight container. If you’ve added cheese or fresh herbs, consider holding those back until just before serving to keep everything crisp and vibrant. The salad is good for up to two days—after that, it might start to look a little tired, but still taste good if you’re into leftovers.
Freezer Instructions: Usually, salads don’t freeze well because of the watery ingredients. However, if you’re making a big batch for meal prep, you can freeze the vegetables separately and toss with dressing later. Just know that texture will change, especially for the greens, so use frozen veggies in cooked dishes if needed.
Glaze Timing: Add the vinaigrette just before serving or right before you eat leftovers. If you add it early, the greens may wilt faster, and everything can get soggy. Having the dressing on standby lets you freshen it up each time.
Frequently Asked Questions
Final Thoughts
Honestly, this salad has become my kitchen staple—so fresh, so flexible, and so easy to love. It’s the kind of dish that feels like an instant picnic, a bright lunch, or a simple side that makes everything else shine. The best part? You can make it your own—swap out ingredients, add a protein, or change up the herbs depending on what makes you happy. I’ve tested this with extra garlic in the dressing (delicious!), with toasted pine nuts, and even with a sprinkle of sumac for a Middle Eastern twist. Each time, it’s a winner. Plus, I think everyone should have a salad like this in their rotation—healthy, colorful, and full of flavor that keeps you coming back for more. So, see what you can create, and don’t be shy about tweaking it to your taste. Can’t wait to hear how yours turns out!
Fresh Tomato and Cucumber Salad
Ingredients
Method
- Combine chopped tomatoes, sliced cucumbers, and red onions in a large bowl.
- In a small bowl, whisk together olive oil, lemon juice, salt, and black pepper.
- Pour the dressing over the salad and toss gently to combine.
- Serve immediately or chilled for 15 minutes for deeper flavor.