Easy Greens Daily How to Love Salad
Honestly, I don’t think there’s anything quite as satisfying as a big, vibrant salad that hits all the right notes—crisp, tangy, fresh, and just a little bit indulgent. I remember the first time I made this salad for a summer picnic; everyone raved about how it tasted like something straight out of a fancy restaurant, but in reality, it was so simple I’d thrown it together in minutes between loads of laundry and chasing after my kids. It’s one of those recipes that’s become my go-to when I want something healthy but still crave that burst of flavor. And trust me, no matter how busy life gets, this salad always saves the day—plus, it’s family-approved! My kids ask for seconds, and I love tossing it together on hectic weeknights because it’s a lifesaver on busy nights. If you’re looking for a salad that’s as beautiful as it is delicious, you’ve come to the right place. I can’t wait to share this beloved recipe with you—get ready to fall in love from the first bite!
What is Salad?
Think of a salad as a fresh, colorful medley of ingredients tied together with a tangy dressing—kind of like a party on a plate. The word “salad” comes from the Latin “salata,” which means “salted,” because traditionally, most salads involved some kind of salted or vinegary component. Today, a salad is essentially whatever combination of raw or cooked vegetables, fruits, proteins, nuts, and herbs you toss together, usually topped with a dressing. It’s incredibly versatile—think of it as a blank canvas that lets you get creative with flavors and textures. This particular salad I’m sharing today is pretty much a celebration of summer’s best bounty: crisp greens, juicy tomatoes, crunchy cucumbers, and a zesty dressing that ties it all together. Whether it’s served as a side or the main event, a good salad is like a breath of fresh air—you can customize it endlessly, and it’s always a crowd-pleaser.
Why you’ll love this recipe?
What I love most about this salad is how it’s bursting with flavor yet so effortless to make. The moment you toss it together, you’re greeted with vibrant colors, fresh aromas, and a crunch that’s just irresistibly satisfying. It’s honestly my secret weapon on busy days because I can prep most of it ahead of time—chop everything in the morning, toss the dressing at the last minute, and you’ve got a meal that feels fresh from the garden. Plus, it’s budget-friendly. Most of the ingredients are pantry staples or things I usually have on hand, making it perfect for spontaneous cravings or weeknight dinner plans. The beauty of this salad is its versatility: I like it as a light lunch, a side for grilled meats, or even topped with some grilled chicken or feta cheese to make it a complete meal. And if you’re watching your carbs or looking to add more protein, this salad easily adapts with a handful of nuts or some roasted chickpeas. Honestly, what I love most is how it never gets boring—every time I make it, I tweak the ingredients slightly, and it’s always delicious in its own way. That’s the magic of a good salad—it’s a blank slate that invites your creativity.
How do I make this bright & beautiful salad?
Quick Overview
In just a handful of simple steps, you’ll have a colorful salad that’s perfect for any occasion. First, chop your vegetables—it’s best to keep everything bite-sized for easy eating. Then, whip up a quick, tangy dressing using olive oil, lemon juice, and a touch of honey—trust me, the sweet-tart balance makes all the difference. Toss everything together in a large bowl, season with a pinch of salt and freshly cracked black pepper, and you’re set. This salad is meant to be fresh and vibrant, so avoid overdressing it; you want the flavors to shine through without feeling heavy. The best part? It comes together in less than 15 minutes, making it my saving grace after a busy day when I still want to eat something wholesome and delightful.
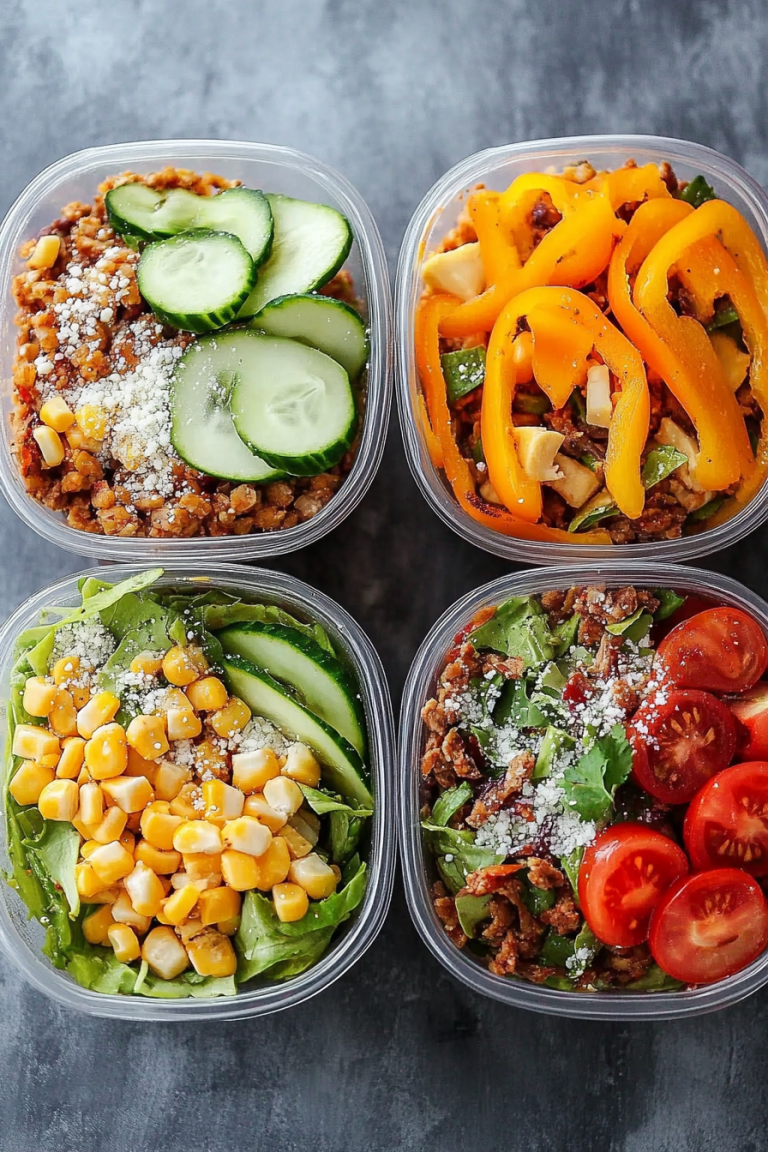
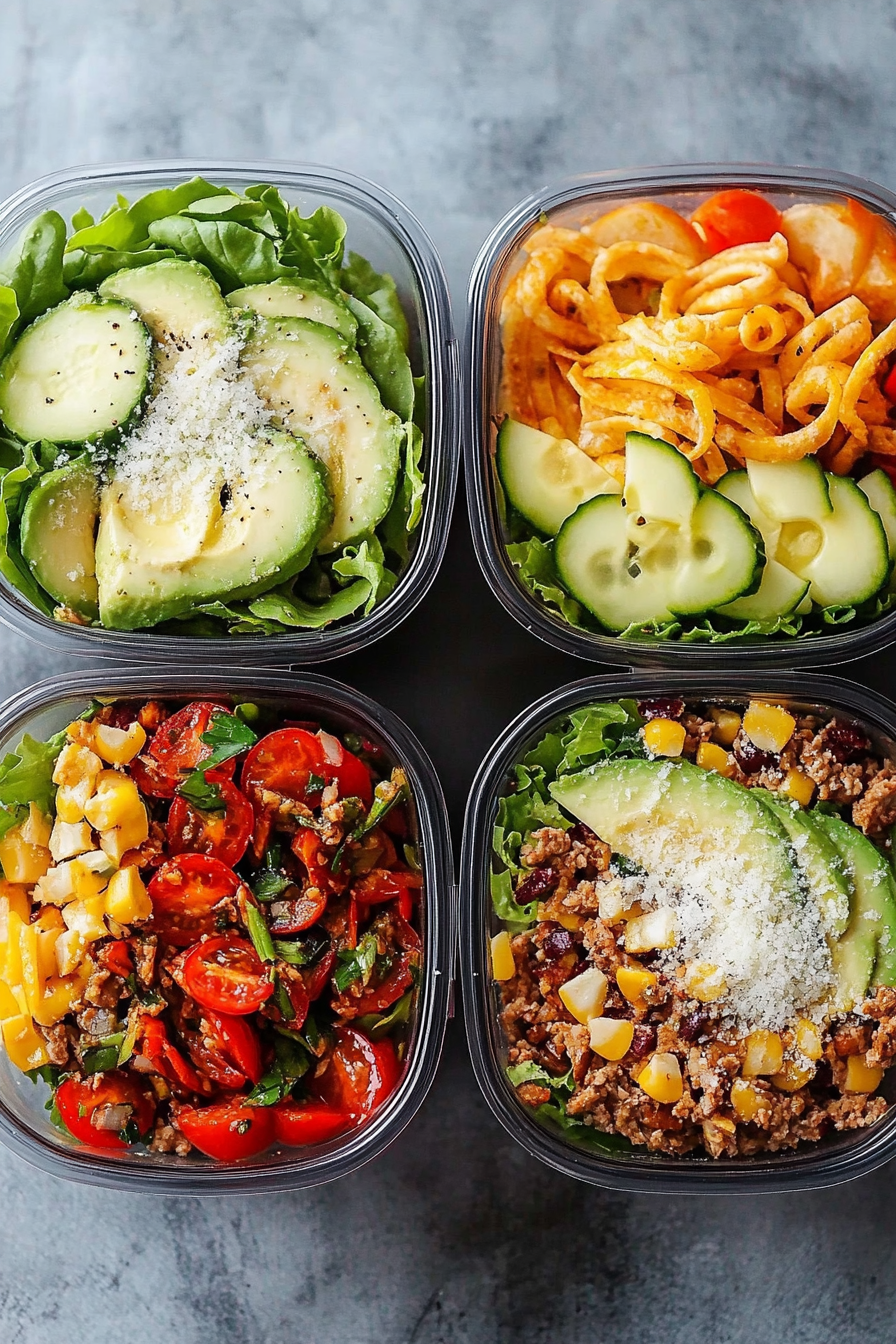
Ingredients
For the Salad:
- 3 cups mixed greens (baby spinach, arugula, and romaine for a variety of textures)
- 1 cup cherry tomatoes, halved (look for ripe ones for the best flavor)
- 1 large cucumber, sliced (cool, crispy, and refreshing)
- 1/2 red onion, thinly sliced (adds a little bite)
- 1/4 cup crumbled feta cheese (optional but adds that salty creaminess)
- A handful of fresh herbs like basil or parsley, chopped (for freshness)
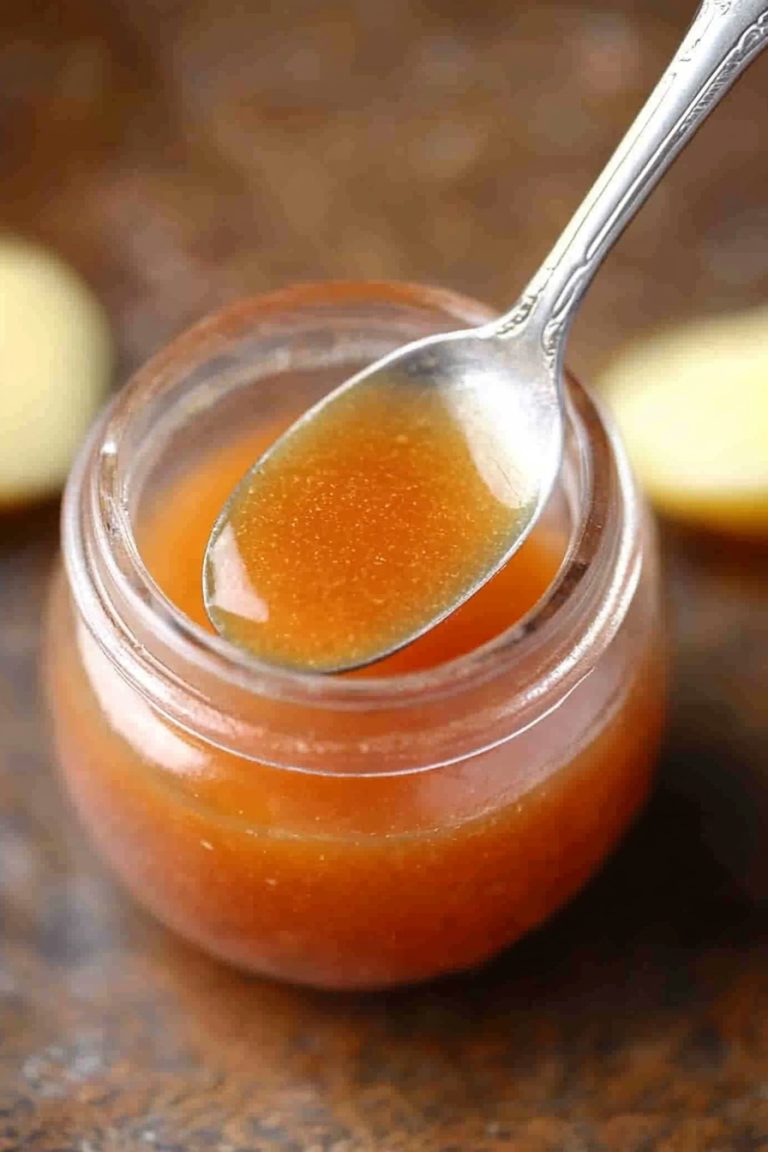
For the Dressing:
- 3 tablespoons extra virgin olive oil (the good stuff makes all the difference)
- 2 tablespoons fresh lemon juice (brightens everything)
- 1 teaspoon honey or agave syrup (balances the acidity)
- 1 clove garlic, minced (optional but adds depth)
- Salt and freshly ground black pepper, to taste
Extra Toppings & Variations
- Toasted nuts like almonds or walnuts for crunch
- Grilled chicken or shrimp for added protein
- Avocado slices for creaminess
- Olives or capers for a salty punch
Step-by-Step Instructions
Step 1: Preheat & Prep the Veggies
It’s funny—sometimes I actually forget how satisfying chopping vegetables can be, especially on a sunny day. Start by washing all your produce. Slice the cucumber, halve the cherry tomatoes, and thinly slice that red onion—use a sharp knife for clean cuts. Place all the chopped ingredients in a large bowl—you want enough space for everything to move freely when tossing. If you’re adding herbs or feta, have those ready too. This is your base, so do the prep first—trust me, the less you’re rushing at the last second, the better the flavor.
Step 2: Make the Dressing
In a small jar or bowl, whisk together the olive oil, lemon juice, honey, and garlic if using. I always do this first so the garlic has time to infuse slightly. Season with a pinch of salt and pepper—start small and taste as you go. The dressing should be tangy and just a little sweet, nothing overwhelming. If it tastes flat, a little extra lemon or honey usually does the trick. Pour it into your big bowl and let that bright smell work its magic.
Step 3: Toss the Salad
Add the greens last — I find tossing them with the dressing separately helps prevent them from wilting too quickly. Gently combine everything, making sure the dressing coats each piece evenly. If you want a more intense flavor, let it sit for 5-10 minutes; just give it a gentle toss again before serving. Remember, you can always add more dressing but starting light gives you control over the final flavor.
Step 4: Add the Finishing Touches
Sprinkle the feta and herbs on top, then add nuts or extra toppings if you like. I usually do this just before serving to keep everything crisp and fresh. You can also serve it as is, or for a little extra protein, top with grilled chicken or shrimp—it’s seriously delicious either way.
Step 5: Serve & Enjoy
This salad is best eaten immediately to keep everything crisp. If you’re making it ahead, keep the dressing separate and toss everything together right before serving—that way, it stays fresh and vibrant. It’s great on a lunch plate, atop a grilled chicken, or even as a light dinner on its own. I promise, once you try this, it’ll become part of your regular rotation. It’s healthy, fresh, simple—and oh so good.
What to Serve It With
This salad practically shines on its own, but here are some ideas to elevate your meal:
For Breakfast: Serve it with a fried egg on top for a quick brunch or alongside some toasted sourdough. The sunlight and fresh flavors make mornings feel a little brighter.
For Brunch: Pair it with quiche or a cheese platter, and serve chilled white wine or sparkling water with lemon. It’s perfect for family get-togethers or weekend gatherings.
As a Main Course: Top with grilled chicken or salmon, and toss in some roasted sweet potatoes or farro for a hearty, well-rounded plate.
For a Cozy Snack: Keep it simple—grab a fork and enjoy straight from the bowl! It’s honestly great for a quick, healthy snack after a long day.
Personally, I love serving this alongside grilled veggies or some warm crusty bread. It makes the perfect light dinner or lunch, especially when the weather cooperates. It’s those simple, fresh flavors that remind me of lazy weekends in the sunshine, and honestly, my family devours it every single time.
Top Tips for Perfecting Your Salad
Over the years, I’ve learned a few tricks to make this salad even better:
Zucchini Prep: If you’re adding zucchini or other watery veggies, make sure to sprinkle some salt on them after slicing and let sit for 10 minutes—this draws out excess moisture, preventing your salad from becoming soggy.
Mixing Advice: Toss the greens last and gently fold everything together—overmixing can bruises the delicate leaves and wilt your salad faster. Also, don’t drown your greens in dressing; start with half and add more if needed.
Swirl & Style: For presentation, I love swirling the dressing in a zigzag pattern or drizzling it artfully just before serving, especially if you want to impress guests. Keep some fresh herbs or cheese aside for a finishing touch on top—it makes all the difference visually and flavor-wise.
Ingredient Swaps: Tried-and-true—swap out feta for crumbled goat cheese or add sliced avocado for creaminess. When I tested this with toasted sunflower seeds instead of nuts, it added a lovely nutty crunch without overwhelming the other flavors. Play around and see what suits your taste buds!
The biggest lesson I’ve learned? This salad thrives on freshness and balance. Taste as you go, and don’t be afraid to adjust seasonings. Sometimes, a splash more lemon or a pinch of salt makes all the difference. The more you play with it, the more it becomes “your” signature salad.
Storing & Reheating Tips
This salad is best enjoyed fresh, but if you’ve got leftovers, here’s how I handle it:
Room Temperature: It’s fine to nibble on it within the first hour, but avoid leaving it out too long, especially in hot weather, as greens can wilt.
Refrigerator: Store in an airtight container, keeping the dressing separate if possible. It’ll last about 1-2 days—though, honestly, it’s at its peak fresh and crisp within the first day. I usually re-fluff it with a quick toss before eating again.
Freezing: Generally, I don’t recommend freezing salads, as veggies tend to lose their texture. However, you can freeze ingredients like cooked chicken or prepared toppings separately—just avoid freezing fresh greens.
Glaze & Toppings: If you want to add an extra drizzle of dressing or herbs after storing, do so just before serving to keep everything looking and tasting fresh and vibrant. I like to keep a small jar of dressing handy for this reason.
Frequently Asked Questions
Final Thoughts
There’s something so joyful about a salad that’s crisp, fresh, and full of vibrant flavors. This one’s become like a little celebration in my kitchen—bright colors, lively textures, and that perfect balance of tang and sweetness. I love how adaptable it is, whether I’m making it just for myself, serving it at a family dinner, or packing it for lunch the next day. Over the years, I’ve tweaked a few ingredients here and there, but the core—that simple, honest freshness—remains the same. It’s a reminder that sometimes, the simplest recipes truly are the best. When I make this, I can’t help but smile because it feels like a little moment of summer sunshine, even on the busiest of days. I hope you try it and find the same joy I do every time I toss it together. And hey, I’d love to hear your variations or tips—leave a comment or share your photos! Happy eating, friends—and enjoy every crisp, refreshing bite of this beautiful salad!
Ingredients
Method
- Wash and dry the mixed greens, cherry tomatoes, and cucumber.
- Slice the cherry tomatoes and cucumber, and chop the hard boiled egg.
- In a large bowl, combine greens, tomatoes, cucumber, and egg.
- In a small bowl, whisk together olive oil, lemon juice, salt, and pepper.
- Pour the dressing over the salad and toss gently.
- Top with croutons before serving.