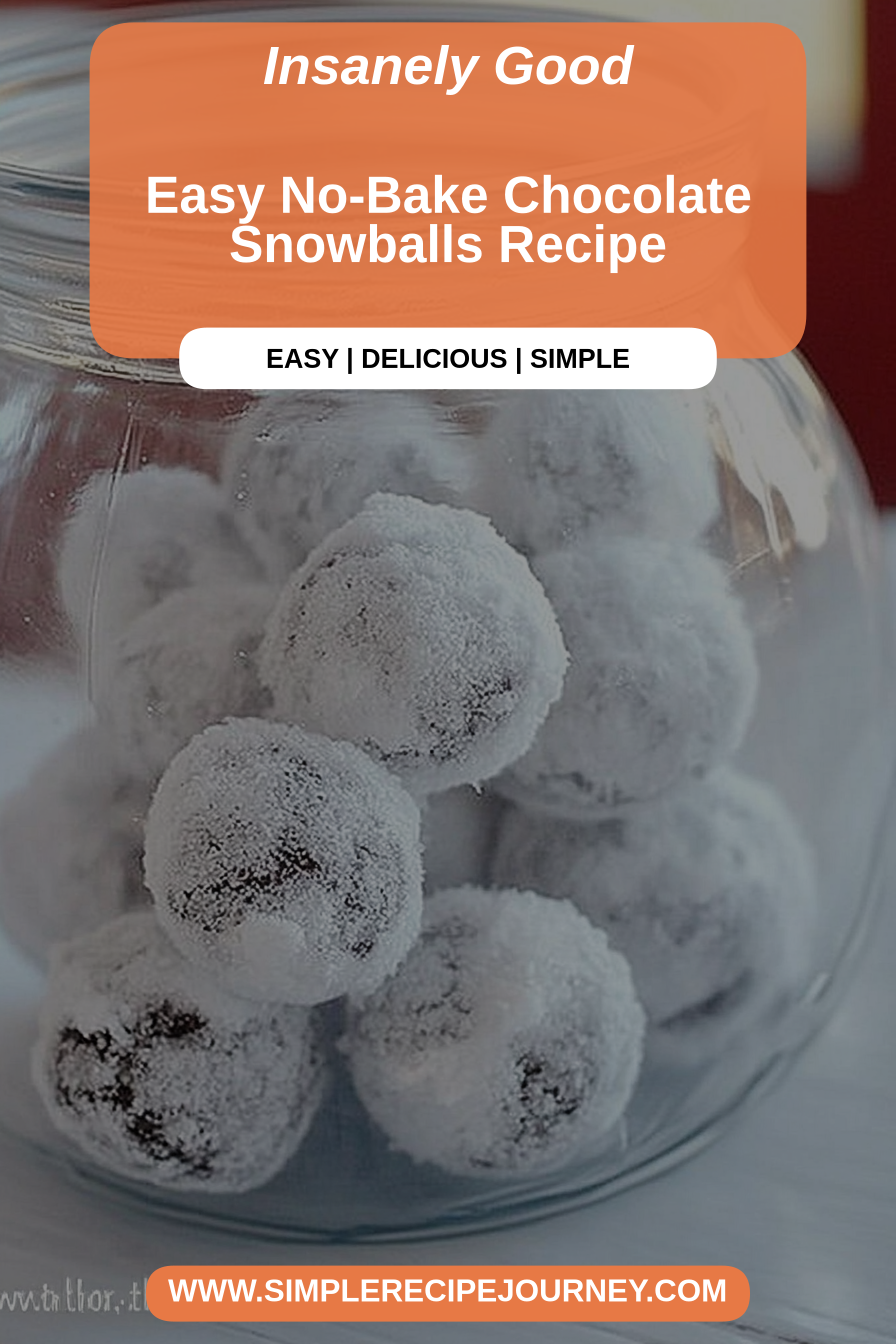
Easy No-Bake Chocolate Snowballs Recipe
If you’ve ever been cuddled up on a chilly evening with a warm blanket and a plate of something sweet, then you know exactly why I can’t get enough of snowballs. These nostalgic little treats are like bites of childhood happiness — soft, chewy, coated in sweet powder, and packed with just enough flavor to make your taste buds sing. I remember my grandma making these during the holidays, and the smell of coconut and vanilla filling the kitchen. There’s something so comforting about how simple ingredients come together to create something that tastes like a warm hug. Honestly, I make these on a whim even when I’m not feeling like baking because they’re that easy and irresistibly good. The best part? They disappeared in minutes at my house, and I always get requests for seconds. If you’re craving a cozy, homemade sweet that doesn’t require much fuss, stick around — I’ll share all my tips and tricks for making the perfect snowballs every single time.
What is snowball?
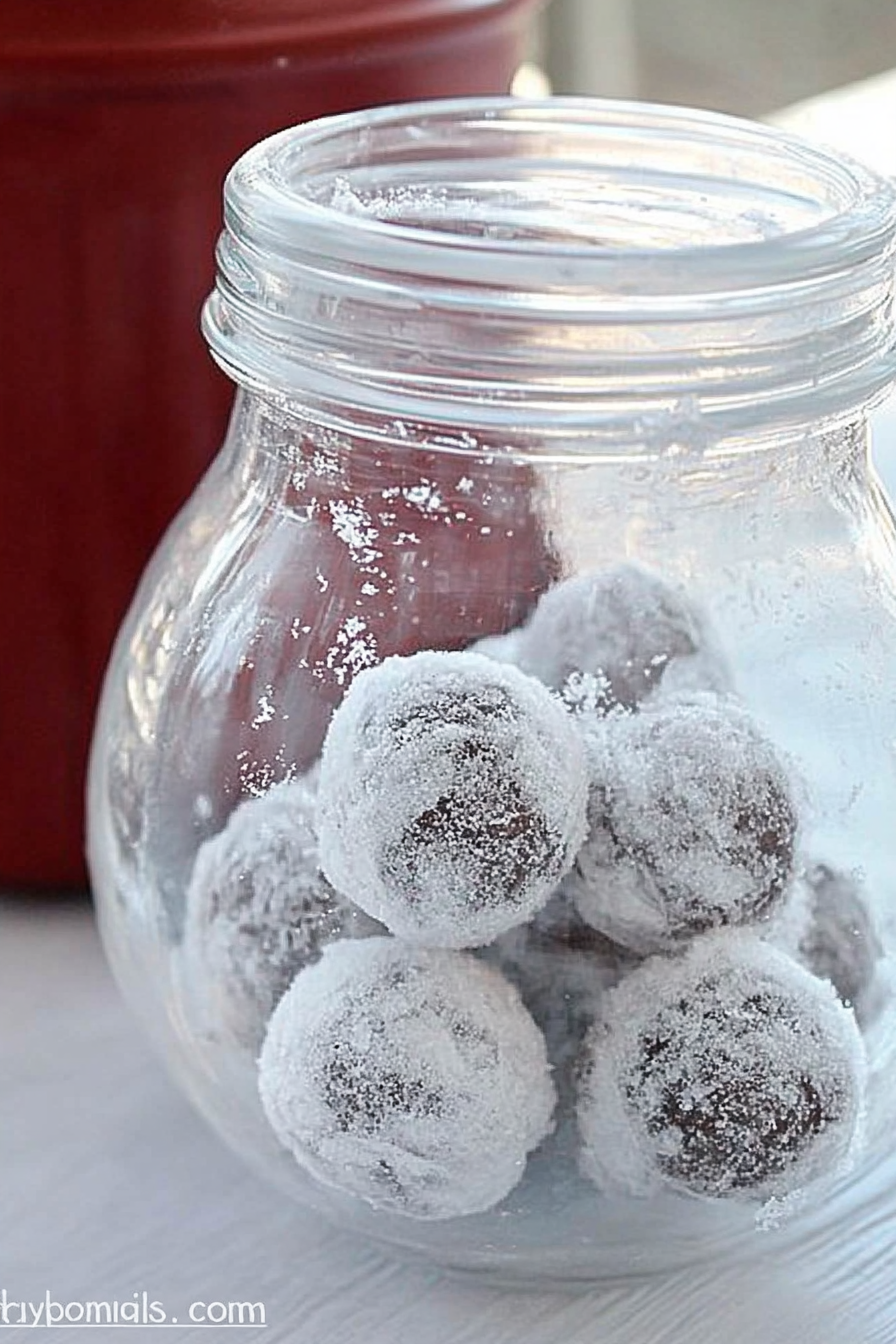
Think of snowballs as little coconut-infused cookies turned melt-in-your-mouth treats, rolled in powdered sugar until they look like tiny winter whimsies. The name is pretty spot-on because these bites resemble miniature snowballs — soft, round, and coated in a snowy white dusting. They’re also known as Russian tea cakes or Mexican wedding cookies in some circles, but my family just called them snowballs, and that’s what stuck. These sweet treats are essentially a tender cookie dough that’s rolled into balls, baked to perfection, and then coated in powdered sugar while still warm so the coating sticks like magic. It’s an old-fashioned recipe that’s been handed down through generations, and honestly, it’s one of those classics that never goes out of style. Think of them as the lovechild of a cookie and a truffle — rich, sweet, and totally addictive.
Why you’ll love this recipe?
What I love most about these snowballs is their simplicity — you don’t need fancy ingredients or a complicated kitchen skills to pull them off. Just a handful of pantry staples: butter, flour, sugar, coconut, and a little vanilla for that warm, inviting aroma. They’re budget-friendly, and because they’re small, they’re perfect for sharing or packing into a cookie box as a gift. They’re also seriously versatile. Want to add a splash of almond extract instead of vanilla? Go for it. Prefer shredded pecans or walnuts? Toss them in! My kids ask for these all the time, especially around the holidays, when the house smells like coconut and vanilla. The texture is what seals the deal — they’re tender, crumbly, with a melt-in-your-mouth quality that you just can’t stop nibbling on. Plus, they’re kinda foolproof, which means I’ve made these at the last minute when unexpected guests arrived, and they always seem to steal the show. What makes this recipe stand out is how nostalgic it feels — it’s a little piece of comfort, wrapped in a tiny snowy coat.
How do you make snowballs?
Quick Overview
This recipe is all about simplicity. Mix softened butter with powdered sugar and vanilla until fluffy, then gently fold in the flour and shredded coconut. Form into little balls, bake until just golden, and coat in powdered sugar right out of the oven. If you do this right, you’ll end up with tender, coconut-kissed bites that melt in your mouth. The secret is not overbaking — you want them to stay soft inside, so keep an eye on the clock. Honestly, once you get the hang of shaping and rolling them in sugar, these will become your go-to treats for any special occasion or just an indulgent afternoon. I love to make a double batch because they disappear faster than I can say “snowballs.”
Ingredients
For the Main Batter:
– 1 cup (2 sticks) unsalted butter, softened (trust me, don’t use melted butter here)
– ½ cup powdered sugar (for that melt-in-your-mouth sweetness)
– 1 teaspoon vanilla extract (pure vanilla makes a difference)
– 2 cups all-purpose flour (sifted if you want a smoother batter)
– 1 cup sweetened shredded coconut (the kind in the baking aisle)
For the Filling:
– Additional shredded coconut for rolling (or cocoa powder if you want a twist)
– Optional: chopped nuts like pecans or walnuts for a crunch
For the Glaze:
– Extra powdered sugar, mixed with a splash of milk or water for a quick glaze (optional but pretty for presentation)
Step-by-Step Instructions
Step 1: Preheat & Prep Pan
Set your oven to 350°F (175°C) and line a baking sheet with parchment paper or a silicone mat. It saves a lot of cleanup and prevents sticking. While it’s warming up, I always do this when I want to start baking without any fuss. Just have your ingredients ready — pre-measured makes the process smooth.
Step 2: Mix Dry Ingredients
In a medium bowl, whisk together the flour and shredded coconut. Sifting the flour isn’t necessary, but it helps avoid lumps and ensures a fluffier texture, which I highly recommend if you want light, tender snowballs. This step is crucial because it distributes everything evenly and sets the foundation for that perfect crumb.
Step 3: Mix Wet Ingredients
In a large mixing bowl, beat the softened butter with the powdered sugar and vanilla until it’s nice and fluffy — like pale, creamy goodness. I use a hand mixer, but a stand mixer works just as well. The smell of vanilla combined with butter is enough to make anyone want to sneak a bite!
Step 4: Combine
Gradually add the dry mixture into the wet ingredients, mixing just until combined. The dough should come together easily but not be sticky. Chill the dough for about 15 minutes if it feels too soft to handle, which makes rolling easier.
Step 5: Prepare Filling
Take small spoonfuls of the dough, about one tablespoon each, and roll into tight balls. If you want to add a little twist, press a tiny piece of walnut or pecan into the center — this is optional but fun! Place the formed balls onto your prepared baking sheet, spacing them a couple of inches apart.
Step 6: Layer & Swirl
Bake for about 12-15 minutes, or until just barely golden on the bottom. While warm, roll each snowball in extra shredded coconut or powdered sugar for that snowy look and extra sweetness. You can do this twice if you want an extra thick coating — trust me, it’s worth it!
Step 7: Bake
Once out of the oven, let them cool on a wire rack for about 5 minutes. They’ll be soft and fragile right out of the oven, so handle gently. They set up as they cool, acquiring that perfect melt-in-your-mouth texture.
Step 8: Cool & Glaze
If you want a shiny, slightly sticky top, mix a little powdered sugar with milk and drizzle or dip the cooled snowballs. I like mine simple with just the powdered sugar coating, but a quick glaze adds a lovely finishing touch.
Step 9: Slice & Serve
Not much slicing required! Just grab one or two, maybe dust with a bit more coconut or cocoa powder, and enjoy. I prefer them at room temperature, but they’re equally good chilled for a more firm bite. Either way, trust me on this: they taste even better the next day!
What to Serve It With
Snowballs are pretty versatile, so I like to serve them in a few fun ways. For breakfast, alongside your coffee or tea, they pair beautifully with a hot mug of vanilla latte or a simple black coffee — the kind that makes your morning special. When I do brunch, I sometimes arrange them on a pretty platter with fresh berries or a bit of whipped cream; they make a festive addition that everyone loves. As an after-dinner treat, I serve them with a scoop of vanilla or coconut ice cream for a mini snowball sundae — so indulgent! And on cozy days, I throw a few in a tin and stash them for quick snacks or a friend-drop-off gift. Honestly, there’s no wrong way to enjoy these little bites of joy. Every time I make them, I feel like I’m sharing a secret family treasure, and my friends act like I’ve handed them a slice of heaven.
Top Tips for Perfecting Your Snowballs
Over the years, I’ve learned a few tricks to make these even better. First, don’t overmix your dough — it can make the cookies tough, and we want them tender and crumbly. If the dough feels sticky, chill it longer or dampen your hands slightly for easier rolling. Speaking of rolling, I like to wear latex gloves — it keeps the dough from sticking to my fingers and gives a more uniform shape. Want a richer flavor? Toss in some finely chopped nuts or a dash of cinnamon into the dough — I’ve tested both, and they add a lovely twist. When it comes to baking, every oven is different. I recommend starting at 12 minutes and watching for just a hint of golden on the edges; they should be soft inside. For a more dramatic “snowy” coating, dust the snowballs with powdered sugar while they’re still warm. If you prefer a gloss or more stability, a quick glaze with milk and powdered sugar works beautifully. Trust me, every little tweak improves the process, but honestly, these treats are nearly foolproof. Just don’t forget to taste-test one fresh out of the oven — they’re the star of any snack or holiday plate. My biggest lesson? Keep the dough cool, handle gently, and don’t rush the baking — patience pays off with these delicate bites.
Storing and Reheating Tips
These snowballs stay fresh surprisingly long, which is wonderful for making ahead or sharing. Once cooled completely, store them in an airtight container at room temperature — they’ll keep fresh for about 3 days. I usually put a sheet of parchment paper between layers to prevent sticking or crushing. For longer storage, you can refrigerate them for up to a week or freeze them for up to 3 months. To freeze, wrap each snowball individually in plastic wrap, then store in a zippered bag. Thaw at room temperature for about 20 minutes before serving. If you want to add a fresh dusting of powdered sugar after freezing, do it just before serving so they look pristine. Reheating isn’t necessary — these are best enjoyed at room temperature or slightly chilled. If you prefer them warm, give them a quick 10-second zap in the microwave (careful not to overdo it — they’ll get too soft). Just keep in mind that the glaze or coating might soften a tad after refrigeration, but the flavor remains just as delightful.
Frequently Asked Questions
Final Thoughts
Every time I make these snowballs, I’m reminded of lazy Sunday afternoons and holiday gatherings with loved ones. They’re simple, nostalgic, and honestly, so satisfying to make. There’s a warmth in rolling the dough into little balls, baking, and then dusting them in powdery sugar — it’s like crafting tiny snow-covered clouds that taste like a sweet hug. Plus, they’re almost impossible to mess up, which makes them perfect for novice bakers or busy families. I love that they keep well in a jar for days, making them a handy little treat to grab whenever the craving hits. Trust me, once you master this recipe, it’s one you’ll turn to again and again, and I promise, no one can resist these melt-in-your-mouth bites. Happy baking — and I can’t wait to hear how yours turn out! If you try any fun variations or add your own twist, be sure to drop a comment — I’d love to hear!
Snowballs
Ingredients
Method
- Add almonds to your food processor and pulse until ground.
- Add dates, cocoa powder, honey, and water. Mix until it forms a sticky mass. If it seems too dry, add a little water, 1 tsp at a time.
- Wash hands and, using damp hands, measure 1 tbsp of the mixture and roll into a ball. Set balls on parchment paper.
- Put confectioner's sugar in a bowl.
- Roll balls in your hand and then roll in sugar.
- Store in the fridge for up to a week.