Easy Overnight Oats Recipe for a Healthy Start
Have you ever had one of those mornings where nothing beats the smell of freshly brewed coffee and a cozy bowl of something warm and nourishing? Well, let me tell you, overnight oats have been my secret weapon for mornings like that. I remember the first time I tried it—I was skeptical, thinking it sounded too simple to be good. But once I woke up to that creamy, slightly sweet, and oh-so-satisfying bowl waiting for me, I was hooked. It’s basically the breakfast equivalent of a hug in a jar! Plus, it’s so versatile and forgiving—you can customize it endlessly, which is a huge bonus for me and my busy family. My kids ask for this all the time, and I love that I can make it the night before, so I wake up feeling like I’ve already won the breakfast game. Honestly, it’s a lifesaver on busy nights when I’ve got a million things to do. Trust me on this: once you get into the overnight oats groove, it’ll become your go-to for mornings that need a little extra comfort.
What is overnight oats?
Think of overnight oats as a no-cook, fuss-free way to enjoy a hearty, nutritious breakfast. It’s essentially rolled oats soaked in milk or a milk alternative, left in the fridge overnight. When you wake up in the morning, the oats turn wonderfully creamy—like a cross between pudding and cereal—absorbing flavors and getting that perfect soft texture. The name says it all: you prepare it the night before, so all you have to do in the morning is give it a quick stir and add your favorite toppings. It’s a concept that’s been around for ages in various forms, but it exploded in popularity over the last few years because it’s so practical. Think of it as a super-charged, healthy grab-and-go breakfast. I love how adaptable it is—whether you like it sweet, fruity, or even savory, overnight oats can handle it all. And the best part? You can prep multiple jars at once, making mornings way less stressful and a lot more delicious.
Why you’ll love this recipe?
What I love most about overnight oats is how unbelievably customizable and effortless it is. This little jar of goodness is packed with flavor, and you can tweak it to suit your mood or what’s in the pantry. For example, I’m obsessed with adding ripe bananas and a sprinkle of cinnamon—it smells like fall in a bowl—and my kids go wild for berries and a drizzle of honey. The taste is rich, satisfying, with just enough sweetness to start your day on the right foot. Plus, it’s kind to your wallet: oats are cheap, and you probably have most of the toppings already in the fridge. Another reason I keep going back to this recipe is its versatility. You can make it dairy-free using almond, coconut, or oat milk, and it still comes out just as creamy. It’s perfect for busy mornings when you don’t want to think too hard but still crave something wholesome. And, honestly, I love how it tastes—creamy, slightly chilled, with a subtle caramel-like flavor from the oats that’s just irresistible. It’s a healthful treat that can taste indulgent without any guilt. Trust me, once you start making overnight oats, they’ll become your breakfast BFF for sure!
How do I make overnight oats?
Quick Overview
Making overnight oats is as simple as mixing oats with your choice of milk, adding a little sweetener if you like, and tossing in your favorite extras. Then, you just pop it in the fridge overnight, and in the morning, you wake up to a luscious, ready-to-eat breakfast. The magic happens because the oats soak up all the creaminess and flavors while you sleep—no need to cook or fuss over it. One of the best parts? You can make a batch on Sunday and have breakfast ready for the entire week. It’s like having your breakfast ninja in the fridge—so easy, so smart, and way more satisfying than cereal in a box.
Ingredients
For the Main Batter:
- 1 cup rolled oats (gluten-free if needed, steel-cut oats don’t work as well for this)
- 1 cup milk or milk alternative (almond, coconut, oat milk—whatever you prefer)
- 1-2 tablespoons honey or maple syrup (adjust for sweetness)
- 1 teaspoon vanilla extract (because everything’s better with vanilla)
- A pinch of salt (just to heighten all the flavors)
For the Filling:
- Fresh berries, sliced banana, chopped apple, or anything seasonal
- Chopped nuts, shredded coconut, or chocolate chips for extra crunch
- A dash of cinnamon or nutmeg if you love warming spices
For the Glaze or Topping:
- Yogurt, nut butter, or a drizzle of honey
- More fresh fruit or a sprinkle of granola for added texture
Step-by-Step Instructions
Step 1: Preheat & Prep Pan
Honestly, you don’t even need to preheat anything here—just grab your favorite jars or containers with lids, and make sure they’re clean. I love using small Mason jars or reusable glass containers; they’re perfect for stacking in the fridge and transporting if needed. If you want to make one big batch, a good-sized bowl covered with a lid works too. The key is making sure everything is sealed tight so the oats don’t pick up any fridge odors or spill everywhere in the night. I always do this the night before—so in the morning, I don’t have to scramble for a dish, and I can just grab my jar and go.
Step 2: Mix Dry Ingredients
In a separate bowl, I mix the oats with a pinch of salt. I find this helps develop flavor and keeps everything balanced. For a smoother texture, I like to whisk my oats first because it prevents clumping when I add liquids later. Once done, I set this aside for a moment.
Step 3: Mix Wet Ingredients
In a small jug or bowl, I combine the milk with vanilla, honey, or maple syrup. I give it a good whisk until everything’s mixed and slightly frothy. It’s a simple step, but it makes a huge difference—trust me. Warm or room temperature milk helps the oats absorb better, so I always let it sit out for a few minutes if it’s straight from the fridge.
Step 4: Combine
Pour the wet mixture over the oats and stir well. I try to make sure each oat is coated evenly. Sometimes, I gently tap the jar on the counter to settle everything—this way, it’s uniformly soaked and ready to go. No overmixing, just enough to blend everything smoothly.
Step 5: Prepare Filling
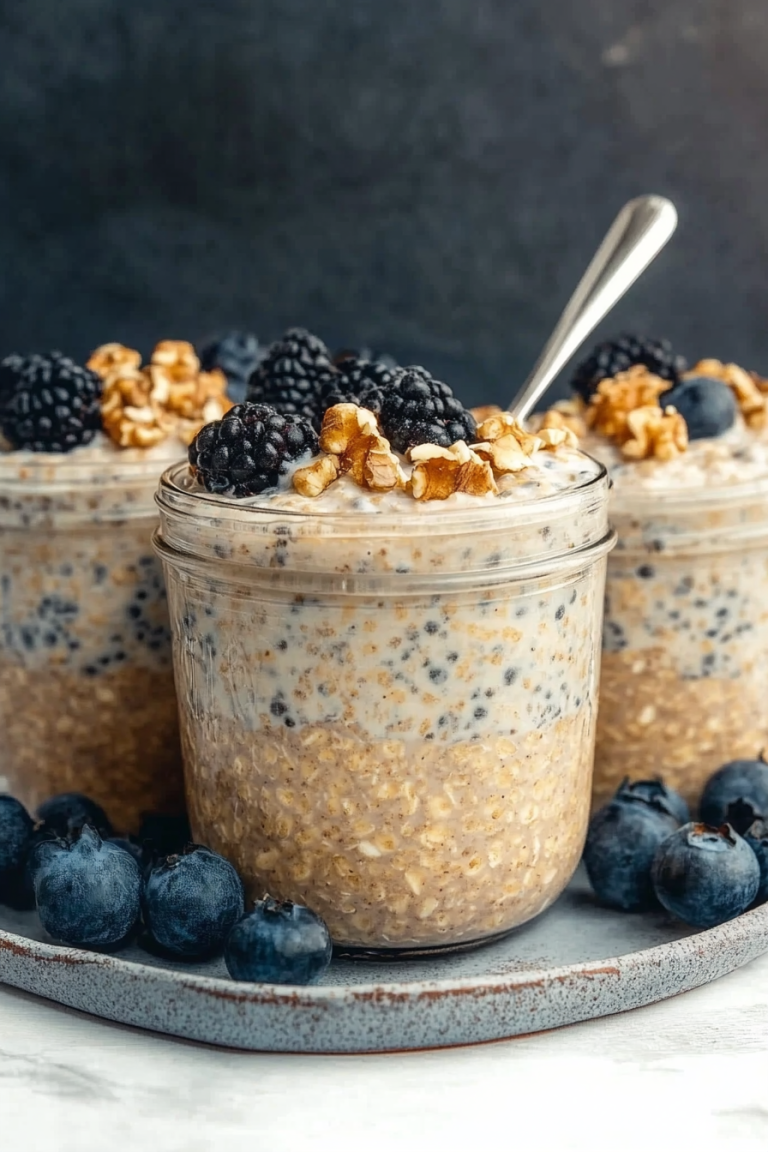
If you’re adding fruit or extras, I usually layer them on top now or fold some into the mixture. For example, chopped strawberries or blueberries work beautifully, and I love adding a sprinkle of cinnamon in with the dry oats for extra flavor.
Step 6: Layer & Swirl
Once your oats and filling are in the jar, I love swirling a bit of jam, nut butter, or a spoonful of yogurt into the mix for a visual pop. This not only looks pretty but adds a flavor surprise in every bite. If I’m feeling fancy, I’ll layer different fruits or toppings for a Instagram-worthy finish.
Step 7: Bake
No baking here! Just seal the jar tight and pop it into the fridge. If you’re making a big batch, I usually let it sit overnight for at least 6 hours—though most people do a full 8 hours or more. The long soak is what gives the oats that perfect tender texture.
Step 8: Cool & Glaze
It’s more of a waiting game than actual baking—just make sure to give it a stir in the morning, add your favorite toppings or a drizzle of honey, and enjoy. If you want a glossy finish, a quick glaze of yogurt or a fruit compote works wonders.
Step 9: Slice & Serve
When you’re ready to dig in, give everything one last good stir or lift the lid and dig in directly from the jar. For presentation, I sometimes transfer it to a bowl and top with extra fruit or nuts. It’s cool, creamy, and the perfect way to start any day!
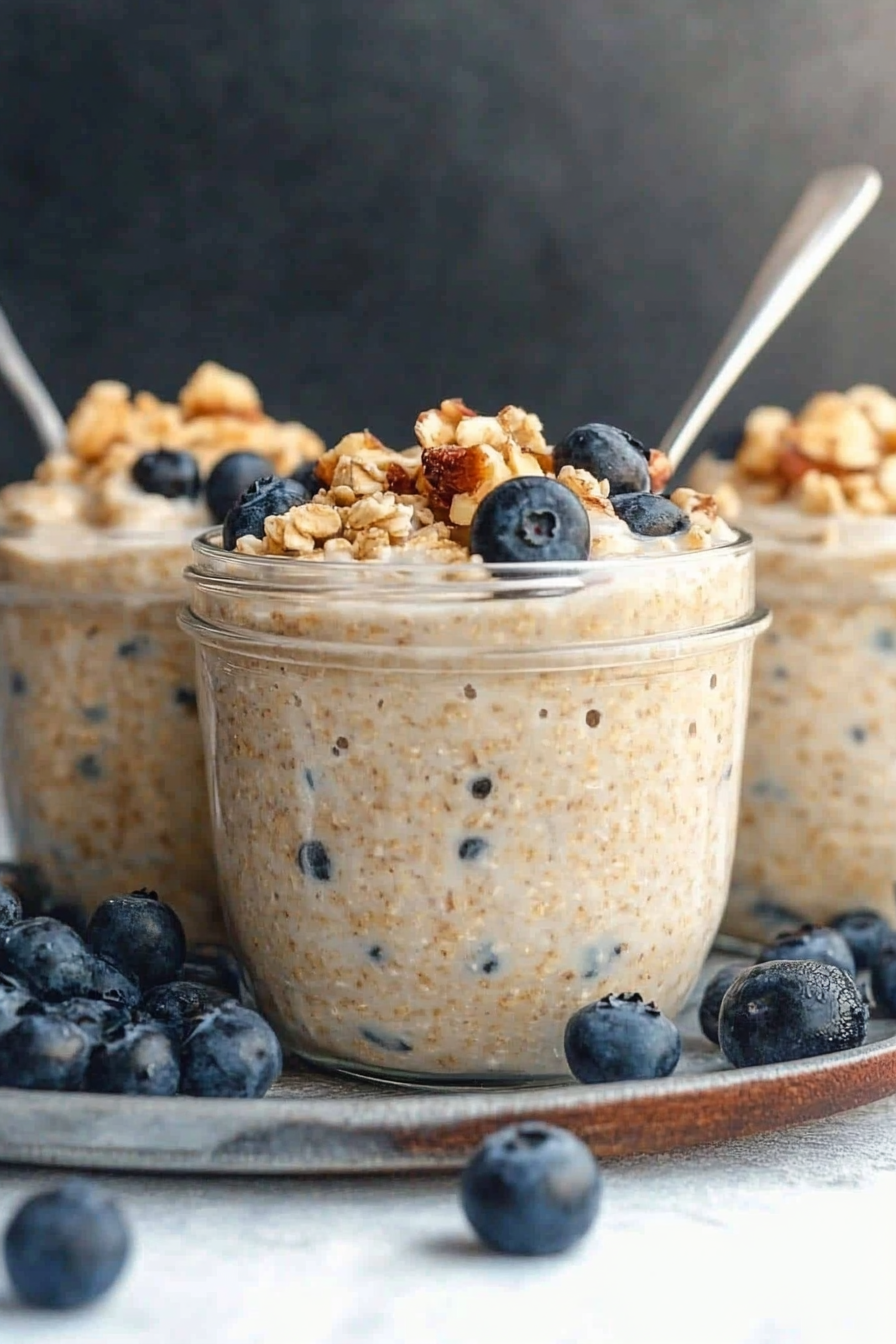
What to Serve It With
This breakfast can be dressed up or kept simple—whatever suits your morning vibe. I love enjoying overnight oats with a hot cup of coffee or a glass of fresh juice. Sometimes I add a dollop of Greek yogurt on top, a sprinkle of granola for crunch, or extra fresh berries if I want it more vibrant. My family loves it with a drizzle of honey and toasted almonds, especially when we’re craving a little warmth and crunch. During the weekends, I like adding chopped dates or a dusting of cocoa powder—something a little fancier, but still totally effortless. It’s also perfect when served as a make-ahead brunch item, paired with a fruit salad or a side of scrambled eggs. Honestly, once you’ve got the base made, the toppings are endless. It’s a breakfast that makes everyone happy, and I love that I can make it in advance so I’m not rushing around—my mornings just got a whole lot easier.
Top Tips for Perfecting Your Overnight Oats
Over the years, I’ve learned a few tricks that make every batch better than the last. First, always soak your oats long enough—at least 6 hours, but overnight is best. If your oats turn out too thick or gloopy, add a splash more milk and give it a gentle stir. I found that using full-fat milk makes it creamier, but almond or coconut milk still gives it that lovely richness. When it comes to layering flavor, I like to add in some chopped fruit or a spoonful of nut butter before refrigerating—this way, the flavors meld overnight, and every spoonful is a treat. Swirling a little jam or honey in the morning keeps it lively and bright. And don’t forget: experiment! I’ve tested making this with a splash of coconut cream—trust me, it made it even richer. Sometimes I add a pinch of cardamom or ginger for a cozy twist. The main thing I’ve learned? Good ingredients matter. Fresh fruit, quality oats, and a nice sweetener will make all the difference. And if you’re feeling creative, try swapping in different liquids—sometimes, I do half coconut milk and half regular milk for the ultimate tropical vibe. This recipe is forgiving, flexible, and endlessly adaptable. Honestly, I’ve made this dozens of times, and it never fails to brighten my morning.
Storing and Reheating Tips
Once you’ve made your overnight oats, there are a few ways to keep them fresh and tasty for the week. If you’re enjoying them within the first 24 hours, just keep them covered in the fridge—airtight containers are a must to prevent any fridge odors from seeping in. They’ll stay good for up to 3 days, but I find best flavor and texture when eaten within 48 hours. If you want to prep ahead longer, you can freeze individual jars—just leave some space at the top for expansion, and thaw overnight in the fridge. When you’re ready to eat, give it a good stir, add fresh toppings, or even warm it up a little if you prefer a hot breakfast—just microwave for about 30 seconds to 1 minute, and it’ll be just as comforting as freshly cooked oats. A quick note: if you add ingredients like yogurt or fresh fruit, I’d suggest waiting to do that until right before serving to keep the texture at its best. Overall, I find that overnight oats are pretty forgiving—adapt to your schedule and tastes, and you’ll always have a wholesome breakfast at your fingertips.
Frequently Asked Questions
Final Thoughts
If you haven’t jumped on the overnight oats train yet, I really think you’re missing out on a breakfast that’s simple, nourishing, and endlessly adaptable. Once you get the hang of it, it’s like having a mini fridge chef that makes mornings easier—and tastier! I love how it can feel indulgent with just a few toppings or kept light and fresh with berries and a squeeze of lemon. Plus, it’s such a budget-friendly way to start your day—no fancy ingredients required. Whether you’re rushing out the door or enjoying a lazy Sunday morning, these oats have your back. If you give it a try, I’d love to hear what flavor combinations you come up with! Drop a comment, share your photos, and don’t be shy with the toppings—go wild! Happy baking, or rather, happy soaking, and I can’t wait to see how yours turn out—this recipe is a keeper in my book and I bet it will be in yours too!
Simple Overnight Oats
Ingredients
Method
- Place all ingredients into a jar, shake well, cover, and refrigerate overnight.
- In the morning, stir the oats and add your favorite toppings such as additional nuts or fruit before serving.