Easy Pan-Seared Chicken Breasts
There’s just something about a juicy, tender chicken breast cooked right on the stove that feels like a warm hug after a long day. I remember the first time I tried making stove-top chicken breasts — I was so tired of dry, flavorless poultry that I almost gave up on getting it right. But once I cracked the code, I realized how easy and fuss-free it is. No baking, no fussing with oven temperatures — just a simple skillet and a handful of ingredients, and you’re set. Plus, this recipe has become my go-to on busy weeknights because it’s faster than waiting for the oven to preheat! My kids ask for this all the time, especially with a drizzle of garlic butter or a squeeze of lemon. Honestly, it’s one of those recipes that’s so good, I’d happily serve it for date night or casual family dinners alike. Trust me — once you get this down, it’ll be your secret weapon for perfectly cooked chicken every single time.
What is a stove top chicken breast?
Think of stove-top chicken breasts as the ultimate quick fix for a satisfying meal. It’s essentially chicken breasts pan-seared in a skillet until golden brown and cooked through, with only a handful of ingredients. The name says it all — you cook it right on your stovetop, no oven required. The beauty of this method is that it keeps the chicken incredibly moist and tender, unlike baked versions where you risk drying out the meat. It’s a flexible, forgiving process that makes it easy to customize with herbs, spices, or sauces. Whether you’re slicing it for salads, chopping it into pieces for tacos, or serving whole with your favorite sides, stove-top chicken breasts are a super versatile staple that belongs in every home cook’s arsenal. I love the simplicity because, honestly, I don’t want to spend hours fussing in the kitchen — I want flavor, quickness, and a meal everyone will enjoy.
Why you’ll love this recipe?
What I love most about stove-top chicken breasts is how incredibly forgiving and adaptable it is. The flavor profile can go from classic garlic and herbs to spicy Cajun or lemon pepper in minutes. This one’s a lifesaver on busy nights when you’re craving something wholesome but don’t want leftovers or takeout. The smell alone when you’re searing the chicken fills the kitchen and instantly makes everyone hungry. Plus, it’s budget-friendly — simple chicken breasts are often on sale, making this recipe easy on the wallet. I also love how versatile it is: slice it up for salads, toss it in pasta, or serve it plain with a side of roasted vegetables. My kids actually ask for seconds, and I’ve tested this with all kinds of seasoning combinations, even a honey-mustard glaze that’s a total hit. Honestly, once you master this technique, you’ll want to cook chicken this way all the time. It’s a go-to that never fails, and best of all, it’s just so *good* — juicy, flavorful, and incredibly satisfying.
How do you cook a chicken breast on stove top?
Quick Overview
This recipe is all about keeping things simple yet flavorful. I start by seasoning the chicken breasts with salt, pepper, and a few herbs or spices. Then, I heat a skillet over medium-high heat with a little oil until it’s hot enough to give a nice sizzle. The chicken goes in, and I sear it for about 6-7 minutes per side, depending on thickness, until golden and cooked through. The key is not to move it around too much — patience here helps develop a beautiful crust. Once done, I let it rest for a few minutes before slicing or serving. This method guarantees a juicy interior with a crisp exterior. It’s fast, foolproof, and I never have to worry about dry chicken again!
Ingredients
For the Chicken:
– 4 boneless, skinless chicken breasts (preferably organic or free-range for the best flavor)
– 1 teaspoon salt
– ½ teaspoon black pepper
– 1 teaspoon garlic powder or minced fresh garlic
– 1 teaspoon paprika (for color and a smoky touch)
– 2 tablespoons olive oil or vegetable oil
Optional Seasonings & Variations:
– Lemon zest or juice for brightness
– Fresh herbs like thyme, rosemary, or parsley
– Chili flakes for some heat
– A splash of white wine or chicken broth for deglazing and extra flavor
Step-by-Step Instructions
Step 1: Preheat & Prep Pan
Start by placing a large skillet over medium-high heat. Add the oil and let it heat until shimmering — you want it hot enough that when you add the chicken, it sizzles immediately. Pat your chicken breasts dry with paper towels — this helps them sear properly and prevents steaming. Season both sides with salt, pepper, garlic powder, and paprika, or your favorite spice blend. Trust me, seasoning early makes all the difference in flavor.
Step 2: Mix Dry Ingredients
Mix your dry spices in a small bowl so they’re evenly distributed. Applying seasoning evenly ensures each bite is packed with flavor. I always do this step before seasoning the chicken to make the process quick and mess-free. Plus, I like to taste-check my seasoning blend, adding more garlic or paprika if I feel it needs a boost.
Step 3: Mix Wet Ingredients
If you’re adding ingredients like lemon juice or broth, do that in a separate bowl or directly onto the chicken just before cooking. Sometimes I splash a bit of lemon juice over the chicken after searing for an acid touch that brightens everything up.
Step 4: Combine
Place the chicken breasts in the hot skillet, laying them gently away from you to avoid splatters. Don’t move them right away — let them sit undisturbed for about 6-7 minutes; this allows a nice crust to form. Flip carefully using tongs or a spatula and sear the second side for another 6-7 minutes. The key is to avoid flipping too often or poking around — patience pays off for that perfect crust.
Step 5: Prepare Filling (Optional)
If you’re feeling extra fancy, prepare a quick herb butter or a garlic-infused oil to brush on right after cooking. This adds a lovely sheen and extra flavor.
Step 6: Layer & Swirl
Once cooked, let the chicken rest on a cutting board for 5 minutes. During this time, the juices redistribute and stay locked inside. If you like, sprinkle with chopped herbs or squeeze fresh lemon over the top for a lively flavor burst.
Step 7: Bake
This part is optional — I usually stick with the stovetop, but if I want a slightly extra crispy outside, I pop it into a preheated oven at 375°F (190°C) for 5-8 minutes after searing. Just to make sure it’s cooked through without overdoing it.
Step 8: Cool & Glaze
Let the chicken breathe for a few minutes before slicing. If you’re adding a glaze or sauce, brush it on just before serving for the best gloss and flavor. My favorite is a honey mustard glaze or a balsamic reduction — so good!
Step 9: Slice & Serve
Slice against the grain for maximum tenderness. Serve it with your favorite sides — roasted veggies, mashed potatoes, or even atop a fresh salad. Bright, flavorful, and so satisfying.
What to Serve It With
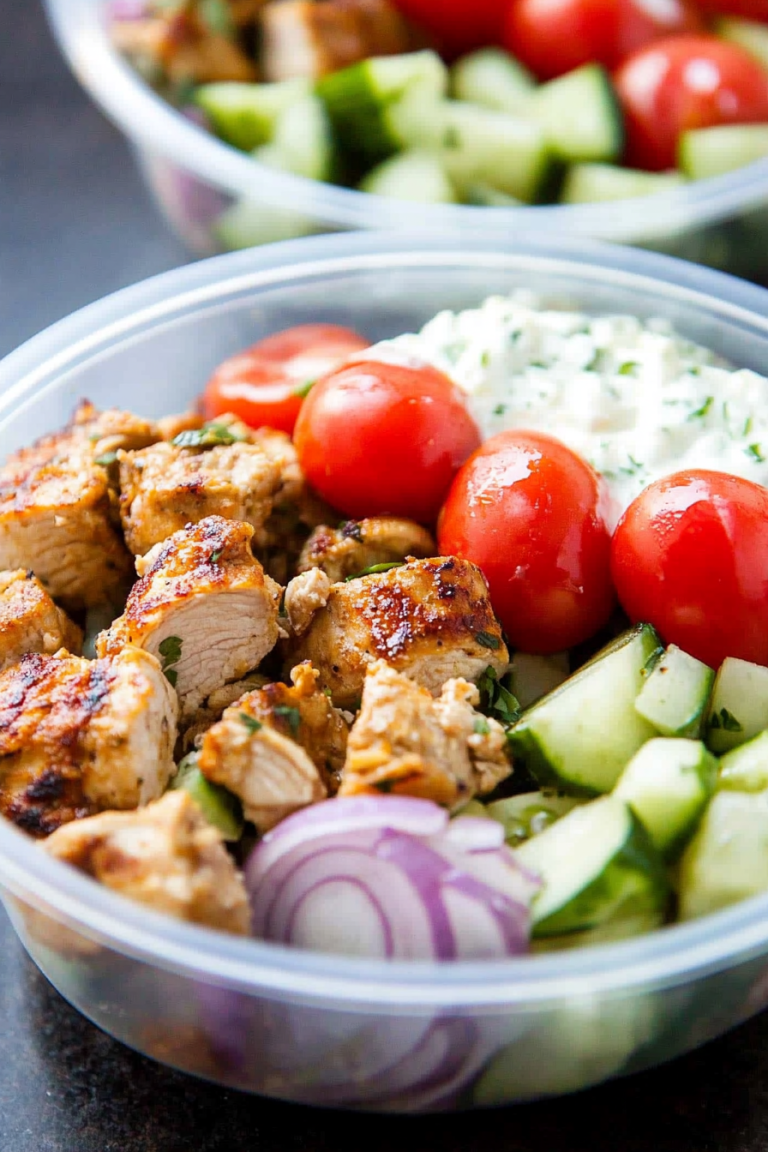
This chicken is so versatile, I almost feel guilty calling it just a “main.” For breakfast, I love slicing it onto a breakfast burrito or adding it into an egg scramble — it’s like a protein-packed secret weapon. For brunch, serve it sliced on a platter with fresh tomatoes and crusty bread, maybe with a glass of chilled white wine or a spritz of sparkling water with lemon. It makes a perfect, light lunch too — shredded into a salad with greens, feta, and a lemon vinaigrette. For dinner, serve alongside roasted potatoes, steamed green beans, or a simple pasta tossed in olive oil and herbs. My family loves to dip the leftovers in a bit of salsa or even crumble it into tacos — those quick and easy meals that everyone loves. This recipe is the backbone of so many delicious ideas, and it’s become a staple in my kitchen for how effortlessly it elevates a simple meal.
Top Tips for Perfecting Your Stove-Top Chicken Breasts
After making this dozens of times, I’ve learned a few tricks to ensure your chicken always turns out perfect:
- Zucchini Prep: If you want to use zucchini in your dish, grate it and squeeze out excess moisture with a paper towel. This prevents sogginess and keeps your chicken crispy.
- Mixing Advice: Don’t overmix your seasoning — just sprinkle or rub it in gently. Overworking the chicken can lead to tougher meat. Trust the sear to do the work.
- Swirl Customization: For visual appeal, try swirling sauces or herbs into the pan just after searing — this infuses flavor and makes the dish look as good as it tastes.
- Ingredient Swaps: Swap chicken breasts for tenderloins or even thighs. Just adjust the cooking time accordingly. Thighs are more forgiving and stay juicy longer.
- Baking Tips: For extra crispness, try finishing the chicken in a hot skillet, then transferring it to the oven for the last few minutes. Keep an eye on the internal temperature—165°F (74°C) is the magic number.
- Glaze Variations: Experiment with different glazes — balsamic glaze, spicy sriracha honey, or even a quick teriyaki. Brush it on in the last few minutes for a shiny, flavorful finish.
My biggest lesson? Patience really makes the difference. Sealing in those juices and giving the chicken a rest time is what keeps it tender and succulent. The first few times I tried, I overcooked it or rushed the flip — now I just trust the time and focus on quality ingredients. And, of course, tasting as I go! That’s the secret to feeling confident every time you make it.
Storing and Reheating Tips
This chicken is so good the next day, I always cook extra. Store leftovers in an airtight container in the fridge for up to 3 days. It reheats beautifully in a skillet over medium heat or in the microwave. Remember to cover it loosely to keep it moist. If you’re planning to freeze it, wrap it tightly in plastic wrap and then foil, and it should keep for up to 3 months. Thaw in the fridge overnight before reheating. I usually add a splash of broth or water when reheating to keep it from drying out. And if you’re adding a fresh glaze or sauce, do that just before serving — it keeps everything shiny and flavorful. I’ve found that gently reheating and slicing allows the chicken to stay juicy, so don’t rush the process. Trust me, a well-stored piece of this stove-top chicken can taste just as delicious — if not better — the next day.
Frequently Asked Questions
Final Thoughts
There’s a certain satisfaction in mastering stove-top chicken breasts — it’s the kind of recipe that makes you feel like a culinary pro even on your busiest days. Juicy, flavorful, and downright forgiving, this technique opens the door to countless meal ideas without the fuss of roasting or grilling. Over the years, I’ve tweaked my approach, learning that patience and minimal fuss lead to the best results. It’s become my secret weapon for quick family dinners, last-minute guests, or even meal prepping for the week. I encourage you to experiment with seasonings, glazes, or side pairings — this is a blank canvas that’s just begging for your personal touch. So next time you’re craving something satisfying that’s easy to pull together, give this stove-top chicken a try. I’d love to hear what flavor combinations you come up with — leave a comment or share your pics! Happy cooking and even happier eating!
Easy Pan-Seared Chicken Breast
Ingredients
Method
- Preheat a large skillet over medium heat and add 1.5 tablespoons of vegetable oil.
- Pat dry the chicken breasts with paper towels and season both sides with salt, pepper, garlic powder, onion powder, basil, and paprika.
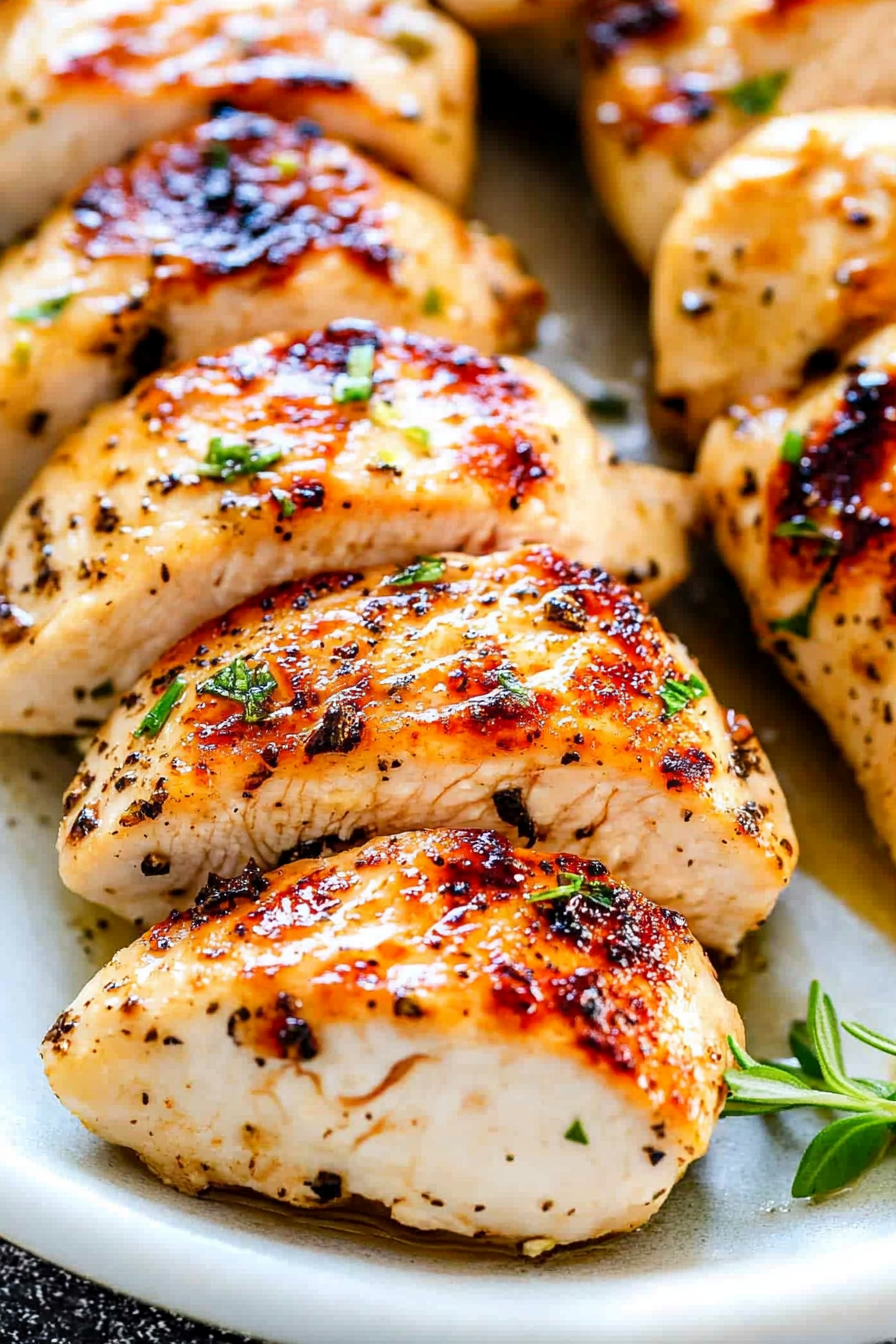
- Place the chicken breasts in the hot skillet and cook uncovered for 5-7 minutes on each side, until golden brown and internal temperature reaches 165F.
- Add 1 tablespoon of butter to the skillet during the last 2 minutes of cooking and baste the chicken to keep it moist.
- Remove the chicken from the skillet and let it rest for 5 minutes before slicing and serving.