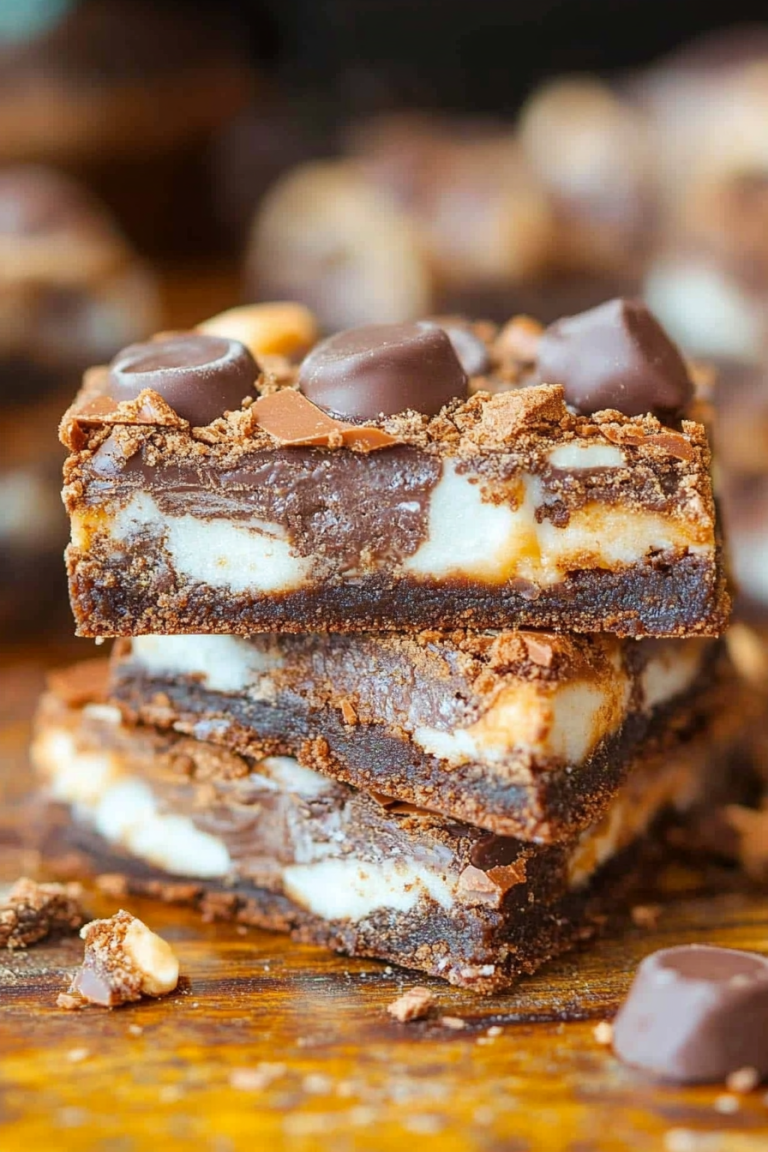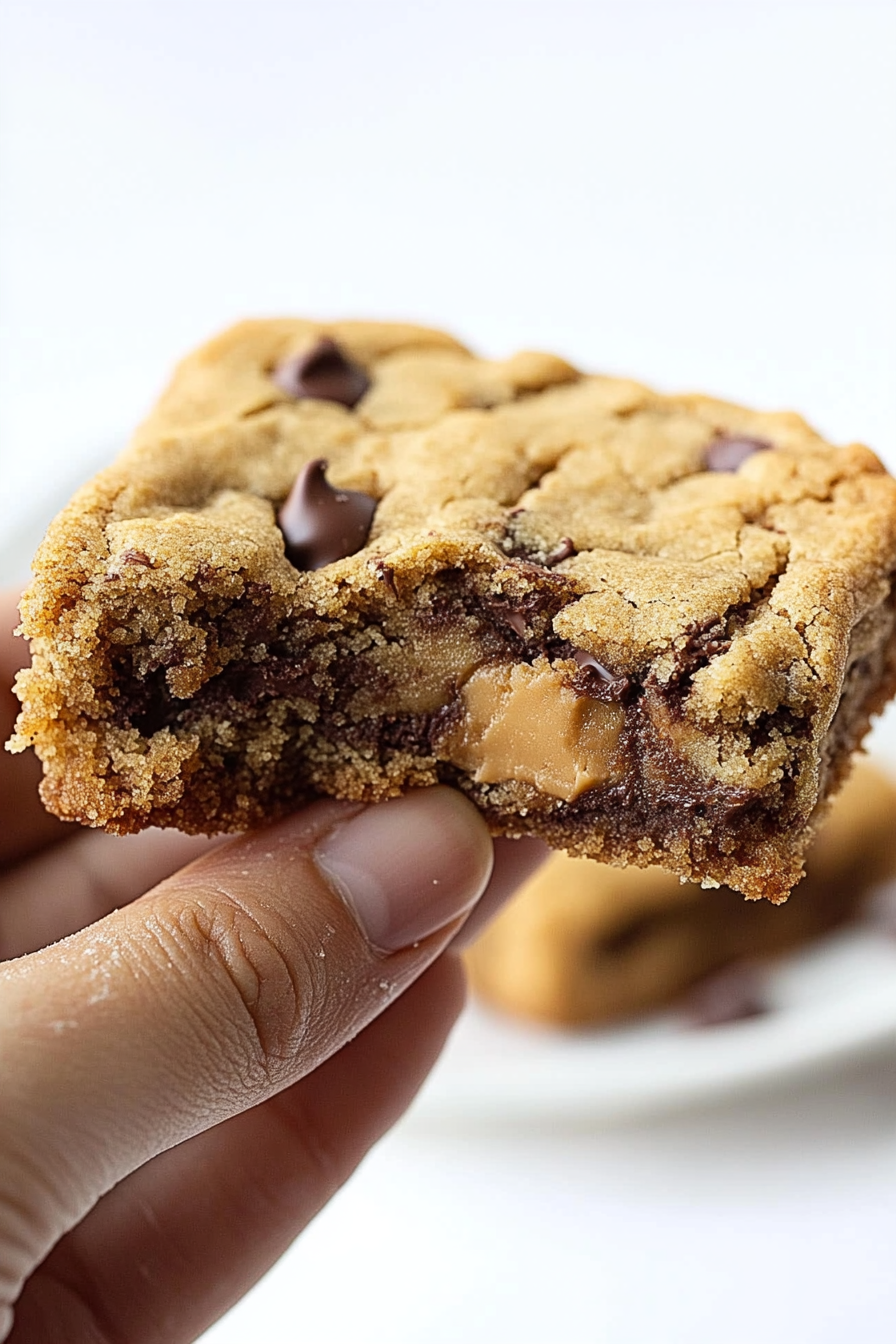
Easy Peanut Butter Chocolate Cookie Bars
There’s something about the combination of peanut butter and chocolate that instantly takes me back to childhood. Maybe it’s the smell of freshly baked cookies wafting through my grandma’s kitchen, or the way my fingers get all gooey from scooping out soft, nutty batter. These peanut butter chocolate cookies are a little piece of that nostalgic magic — rich, chewy, with just enough crunch on the edges and a melt-in-your-mouth tenderness inside. I always do this when I need a quick pick-me-up or when I want to impress friends with something both simple and indulgent. Honestly, I’ve made these countless times, and they never fail to disappear in minutes at my house. My kids ask for these all the time, and I love that I can whip up a batch without breaking a sweat. Trust me, once you try this recipe, it’ll become a go-to for lazy weekend afternoons or whenever you crave something sweet but don’t want to wait for a complicated dessert to bake—because these cookies are all about easy, cozy, homemade goodness. So grab your favorite peanut butter (smooth or chunky—your call!), and let’s get baking!
What is peanut butter chocolate?
Think of these peanut butter chocolate cookies as a perfect mash-up of creamy, nutty goodness and decadent chocolate bliss. They’re essentially soft, chewy cookies with a rich peanut butter flavor, touched with melty chocolate chips. The name itself says it all—peanut butter and chocolate—two ingredients that are basically best friends in the baking world. These cookies are inspired by the classic peanut butter cookies you see in bakeries, but with a delightful surprise—chocolate chips scattered throughout for that gooey, chocolatey punch. It’s a cookie that’s simple enough for beginner bakers, yet tasty enough to impress everyone at the party. I love that they strike a cozy balance between sweet and savory, making each bite feel like a warm hug. Think of it as your favorite childhood treat upgraded with a touch of luxury from chocolate—except you’re only using a handful of ingredients, and they come together in under 30 minutes. That’s the joy of these cookies—they’re quick, satisfying, and little bites of heaven in every mouthful.
Why you’ll love this recipe?
What I love most about these peanut butter chocolate cookies is how incredibly versatile and foolproof they are. They’re perfect for when you’re short on time but still want something baked from scratch that hits all the right notes. The flavor profile? Divine. Imagine a warm, buttery peanut butter flavor that’s complemented perfectly by pockets of melty chocolate chips—seriously, it’s like a hug in cookie form. And the best part? They’re super easy to make, with minimal ingredients that you probably already have in your pantry. No fancy equipment required. These cookies are also budget-friendly; you don’t need any special flours or complicated ingredients. My kids love to help mix the dough, and I’ve even tested this with different kinds of peanut butter—creamy, chunky, or even natural—and honestly, they all turn out delicious. What I appreciate most is their adaptability: you can dress them up with chopped nuts, sprinkle a little sea salt on top for contrast, or keep them classic. They’re great as a quick dessert, a snack for school lunches, or even as a cozy treat on lazy evenings. They’re simple, satisfying, and guaranteed to bring a smile—what’s not to love?
How do I make peanut butter chocolate cookies?
Quick Overview
This recipe is all about simplicity and speed. You start with mixing your wet ingredients—creamy peanut butter, sugar, and eggs—until smooth. Then you fold in your dry ingredients, like baking soda and a little salt, along with chocolate chips. No need for chilling or complicated steps. You scoop the dough onto a baking sheet, flatten slightly, and bake until golden around the edges. In just about 15 minutes, you’ll have warm, fragrant cookies ready to devour. What makes this method special is how forgiving it is—you really can’t mess it up. It’s perfect for last-minute cravings or when you want to whip up something homemade without fussing over complicated techniques.
Ingredients
For the Main Batter:
- 1 cup creamy peanut butter (natural or regular, just make sure it’s smooth enough to mix easily)
- ¾ cup granulated sugar (white or a mix of brown and white for extra depth)
- 1 large egg (at room temperature)
- 1 teaspoon vanilla extract (optional but adds a lovely aroma)
- ½ teaspoon baking soda
- ¼ teaspoon salt (or to taste)
For the Filling:
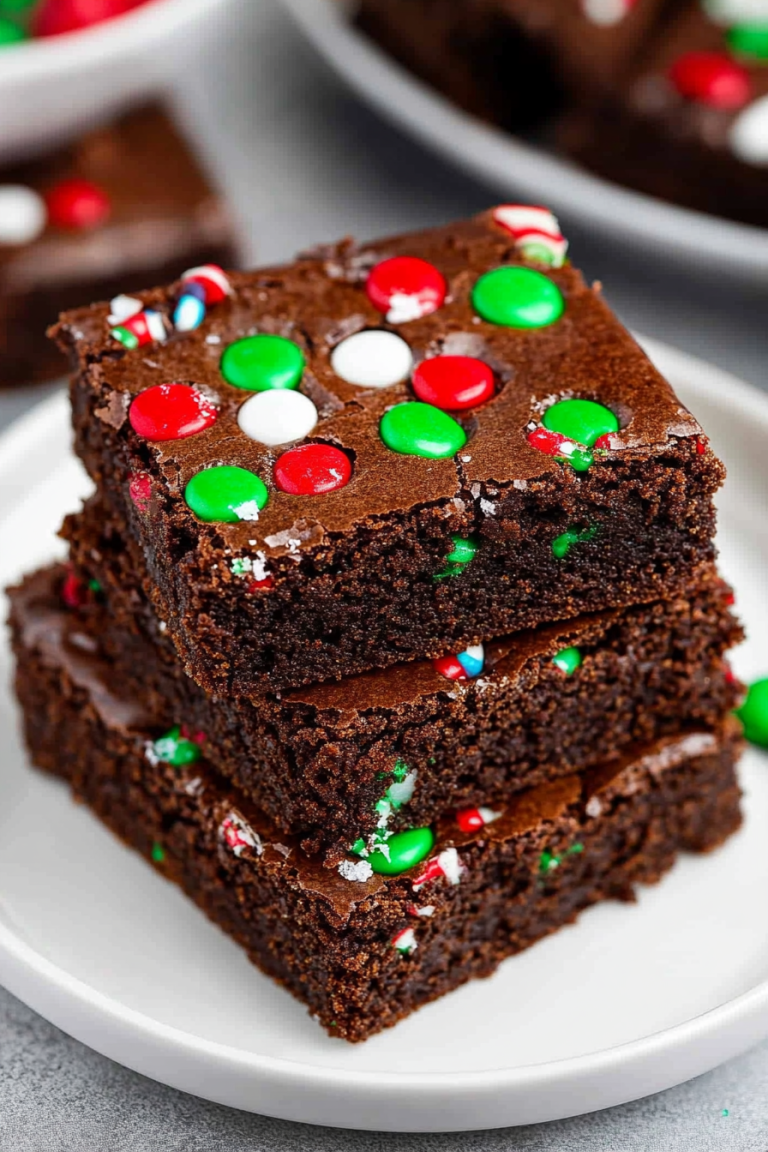
- ½ cup semi-sweet chocolate chips (or enjoy the bittersweet ones if you love a richer taste)
- Optional: chopped nuts or mini M&Ms for a fun twist
For the Glaze:
- ½ cup powdered sugar
- 1-2 teaspoons milk or cream
- A splash of vanilla or cocoa powder for extra flavor
Step-by-Step Instructions
Step 1: Preheat & Prep Pan
Set your oven to 350°F (175°C). Line a baking sheet with parchment paper or a silicone mat—trust me, this keeps those cookies from sticking and makes cleanup a breeze. If you’re feeling fancy, you can lightly spray the sheet with non-stick spray, but parchment is generally foolproof.
Step 2: Mix Dry Ingredients
In a small bowl, whisk together the baking soda and salt. This helps evenly distribute them so your cookies rise just right and don’t taste salty or bland. Then, set this aside.
Step 3: Mix Wet Ingredients
In a large bowl, beat the peanut butter, sugar, and egg until creamy and smooth. I always do this with a sturdy spatula or a handheld mixer for about 2 minutes—this step ensures everything blends beautifully. The mixture should look thick but still pourable, almost like frosting.
Step 4: Combine
Add the dry ingredients to the wet mixture gradually, folding them in gently. Be careful not to overmix—just combine until everything looks uniform. Overmixing can make the cookies dense instead of chewy, so gentle folding is the key here.
Step 5: Prepare Filling
Stir most of your chocolate chips into the dough, saving a handful for topping if you like. If you want a little crunch or extra oomph, chop some nuts and fold those in as well. The chocolate chips should be evenly dispersed, ready to melt slightly during baking.
Step 6: Layer & Swirl
Drop spoonfuls of dough onto your prepared baking sheet—about a tablespoon each. Depending on your mood, you can press down lightly to flatten or leave them ball-shaped. For that marbled look, sprinkle a few more chocolate chips on top before baking, then give them a gentle swirl with the back of a spoon if you’re feeling creative.
Step 7: Bake
Pop them into the oven for 10-12 minutes. Keep an eye on the edges—they should turn a lovely golden color. If you prefer chewier cookies, pull them out slightly earlier. For crispier edges, give them a little extra time—just don’t overbake lest they turn hard.
Step 8: Cool & Glaze
Once out of the oven, let the cookies cool on the baking sheet for at least 5 minutes. They’re fragile straight from the oven but will firm up as they cool. For an extra touch of sweetness, mix your powdered sugar glaze and drizzle it over the cooled cookies—this step is optional but makes them look super pretty and taste even better.
Step 9: Slice & Serve
These cookies are best enjoyed warm, but they’re just as good at room temperature. Serve them with a cold glass of milk, a cup of coffee, or just by themselves with a good book. Their rich peanut butter flavor and melty chocolate make every bite a little celebration.
What to Serve It With
These peanut butter chocolate cookies are wonderfully versatile, so think beyond just the standard glass of milk. For a cozy breakfast, serve them alongside your morning coffee with a smear of ricotta or cream cheese. They make a lovely addition to brunch spreads, especially when paired with fresh fruit and sparkling water flavored with a hint of lemon—trust me, it’s a game-changer. As an after-dinner dessert, they go perfectly with a scoop of vanilla ice cream or a drizzle of caramel. My family loves to pack these into lunchboxes as a sweet surprise, and I also enjoy them as a quick snack when I need a moment of comfort during busy afternoons. They’re especially delightful when slightly warmed; the chocolate is extra gooey, and the peanut butter aroma fills the whole house. No matter how you serve them, these cookies bring warmth and happiness—simple ingredients, unforgettable flavor.
Top Tips for Perfecting Your Peanut Butter Chocolate Cookies
Over the years, I’ve picked up a few tricks to make these cookies truly exceptional. First, use high-quality peanut butter—trust me, the flavor really shows. I prefer to stick with natural or organic varieties that have just peanuts and salt; they give the cookies a richer, more authentic taste. When it comes to mixing, don’t overdo it—just fold until combined, or your cookies might turn out dense. If you want super chewy cookies, slightly underbake them; the centers should be soft and slightly underdone but not raw. For the best chocolatey pockets, I like to fold most of my chocolate chips into the batter and sprinkle a few on top before baking for that irresistible melty look.
As for ingredient swaps, I’ve tested substituting honey or maple syrup for part of the sugar to make the cookies a bit more natural—just cut back on the liquid elsewhere. Gluten-free flours can work beautifully, but I recommend using a blend designed for baking cookies to keep the texture right. Also, if you’re feeling creative, try adding a pinch of cinnamon or a splash of espresso to deepen the flavor. And don’t forget—cooling the cookies properly before glazing or serving ensures they hold their shape and stay tender inside. These little tips have made a big difference in my baking, and I love experimenting to see what works.
Storing and Reheating Tips
Storing your peanut butter chocolate cookies is easy, and they stay fresh longer than you might expect. At room temperature, they’ll remain soft and chewy for up to three days if stored in an airtight container—just be sure to keep them away from direct sunlight or heat, or they might turn a little stale. For longer storage, pop them in the refrigerator—they can safely last up to a week, but I recommend letting them come to room temperature before enjoying for optimal softness. Freezing is perfect if you want to keep some for later; wrap each cookie individually in plastic wrap, then store in a resealable bag for up to three months. To reheat, just warm them in the microwave for 10-15 seconds or on a low oven until the chocolate is gooey again. If you like your cookies with that fresh-from-the-oven feel, I suggest warming just before serving and adding a drizzle of glaze or a sprinkle of sea salt right after. Proper storage keeps these cookies tasting just as delicious as when they first come out of the oven.
Frequently Asked Questions
Final Thoughts
Honestly, these peanut butter chocolate cookies have become a staple in my house because they’re so easy, so satisfying, and impossible to resist. They remind me of cozy afternoons, lazy Sundays, and the joy of baking something that tastes like a hug. Every time I make them, I get a flood of nostalgic feelings — the smell alone brings everyone running into the kitchen. Whether you’re a seasoned baker or just starting out, I promise these cookies will become one of your favorites. Feel free to experiment with add-ins or decorations; that’s part of the fun! I’d love to hear how yours turn out, so don’t forget to leave a comment or share your tweaks. Happy baking, friends — here’s to many sweet moments shared over a batch of warm, homemade peanut butter chocolate cookies!
Peanut Butter Chocolate Cookies
Ingredients
Method
- Preheat oven to 350°F. Spray a 9x13-inch baking dish with nonstick cooking spray.
- In a large bowl, add butter, brown sugar, and vanilla. Cream until light and fluffy. Add eggs and mix well.
- Add flour, baking soda, and salt. Mix at low speed until combined.
- Stir in chocolate chips.
- Press half of the dough into the prepared baking dish in an even layer. Set aside the remaining dough.
- Bake for 15 minutes.
- Remove from oven and let cool slightly. Spread melted peanut butter over the baked layer.
- Form small discs with remaining dough and place over the peanut butter layer.
- Bake for an additional 20-23 minutes until golden and bubbly.
- Allow to cool before cutting into bars and serving.