Easy Snails in Mushroom Caps Recipe
Imagine the aroma of garlic, herbs, and butter wafting through your kitchen — it’s almost like a cozy hug in food form. I remember the first time I tried a snail dish at a little French bistro during a trip to Paris; I was both nervous and intrigued. That soft, tender bite embedded in a rich, flavorful sauce stayed with me ever since. Fast forward to today, I’ve perfected my own snail recipe that’s surprisingly easy and perfect for any occasion. My friends always ask me for the recipe, especially because it’s a guaranteed crowd-pleaser without needing fancy skills or ingredients. Honestly, I love how this dish feels fancy but is dead simple to throw together on a weeknight. Plus, it’s a fun way to jazz up your seafood routine — trust me on this, once you’ve tasted this, you’ll be hooked!
What is a nail recipe?
When I say “snail recipe,” I’m really talking about a dish that uses escargot — those little land snails that are a delicacy in France. Think of it as a cozy, flavorful appetizer, usually served in shells or small dishes, smothered in garlic butter and herbs. It’s essentially an ode to French cuisine but with a down-to-earth, homey twist. The name might sound fancy, but making a snail recipe at home is totally doable—even if you’ve never cooked with snails before. My version is inspired by classic French flavors but adapted for the comfort of your own kitchen. It’s a bit like a garlicky, buttery embrace, with a hint of parsley and a clever secret ingredient I’ll share later. This dish isn’t just for special occasions — I make it whenever I want to impress someone or indulge myself after a long day. And yes, my kids ask for this all the time now, because it’s just that good!
Why you’ll love this recipe?
First off, the flavor profile is totally irresistible. Think garlic-infused butter with a dash of fresh herbs — it’s the kind of taste that makes your nose happy while you’re eating it. What I love most about this is how quick it is to make; from start to finish, you’re looking at less than 30 minutes, making it perfect for those busy weeknights when you want something fancy but don’t want to spend hours in the kitchen. And, trust me, this recipe is budget-friendly, especially if you shop smart with frozen snails or small jars of escargot. The versatility is a big perk too: serve it as an appetizer with some crusty bread, stuff it into cooked small potatoes for a hearty bite, or serve it over pasta for a full-on seafood feast. Over the years, I’ve played around with a few twists, swapping in different herbs or even adding a splash of white wine — each version feels just as delightful. It’s one of those recipes that makes you feel a little posh without the fuss, and honestly, once you’ve tried it, I bet it becomes a regular in your home too.
How do I make a snail recipe?
Quick Overview
This snail recipe is all about building layers of flavor with simple ingredients. You start by preparing a rich garlic butter infused with herbs, then gently cook the snails in that savory sauce. The magic happens with a quick broil or bake to get everything bubbling and beautifully browned on top. It’s a straightforward process, but the key is taking your time to develop the garlic butter and ensuring your snails are tender. My favorite part? The swirl and layering — it’s like creating a little treasure in every bite. Honestly, once you have your ingredients ready, it’s mostly assembly and patience — no complicated techniques here.
Ingredients
For the Main Butter:
– 1/2 cup unsalted butter, softened (try to get a good creamy kind, I like European butter for that extra richness)
– 4 cloves garlic, minced (fresh is best – I always do this just before cooking)
– 2 tablespoons chopped fresh parsley (or a bit more if you’re feeling herbal)
– 1 teaspoon lemon juice (gives just a little zing)
– Salt and freshly ground black pepper to taste
For the Snails:
– 1 jar or can of escargot (usually packed in brine or butter — I prefer the ones in butter for flavor)
– 1 tablespoon olive oil (for quick searing if you want to give them a slight crispy edge)
– Optional: a splash of white wine or chicken broth
For the Glaze & Garnish:
– Extra melted butter or a simple garlic butter drizzle
– Fresh parsley for garnish
– Small baguette slices for serving
Step-by-Step Instructions
Step 1: Preheat & Prep Pan
Set your oven to 375°F (190°C). While it’s warming up, lightly grease your baking dish or snail shells if you have them. I love using ramekins or small cast-iron dishes because they hold all that gooey goodness perfectly. It’s also a good idea to let your butter sit out for a bit so it’s nice and soft — no one wants to fight with cold butter when mixing!
Step 2: Mix Dry Ingredients
In a small bowl, combine the chopped parsley, lemon juice, salt, and pepper. This will go into the garlic butter — it’s a quick step but really helps layer all those flavors together. Trust me, freshly chopped herbs make such a difference compared to dried — you want your dish to pop!
Step 3: Mix Wet Ingredients
In a larger bowl, whip the softened butter with the minced garlic until you get a fragrant, fluffy paste. The smell alone is enough to make everyone in the house come running. Stir in your herb mix and a little extra salt if needed. I’ve made this with almond butter on occasion in a pinch, and honestly, it made the dish even creamier and gave it a nutty twist — experiment and find what you like!
Step 4: Combine
Add your garlic-herb butter into the snails, tossing gently to coat each one evenly. You want every little snail to be cozy in its buttery blanket — that’s where all the magic happens. Be gentle so you don’t tear the shells if you’re using those. If you’re in a rush, just spoon the butter over them in the baking dish.
Step 5: Prepare Filling
If you’re adding extra flavor, now’s the time to brush a splash of white wine or chicken broth over the snails—this keeps everything moist during baking and adds a subtle depth. I also sometimes sprinkle a little grated Parmesan on top for a cheesy finish, but that’s totally optional.
Step 6: Layer & Swirl
If you’re using a baking dish, layer the snails with a few dollops of garlic butter, then swirl with a toothpick or small skewer to create a marbled effect. This swirl technique looks pretty and ensures every bite has a bit of that flavorful butter.
Step 7: Bake
Pop the dish into your preheated oven for about 12-15 minutes, until bubbling and just starting to brown on top. Keep an eye on it — if it’s not quite bubbling, give it a few extra minutes, but don’t overcook; you want the snails tender and juicy, not rubbery.
Step 8: Cool & Glaze
Take it out, let it cool just a minute, then drizzle a little more melted garlic butter on top if you want that extra shine and flavor boost. A sprinkle of fresh parsley next adds a pop of color. Believe me, presentation makes all the difference here.
Step 9: Slice & Serve
Serve hot with slices of crusty baguette, so everyone can scoop up that garlicky butter with bread. I love to set this out family-style and watch how quickly it disappears — my kids ask for seconds every time! A little squeeze of lemon adds brightness just before serving, and don’t forget a glass of chilled white wine — totally the way to go when indulging in snails.
What to Serve It With
Honestly, this dish is such a crowd-pleaser that it works for all kinds of occasions. I always serve it as an appetizer at dinner parties, paired with a crisp Sauvignon Blanc or Chardonnay. It’s perfect for a romantic date night too — just add some candles and soft music. When I make it for family brunch, I like to serve it alongside scrambled eggs and toasted sourdough — it turns a regular breakfast into something special. My kids love it as a snack on lazy weekends, especially dipped with fresh baguette or veggie sticks for that crunchy contrast. I’ve even tried stuffing tiny potatoes with the snail mixture — honestly, you can get pretty creative with this one. It’s a little fancy, a little cozy, and totally addictive.
Top Tips for Perfecting Your Snail Recipe
After making this dish dozens of times, I’ve picked up a few tricks. First, always use fresh garlic and herbs — the flavor explodes compared to dried versions. When preparing the garlic butter, I’ve found gently warming the butter with the garlic before mixing helps release all those aromatics perfectly. Overmixing can make the butter runny — so do it just until combined. When layering or swirling, I like to use a toothpick or skewer to create pretty marbling — it just looks fancy! For ingredient swaps, I sometimes swap in thyme or tarragon — they bring a different herbal vibe that’s just as delicious. If you’re baking longer or at a different oven temperature, keep an eye on it — every oven is a little different. I learned to test doneness by checking if the top is bubbling and slightly golden, but it’s mainly about the aroma and appearance. Lastly, experiment with glazes — try a splash of white wine or even a hint of spicy chili oil for something unexpected. The key is to keep tasting as you go — that’s how I’ve learned to make it just right.
Storing and Reheating Tips
If you have leftovers (which is rare because it’s so good!), store them in an airtight container in the fridge for up to 2 days. I wouldn’t recommend freezing, as the snails can get rubbery upon thawing. When reheating, gently warm in the oven at 300°F for about 10 minutes, just until heated through. Avoid microwaving — it can toughen the snails and make the butter separation obvious. If you want to serve it again later, consider adding a little fresh butter or garlic on top to revive that luscious look and flavor. I usually wait to add the glaze or drizzle until just before serving, so the top stays shiny and fresh-looking. With proper storage and gentle reheating, your snail dish can still be enjoyed with that irresistible aroma and flavor — just like freshly made!
Frequently Asked Questions
Final Thoughts
This snail recipe has truly become a favorite in my kitchen — it’s cozy, elegant, and honestly, way easier to make than you’d expect. The slow melting butter, garlic, and herbs create a flavor that’s both familiar and a little indulgent, making it perfect for unwinding after a busy day or impressing guests at dinner. It’s one of those dishes that makes me feel a little fancy, yet it’s so approachable that I actually make it regularly just because I love how it smells and tastes. Plus, the best part? Watching friends and family dive in with those wide-eyed, “wow” looks when they take that first bite. I hope you try this and love it as much as I do. Don’t forget to share your variations or what you paired it with — I’d love to hear all about your experience. Happy baking, and enjoy every buttery, garlicky moment!
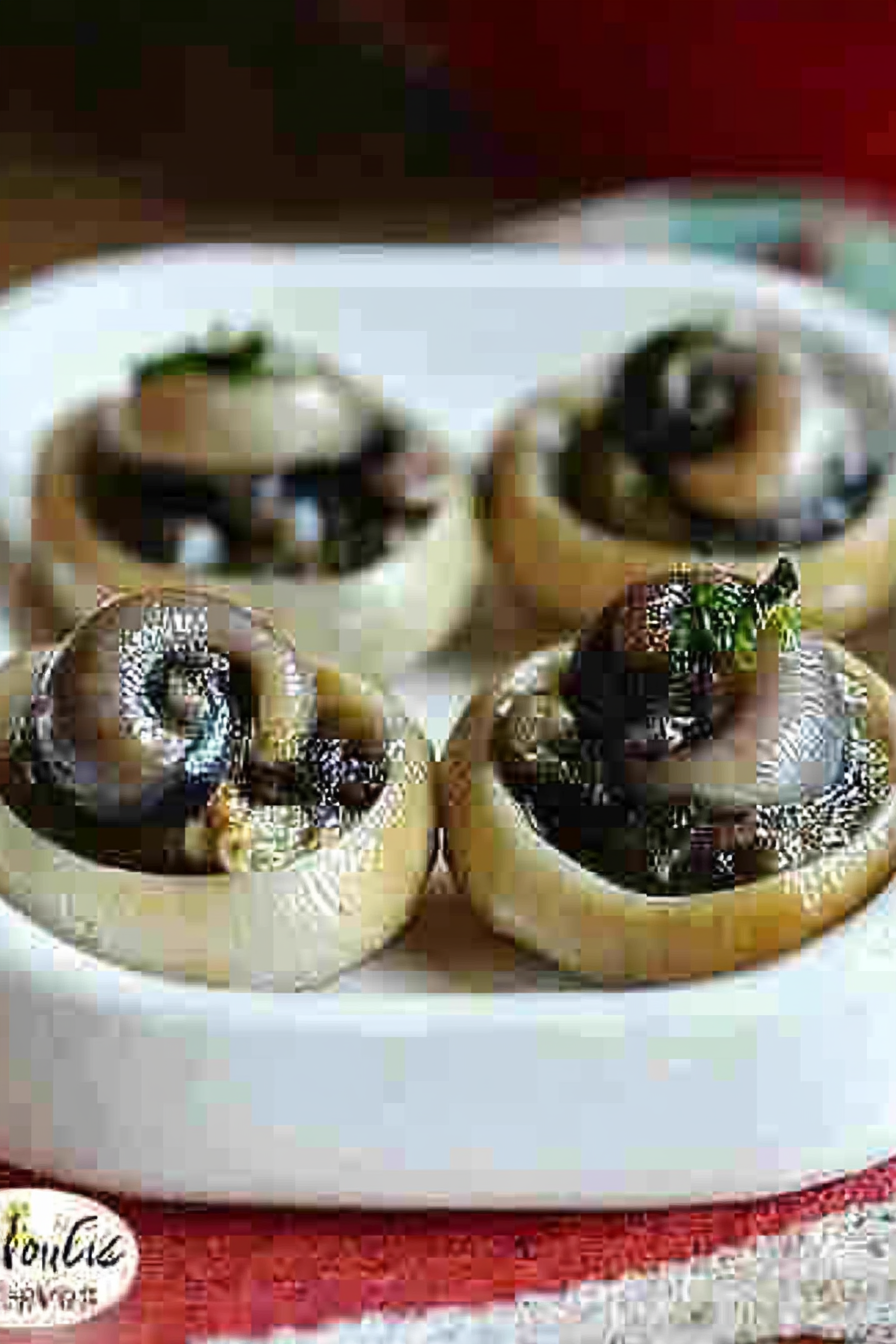
Garlic Butter Snails in Mushrooms
Ingredients
Method
- Place mushroom caps in your mushroom cap dish or in muffin tin with stem side up.
- Add one escargot inside each mushroom cap.
- Mix melted butter, garlic, onion powder, and Italian seasoning and brush over mushroom caps.
- Bake in a preheated 350°F oven for 15 to 20 minutes. Serve hot.