Easy Strawberry Cream Dessert Recipe
You know that feeling when you bite into something that’s just pure happiness? That’s exactly what happens every single time I pull out my tried-and-true strawberry cheesecake. It’s one of those recipes that’s been part of our family for years—my kids ask for it on their birthdays, and I always do this when I want to surprise friends with something special. The smell alone, the sweet tang of strawberries mingling with rich, creamy cheese, makes the whole house smell like a bakery. Honestly, this cheesecake’s so simple to make—you’d think it’s fancy, but it’s really just a few ingredients thrown together with love. It’s perfect when you’re craving something sweet at 10 pm but don’t feel like turning on the oven. Plus, it’s endlessly customizable—swap the strawberries for blueberries, add a splash of lemon, or even sprinkle some graham cracker crumbs on top for a crunch. Trust me, once you try this, it’s going to be your go-to dessert too.
What is a strawberry cheesecake?
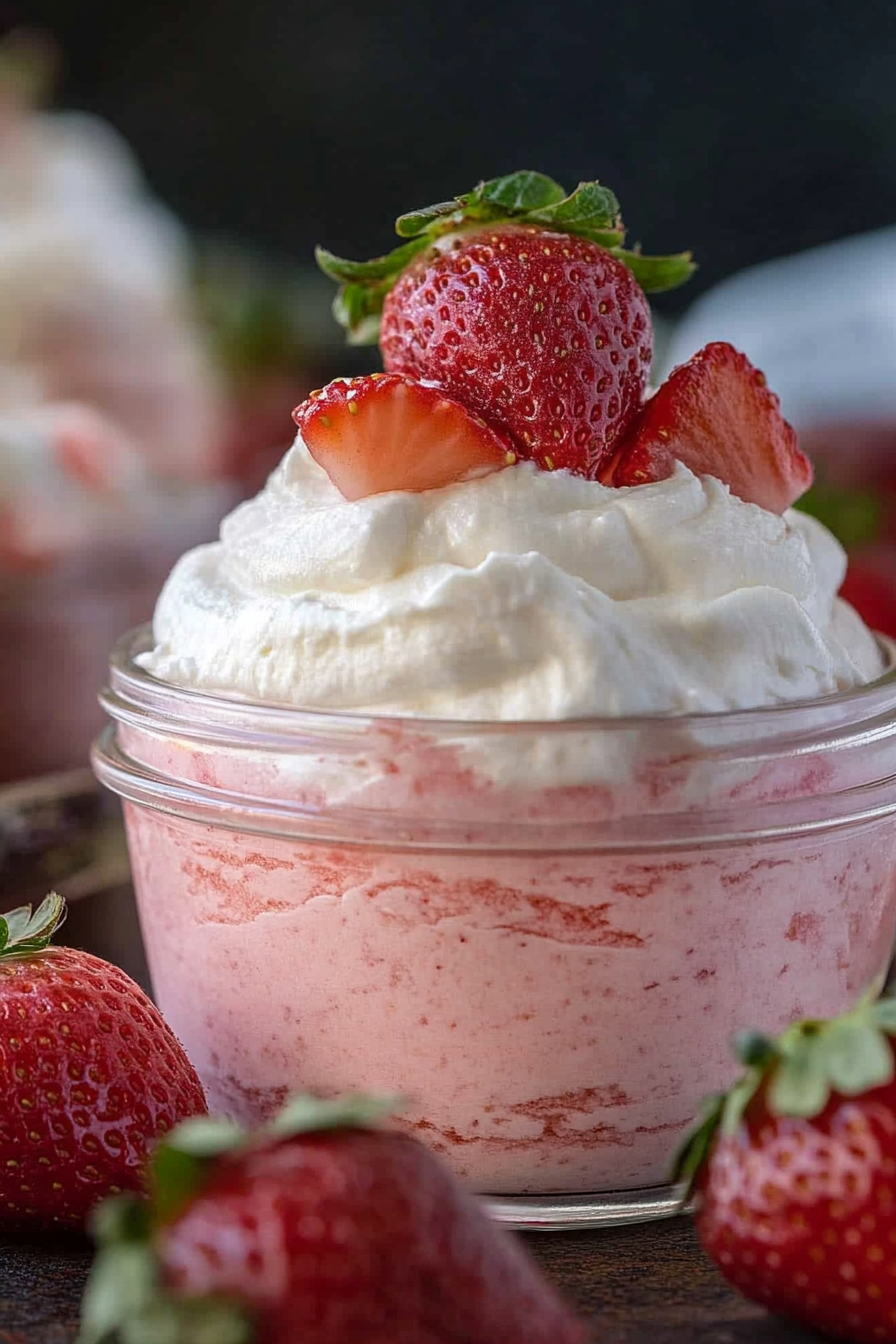
Think of strawberry cheesecake as the marriage between luscious, velvety cream cheese and fresh, juicy strawberries. It’s essentially a no-fuss, no-bake dessert that takes the classic cheesecake and zings it up with the bright, sweet flavor of summer berries. The name itself says it all—‘strawberry’ because, well, strawberries are front and center, and ‘cheesecake’ because it’s built on that oh-so-creamy, smooth base. I always think of it as a fresh twist on a rich dessert; it’s like eating a slice of sunshine with your coffee. Sometimes I like to make individual jars, so everyone gets their own pretty scoop, but a big dish works just as well for family gatherings. The best part? Its simplicity. You don’t need fancy equipment or hours in the kitchen — just a few steps, and you’re set with a dessert that’s guaranteed to wow everyone.
Why you’ll love this recipe?
Honestly, what I love most about this strawberry cheesecake is how easy it is to whip up without sacrificing flavor. It’s that perfect balance of sweet, tangy, and creamy that hits all the right notes on your taste buds. If you’re anything like me, busy weeknights call for quick, delicious solutions—this one’s a lifesaver on those nights. Plus, it costs next to nothing—you probably already have everything in your fridge or pantry. And the best part? It’s versatile enough to serve at everything from casual family dinners to fancy brunches. I remember the first time I made this for a potluck, and everyone kept asking for the recipe. What I love most is how adaptable it is; I’ve tested it with Greek yogurt instead of cream cheese (trust me, it’s surprisingly good) and with gluten-free cookies for the crust. It’s just one of those recipes that keeps evolving, and I promise, once you try it, you’ll keep coming back for more.
How do you make strawberry cheesecake?
Quick Overview
This strawberry cheesecake is practically foolproof. It starts with a crunchy graham cracker crust, layered with a smooth, tangy cream cheese filling, then topped with a vibrant, strawberry compote. You don’t even need to bake it—just mix, chill, and decorate. What’s special about this method is how it comes together quickly, with no fancy equipment or long waiting times. The result is a cool, creamy dessert with bursts of fresh berry flavor in every bite. It’s perfect if you’re pressed for time but still want that wow factor. Plus, because it’s no-bake, it stays fresh and light—ideal for those warm summer days or a cozy night in.
Ingredients
For the Main Batter:
– 16 oz (450 g) cream cheese, softened at room temperature (trust me, softer is better for smoothness)
– 1 cup (200 g) granulated sugar
– 1 teaspoon vanilla extract
– 1 cup (240 ml) heavy cream or full-fat coconut milk for dairy-free option
– 1 tablespoon lemon juice (adds a little brightness)
For the Filling:
– 1 cup fresh strawberries, chopped – save some whole for garnish
– 2 tablespoons sugar (adjust to taste)
– 1 teaspoon lemon zest (for extra zing)
– Optional: a splash of strawberry liqueur for an adult version
For the Glaze:
– 1 cup sliced strawberries
– 2 tablespoons honey or maple syrup
– 1 teaspoon cornstarch mixed with 1 tablespoon cold water (to thicken)
– Optional: fresh mint leaves or a dusting of powdered sugar for garnish
Step-by-Step Instructions
Step 1: Preheat & Prep Pan
If you’re using a springform pan, lightly grease it or line it with parchment paper. No oven to preheat—this is all about chilling, so just set aside. If you’re making individual jars, prepare your mini containers now. The crust will go in the fridge later, so no need to bake or toast—just have everything ready to go.
Step 2: Mix Dry Ingredients
For the crust, crush about 200 grams of graham crackers or digestive cookies until fine—use a plastic bag and a rolling pin or pulse in a food processor. Mix in a handful of melted butter and a tablespoon of sugar, then press this mixture into your pan’s bottom—flatten with the back of a spoon and make sure it’s even. This step creates that satisfying crunch that balances the creamy filling.
Step 3: Mix Wet Ingredients
In a large bowl, beat the softened cream cheese with the sugar until smooth and fluffy, about 2–3 minutes. Add vanilla and lemon juice, then slowly pour in the heavy cream while mixing on low speed—this is what makes it super silky. Don’t overmix though; just until combined, or it might turn grainy.
Step 4: Combine
Pour the cream cheese mixture over the crust, using a spatula to spread evenly. If you see any lumps, gently fold them out—smooth as you can. Chill the entire thing in the fridge for at least 3 hours—overnight if you can—to really set up that firm, luscious texture.
Step 5: Prepare Filling
Take 1 cup of strawberries, chop them into small pieces, and toss with 2 tablespoons of sugar and lemon zest. Let sit for 10 minutes so they release their juices. If you want a more intense strawberry flavor, feel free to mash some or blend the mixture for a smoother jelly layer.
Step 6: Layer & Swirl
Spread the strawberry mixture on top of your chilled cheesecake, then add whole strawberries for garnish. To add a swirl, gently spoon the remaining strawberry sauce into the center and use a toothpick or skewer to make pretty swirl patterns. It all depends on how artsy you want to get!
Step 7: Bake
Actually, for this recipe, no baking is needed! Just pop the whole thing back in the fridge to let everything set for another hour or so. If you decide to add a strawberry glaze, do it at this stage once the cake is mostly firm.
Step 8: Cool & Glaze
While chilling, prepare the glaze: simmer sliced strawberries with honey or maple syrup, then add the cornstarch slurry and cook until thickened. Let it cool slightly and pour over the cheesecake for a shiny, fruity top. For extra flair, sprinkle some mint leaves or a dusting of powdered sugar.
Step 9: Slice & Serve
When ready, run a hot knife along the edges of the pan for clean slices. If you made individual jars, simply serve right from the fridge. The cool, creamy texture paired with the bright strawberry topping makes every bite feel like a celebration. Serve chilled, and don’t forget to use a wide spatula for perfect slices!
What to Serve It With
This strawberry cheesecake is the star of any occasion, but I especially love pairing it with a crisp glass of sparkling rosé or a simple cup of black coffee. For brunch, pile it with fresh fruit and maybe a dollop of whipped cream. My kids go crazy for it after dinner—something about the sweet strawberries and creamy filling just hits the spot. During summer picnics, I store it in a portable container and take it along—it’s light enough that everyone can enjoy seconds. And if you want to make it even fancier, add a drizzle of chocolate or a handful of crushed nuts on top. It’s one of those desserts that can be dressed up or down—it always wins hearts either way.
Top Tips for Perfecting Your Strawberry Cheesecake
Over the years, I’ve learned a few tricks to make this cheesecake even better. First, always soften your cream cheese well to avoid lumps—trust me, a quick microwave zap can soften it without melting. When mixing, be gentle after adding the cream; overmixing can make the filling too airy, leading to cracks later. For the swirl effect, I find using a skewer or toothpick to draw lines through the strawberry layer creates a prettier, more artistic look. If strawberries are out of season, frozen berries work just fine—just let them thaw and drain excess water so your filling doesn’t get watery. When baking (or rather, refrigerating), patience is key. It’s tempting to dig in early, but letting it sit overnight truly enhances the flavors and sets the texture. For toppings, experiment! Fresh mint, a dusting of powdered sugar, or even a few tiny edible flowers make it look so pretty for special occasions. I also tested swapping some Greek yogurt for part of the cream cheese, and honestly—no one noticed the difference. It’s a good way to lighten it up, if you’re watching your calories.
Storing and Reheating Tips
This cheesecake keeps beautifully in the fridge for up to 4 days, protected with a loose cover or plastic wrap. If you’re storing leftovers, make sure to keep the strawberry topping separate if possible—adding the glaze or fruit closer to serving keeps everything fresh and vibrant. To freeze, wrap the whole cheesecake tightly with plastic wrap then foil—this works surprisingly well for up to a month. When ready to serve, thaw it overnight in the fridge, then bring it to room temperature before slicing. For the best texture, I avoid reheating—this is a chilled, creamy delight that’s best served cold. If you add the glaze later, just reheat the strawberry sauce in a small pan until bubbly and spooned over the slices. It’s one of those desserts that only gets better with time—like a good wine or a meaningful chat.
Frequently Asked Questions
Final Thoughts
Honestly, this strawberry cheesecake is one of those recipes I keep coming back to because it never fails to impress. It’s got that perfect balance of creamy, tangy, and fruity that makes every bite special. I love how flexible it is—whether you’re making it for a family dinner, a summer picnic, or just because you crave something sweet, it fits the bill. Plus, it’s so forgiving! I’ve made it with store-bought cookies, fresh strawberries, and even a dash of leftover jam—always turns out lovely. The best part? Watching everyone’s faces light up when they take that first bite. So, grab some fresh strawberries, dust off your mixer, and start baking—it’s easier than you think, and your taste buds will thank you. Can’t wait to see how yours turns out—please leave a comment and share your own tweaks!
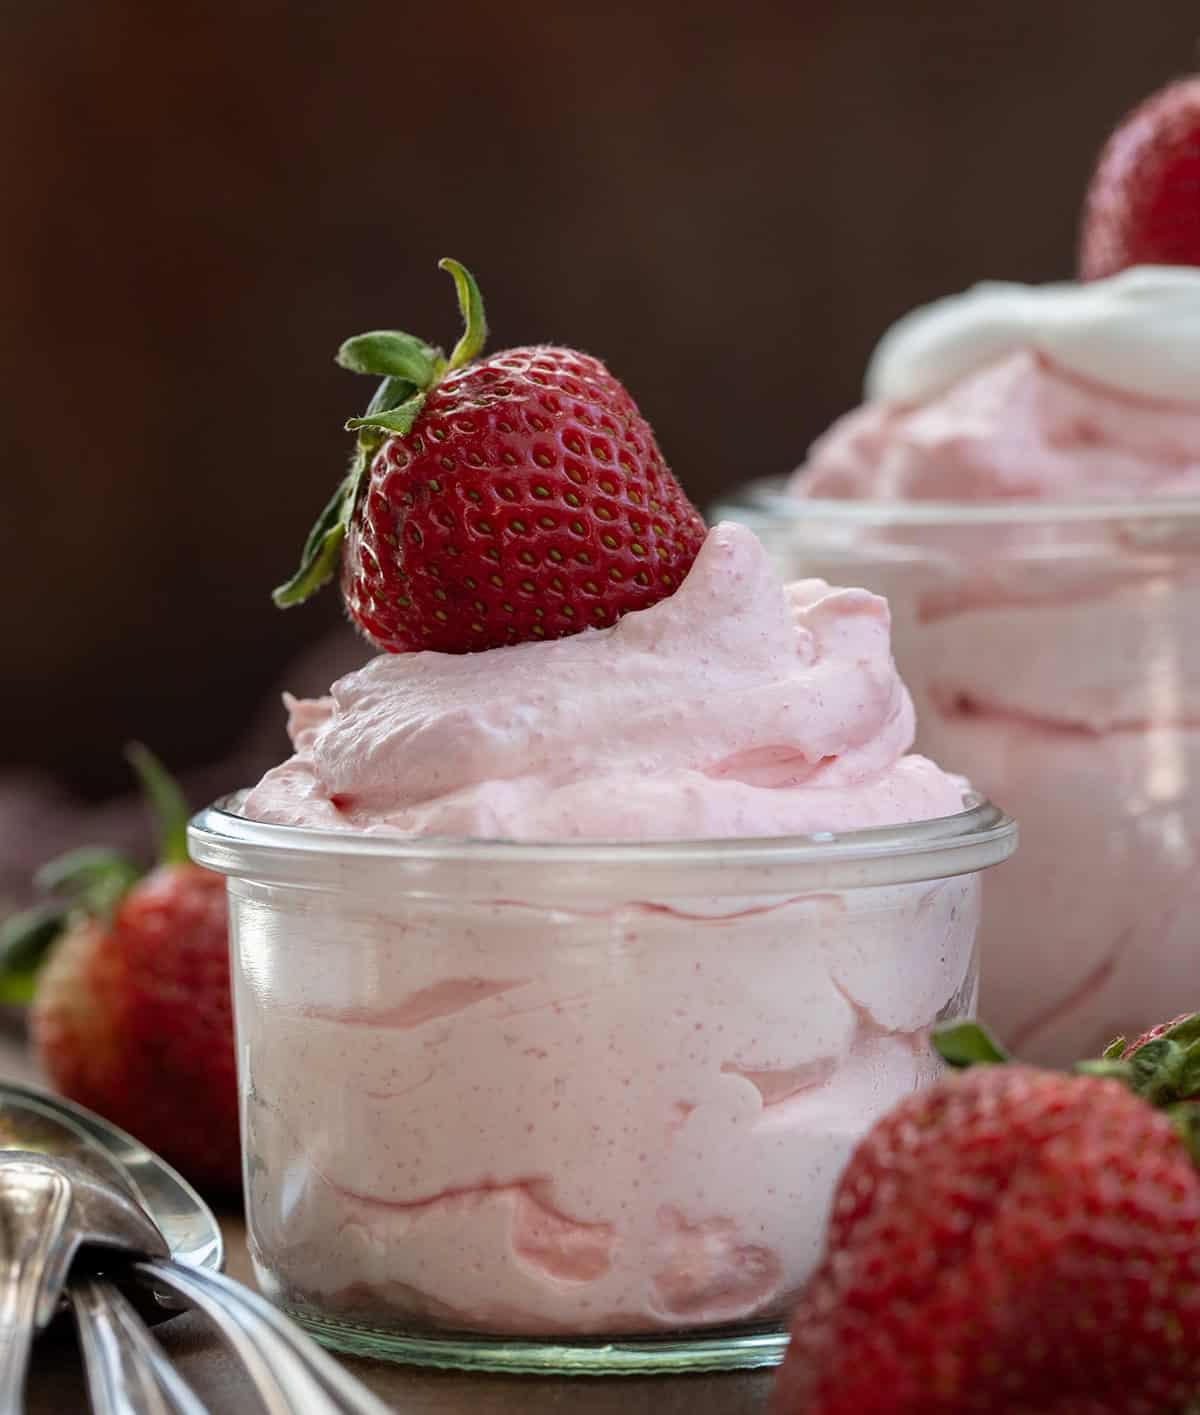
Strawberry Cheesecake Mousse
Ingredients
Method
- In a small bowl, whisk together strawberry gelatin and water until the gelatin is mostly dissolved.
- In the bowl of a stand mixer fitted with the paddle attachment, add cream cheese and mix on medium speed until smooth.
- Stop the mixer. Add confectioners' sugar, strawberry gelatin, sour cream, and vanilla. Mix on low until smooth, scraping sides as needed.
- Pour heavy whipping cream into a large bowl.
- Using a handheld mixer, whip the heavy cream on low to high speed until stiff peaks form, about 3-5 minutes.
- Fold the whipped cream into the cream cheese mixture until fully combined. Transfer to serving dishes and refrigerate until serving.