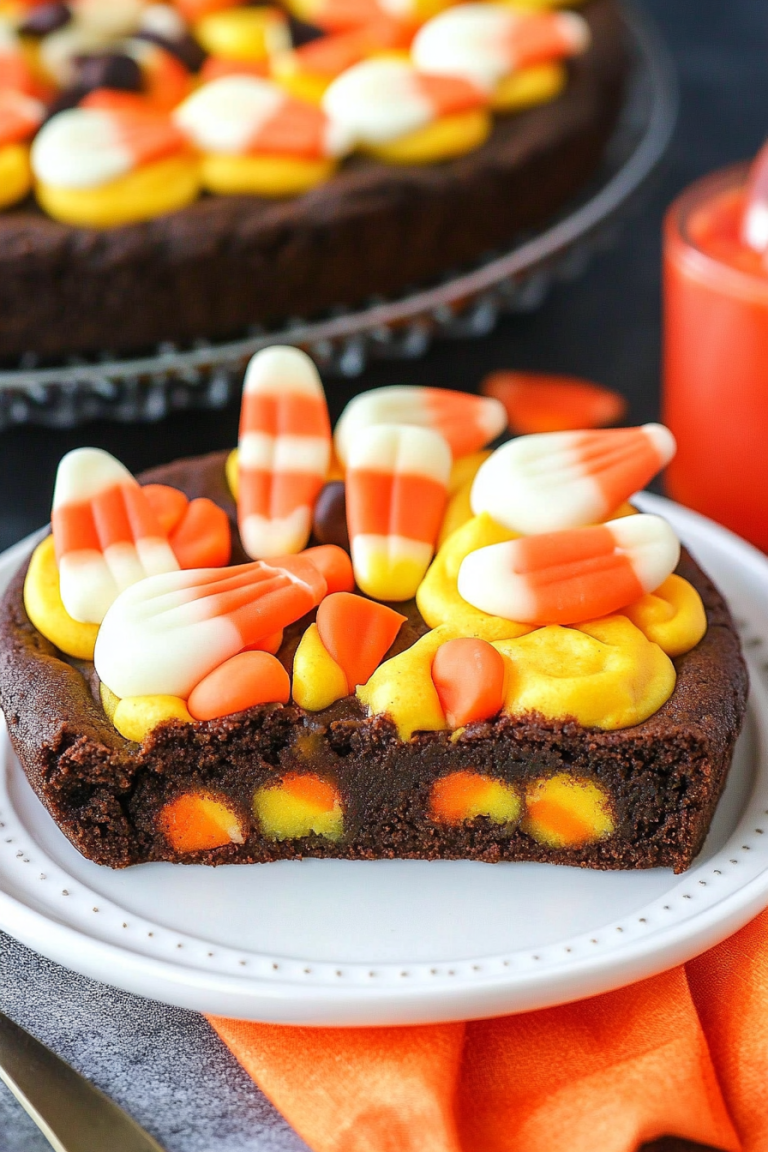
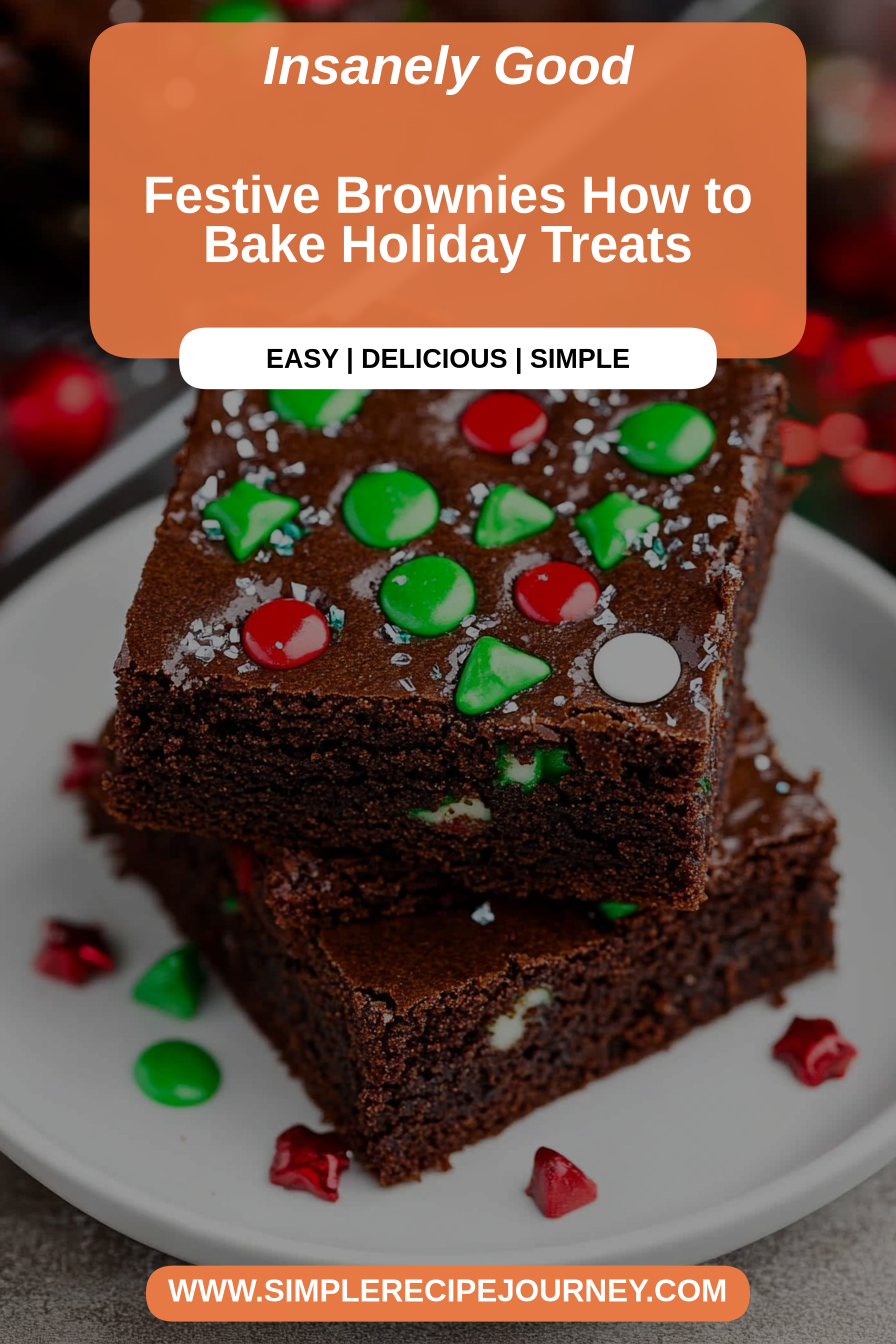
Festive Brownies How to Bake Holiday Treats
Okay, let’s talk about the holiday season, and more importantly, the food that makes it truly magical. For me, it’s not just about the big meals, it’s about those little bites of joy that appear throughout December. And if there’s one thing that instantly screams ‘holiday cheer’ and ‘comfort’ to me, it’s a batch of really, *really* good Christmas brownies. Forget those dry, cakey disappointments; we’re talking about the kind of brownies that are impossibly fudgy, intensely chocolatey, and have just the right touch of festive sparkle. My absolute favorite Christmas brownies aren’t overly complicated, but they have a secret weapon that makes them utterly irresistible. They’re the kind of treat that makes your kitchen smell like pure bliss, the kind that disappears faster than Santa’s sleigh on Christmas Eve. I’ve tried so many brownie recipes over the years, from super simple ones to those that require a culinary degree, but this specific Christmas brownies recipe is the one I always come back to. It’s like a warm hug in dessert form, and frankly, it’s become my go-to for parties, cookie swaps, and especially those moments when you just need a little something sweet to get you through a chilly evening.
What are Christmas Brownies?
So, what exactly makes a brownie a “Christmas brownie”? In my book, it’s all about elevating that classic fudgy brownie experience with a touch of holiday magic. Think of it as your favorite chocolatey canvas, but dressed up in its festive best. It’s essentially a rich, dense chocolate brownie that often incorporates classic holiday flavors or decorative elements. Sometimes it’s a swirl of peppermint, other times it’s the subtle warmth of spice, and often, it’s simply the joy of seeing them dusted with festive sprinkles or a delicate sugar glaze. My version of Christmas brownies leans into that deeply satisfying, almost molten chocolate texture that melts in your mouth. It’s not just a brownie; it’s an experience. It’s the kind of dessert that makes you pause, close your eyes, and just savor the moment. It’s the perfect balance of decadent indulgence and comforting familiarity, making it a true hero of any holiday gathering or quiet night in.
Why you’ll love this recipe?
What are some of the reasons why this Christmas brownie recipe has earned a spot in my heart (and my recipe binder)flavor is just out of this world. We’re talking deep, dark chocolate goodness with a texture that is pure perfection – fudgy in the center, with just a hint of chewiness around the edges. It’s not overly sweet, allowing the quality of the chocolate to really shine through. Then there’s the simplicity. Despite tasting like they came from a fancy bakery, these brownies are surprisingly easy to whip up. You don’t need a stand mixer or a ton of fancy gadgets; just a couple of bowls and a whisk will do. This is a lifesaver on busy nights when you want to bake something special without the stress. The Cost-efficiency: What is the best way to measure cost-efficiency? is another big win. Most of the ingredients are pantry staples, meaning you can likely whip up a batch without a special trip to the store, which is always a bonus during the hectic holiday season. And the versatility! While the basic recipe is incredible on its own, you can easily customize it. Add some chopped nuts for crunch, a swirl of caramel, or even a hint of espresso powder to deepen the chocolate flavor. What I love most about this recipe, though, is the pure comfort it brings. It’s like a little piece of edible nostalgia, reminding me of baking with my grandma. It’s perfect for when you’re craving something sweet at 10 pm but don’t want to bake a whole cake, or when you need a guaranteed crowd-pleaser for a potluck or holiday party. It’s genuinely one of those recipes that I’ve made countless times and it never fails to impress.
How to Make Christmas Brownies
Quick Overview
The magic of these Christmas brownies lies in their straightforward approach. We’ll start by melting good quality chocolate and butter together to create a rich base, then whisk in sugar and eggs for that signature fudgy texture. The dry ingredients are gently folded in, followed by a final flourish that gives them their festive appeal. The whole process is about combining simple ingredients with care to achieve maximum chocolatey impact. It’s a method that ensures a dense, chewy brownie every single time, and it’s so satisfyingly easy, you’ll wonder why you ever bought them from a store.
Ingredients
For the Main Batter:
1 cup (2 sticks or 227g) unsalted butter, cut into cubes
8 ounces (227g) good quality dark or semi-sweet chocolate (chips or chopped bar), divided
2 cups (400g) granulated sugar
4 large eggs, at room temperature
1 teaspoon pure vanilla extract
1 ½ cups (190g) all-purpose flour
½ teaspoon salt
For the Festive Touch (Choose One or Combine!):
Option 1: Peppermint Swirl
½ cup (about 85g) white chocolate chips
¼ teaspoon peppermint extract
Option 2: Cranberry & Orange Zest
½ cup (75g) dried cranberries, roughly chopped
Zest of 1 medium orange
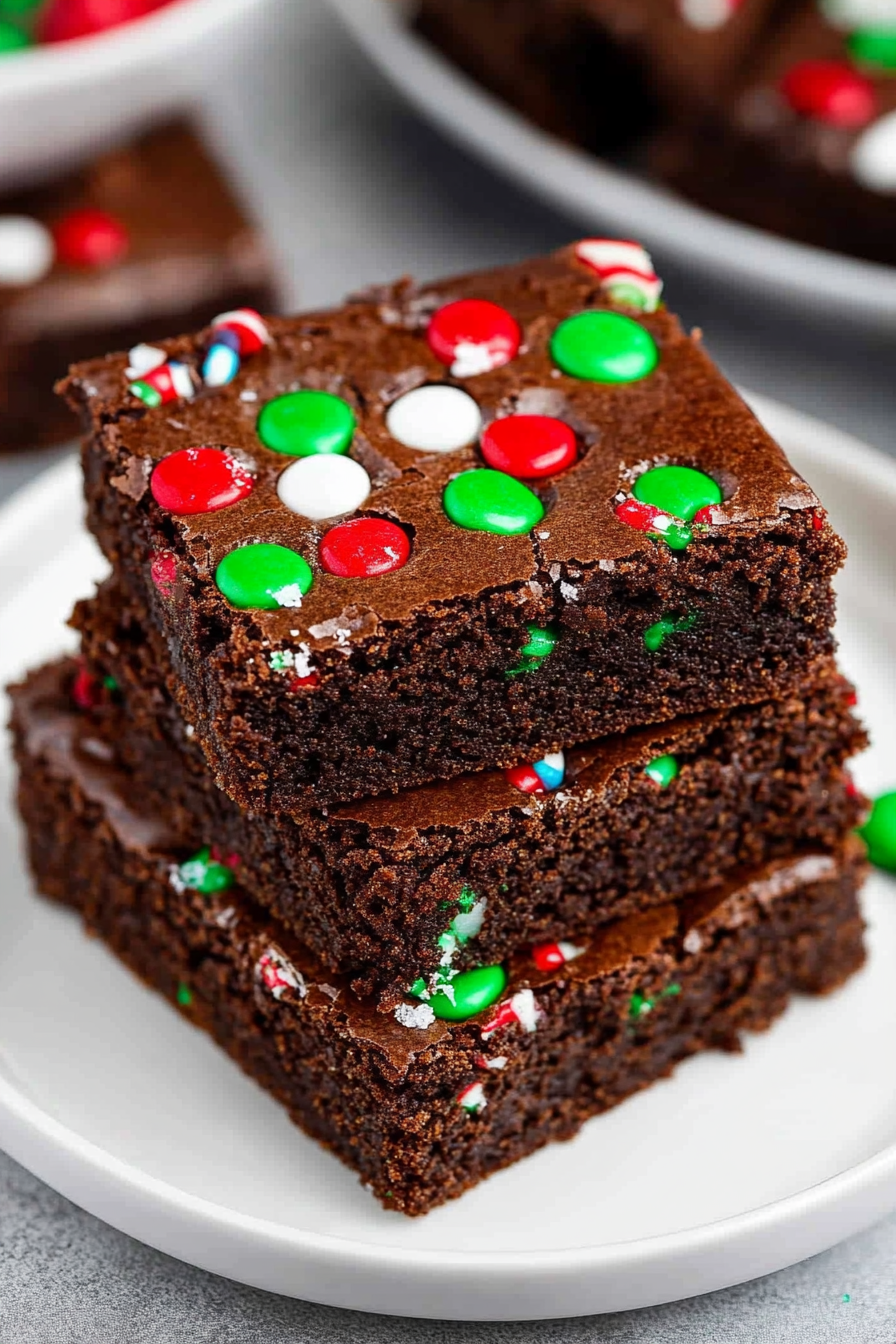
Option 3: Holiday Sprinkles
¼ cup (about 30g) festive Christmas sprinkles
Step-by-Step Instructions
Step 1: Preheat & Prep Pan
First things first, get that oven preheated to 350°F (175°C). This is crucial for even baking. Now, grab an 8×8 inch or 9×9 inch baking pan. I like to line mine with parchment paper, leaving some overhang on the sides. This makes lifting the brownies out a breeze, and clean-up is a dream! Just grease the pan lightly before you lay the parchment down so it sticks. Make sure the parchment doesn’t go all the way up the sides, you want the edges of the brownies to touch the pan for that classic slightly crisp edge.
Step 2: Mix Dry Ingredients
In a medium bowl, whisk together the all-purpose flour and salt. Don’t overthink this step; just a good whisk to combine everything and break up any lumps in the flour. We’re not looking for anything too complicated here, just ensuring the flour and salt are evenly distributed for consistent flavor and texture throughout your Christmas brownies.
Step 3: Mix Wet Ingredients
Now for the luscious base. In a large, heatproof bowl set over a saucepan of barely simmering water (make sure the bottom of the bowl doesn’t touch the water!), melt the butter and about half of the chocolate (4 ounces or 113g). Stir gently until smooth. Once melted, remove the bowl from the heat. Stir in the remaining 4 ounces of chocolate until it’s mostly melted, then stir until completely smooth. This double-melting technique ensures a super glossy, rich chocolate base without scorching. Let this mixture cool slightly for about 5 minutes – you don’t want it too hot when you add the eggs. Once slightly cooled, whisk in the granulated sugar, then beat in the eggs one at a time, followed by the vanilla extract. Beat until the mixture is thick, glossy, and smooth. It should look luxurious and smell amazing!
Step 4: Combine
Now, gently fold the dry ingredients into the wet ingredients using a spatula. Mix just until combined. Seriously, stop mixing as soon as you don’t see streaks of flour. Overmixing is the enemy of fudgy brownies, as it develops the gluten too much, leading to a tougher texture. We want these Christmas brownies to be tender and melt-in-your-mouth good, so a light hand here is key.
Step 5: Prepare Festive Touch
This is where the ‘Christmas’ comes in! If you’re going for the Peppermint Swirl, gently melt the white chocolate chips with the peppermint extract in a small bowl (microwave in 15-second intervals, stirring between each, or use a double boiler). If you’re using cranberries and orange zest, just have them ready. For sprinkles, have them handy. This step is super quick, so get it done just before you’re ready to assemble.
Step 6: Layer & Swirl
Pour about half of the brownie batter into your prepared pan and spread it evenly. Now, dollop spoonfuls of your chosen festive addition over the batter. If you’re doing the peppermint swirl, drizzle the melted white chocolate over the batter. Then, pour the remaining brownie batter on top and spread it gently to cover. If you’re using cranberries and orange zest, you can either mix them into the top layer of batter or sprinkle them on top before swirling. For the peppermint swirl or if you just want some cool patterns, take a knife or a skewer and gently swirl the top layer of batter to create a marbled effect. Don’t overdo it; a few gentle passes are all you need. If you’re using sprinkles, sprinkle them generously over the top of the batter. This is where the magic happens!
Step 7: Bake
Pop the pan into your preheated oven. Bake for 25-35 minutes. The exact time will depend on your oven and the pan size. You’re looking for the edges to be set and the center to be *just* set. A toothpick inserted into the center should come out with moist crumbs attached, not completely clean (that would mean they’re overbaked!) and definitely not wet batter. For the peppermint swirl, keep an eye on it to ensure the white chocolate doesn’t burn.
Step 8: Cool & Glaze
This is arguably the hardest part: letting them cool! Once they’re out of the oven, let them cool completely in the pan on a wire rack. I know, I know, the temptation is overwhelming, but this step is crucial for achieving that perfect fudgy texture. They’ll continue to set as they cool. If you decided against a swirl or sprinkles on top and want a glaze, now is the time! Whisk together some powdered sugar with a tiny bit of milk or cream until you reach your desired consistency. Drizzle it over the cooled brownies. Make sure they’re *completely* cool before glazing, or the glaze will just melt into a mess.
Step 9: Slice & Serve
Once fully cooled (and glazed, if you did that!), use the parchment paper overhang to lift the entire slab of brownies out of the pan. Place it on a cutting board and slice into squares. I like to use a sharp knife and wipe it clean between cuts for neat edges. Serve them at room temperature for the best fudgy experience. These are fantastic on their own, or maybe with a scoop of vanilla ice cream if you’re feeling extra decadent!
What to Serve It With
These Christmas brownies are so versatile, they fit into pretty much any holiday scenario. For Breakfast, why not? A small, fudgy square with your morning coffee is a decadent start to the day, especially if you’ve opted for the orange zest and cranberry version – it adds a lovely bright note. It feels a bit like a treat, but in moderation, it’s a joyful way to begin. For Brunch, these look absolutely gorgeous on a platter. I love to arrange them artfully, maybe with some fresh berries or a dusting of powdered sugar. They pair beautifully with a mimosa or a festive mocktail. They add that touch of indulgence without being too heavy for a midday meal. As Dessert, they are a star. Serve them warm with a dollop of whipped cream or a scoop of good quality vanilla bean ice cream. A drizzle of extra chocolate sauce or a scattering of festive raspberries makes them feel extra special for an after-dinner treat. They’re also fantastic alongside a mug of hot chocolate – talk about a chocolate lover’s dream! For Cozy Snacks, this is where they truly shine. Curl up on the sofa with a warm mug of tea or coffee and a fudgy brownie after a long day. It’s pure comfort. My family tradition is to have a plate of these available on Christmas Eve for anyone who needs a little pick-me-up while we’re wrapping presents or watching holiday movies. It’s the simple, sweet moments that make the holidays so memorable, and these brownies are a huge part of that for us.
Top Tips for Perfecting Your Christmas Brownies
I’ve been making variations of this recipe for years, and I’ve picked up a few tricks along the way that I think make a big difference in getting that perfect fudgy texture and festive flair. First, regarding the main batter ingredients, the quality of your chocolate really matters. Use a good dark or semi-sweet chocolate (at least 60% cacao) for the best flavor. Avoid using milk chocolate, as it can make the brownies too sweet and less intensely chocolatey. Also, make sure your eggs are at room temperature; they emulsify better with the butter and sugar, leading to a richer, smoother batter. When it comes to mixing advice, I cannot stress this enough: do NOT overmix the batter once you add the flour. Overmixing develops gluten, which makes brownies tough and cakey instead of fudgy. Mix just until the flour streaks disappear. A gentle fold with a spatula is all you need. For swirl customization, if you’re doing the peppermint swirl, melt your white chocolate carefully. Microwaving in short bursts and stirring well is better than overheating it, which can make it seize. For marbled patterns, don’t over-swirl; just a few gentle drags with a skewer or knife is enough to create beautiful patterns without muddying the colors. If you’re using sprinkles, add them right before baking so they don’t melt too much. For ingredient swaps, while I adore the classic recipe, you can definitely play around. If you want to make them dairy-free, use a good quality vegan butter and dairy-free dark chocolate. For an even deeper chocolate flavor, add a teaspoon of instant espresso powder to the dry ingredients – it really enhances the chocolate without making them taste like coffee. When it comes to baking tips, always trust the toothpick test, but remember that moist crumbs are what you’re looking for, not a clean toothpick. Ovens can vary, so start checking around the 25-minute mark. Baking them a minute too long can push them into cakey territory. And for glaze variations, if you prefer a different flavor, try adding a touch of almond extract or even a little orange liqueur to a simple powdered sugar glaze. You can also skip the glaze altogether and simply dust the cooled brownies with cocoa powder or powdered sugar for a more rustic look.
Storing and Reheating Tips
The best part about these Christmas brownies is that they actually taste *better* the next day as the flavors meld together. For room temperature storage, keep them in an airtight container for up to 3 days. If it’s not too warm where you are, you can leave them right in the baking pan, covered tightly with plastic wrap. For refrigerator storage, place them in an airtight container or wrap them well in plastic wrap and then foil. They’ll stay fresh and delicious in the fridge for up to a week. I find that they retain their fudgy texture best when stored this way, especially if you’ve added a glaze. Freezer instructions are simple and a lifesaver for making ahead! Wrap individual brownies or the entire slab (once completely cooled and set) tightly in plastic wrap, then in aluminum foil. They can be frozen for up to 3 months. To thaw, let them come to room temperature slowly on the counter, still wrapped. This prevents condensation from making them soggy. If you’ve frosted or glazed them, make sure they are fully set before wrapping to avoid smudging. Glaze timing advice is important: if you plan to store them at room temperature or in the fridge for a few days, it’s best to add the glaze just before serving. If you’re freezing them, it’s often better to freeze them plain and then glaze or dust them once they’ve thawed.
Frequently Asked Questions
Final Thoughts
I really hope you give these Christmas brownies a try! They’re more than just a dessert; they’re a little bit of holiday magic that’s easy to make and guaranteed to bring smiles. That deep chocolate flavor, the fudgy texture, and the perfect festive touch – it’s truly a winning combination that stands out in a sea of holiday treats. They’re the kind of recipe that makes you feel good about baking, whether you’re making them for a crowd or just for yourself to enjoy with a cup of tea. If you love these, you might also enjoy my Fudgy Peppermint Bark Brownies or my Easy No-Bake Christmas Cookies for more holiday inspiration. They’re all about bringing warmth and deliciousness to your season. I can’t wait to hear how yours turn out! Don’t forget to leave a comment below and let me know what festive additions you tried, or share your own special holiday brownie memories. Happy baking, and happy holidays!
Fudgy Christmas Brownies
Ingredients
Method
- Preheat oven to 350°F. Line a 9x13 inch pan with foil and spray with nonstick cooking spray.
- Melt butter and baking chocolate in a large bowl. Heat on high power for 1 minute then stir, heating in additional 30-second increments until melted and smooth.
- Stir in sugar, eggs, vanilla, salt, and cocoa until combined. Stir in flour.
- Pour brownie batter into the prepared baking pan. Sprinkle with sprinkles and M&Ms. Bake for 25-35 minutes until a toothpick inserted in the center comes out with a few moist crumbs. Cool before slicing into bars.