Festive Mint Chocolate Cheesecake Delight
If there’s one thing I’ve learned over the years, it’s that the scent of chocolate and peppermint together can instantly lift my spirits — like a hug in the kitchen. I remember curling up with my grandma during winter holidays, her baking these little melt-in-your-mouth cookies, their aroma filling the whole house with warmth and joy. Ever since then, chocolate peppermint has been my go-to flavor combo when I want something sweet but also refreshing. Honestly, it’s like a cozy blanket wrapped up in a treat — smooth, rich chocolate with just a hint of cool peppermint. This recipe? It’s a little bit nostalgic, a little bit indulgent, and so simple that I always keep the ingredients on hand for those last-minute sweet cravings. Whether it’s a busy weeknight or a festive get-together, these cookies disappear in minutes at my house. And trust me — once you try them, they’ll become your new favorite too.
What is chocolate peppermint?
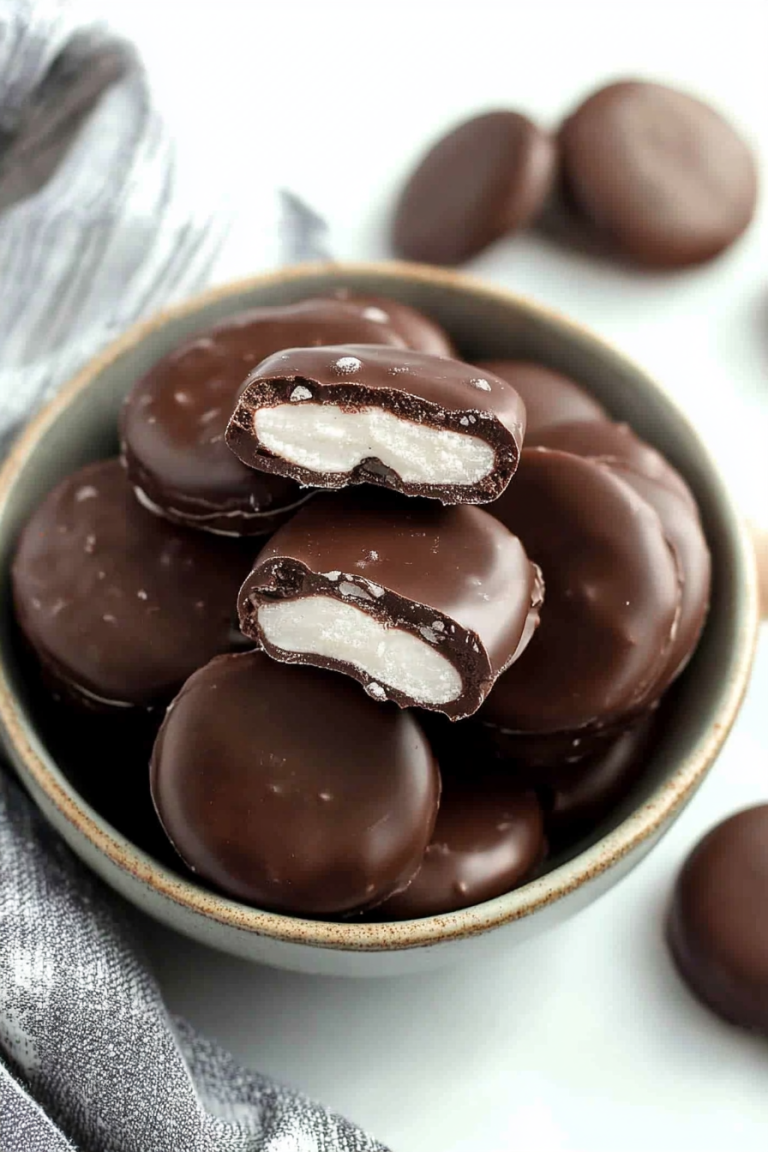
Chocolate peppermint is basically the heavenly pairing of rich, dark or milk chocolate with the cool, invigorating crunch of peppermint. Think of it as holiday magic condensed into a bite. The flavor combo has been a festive classic for generations — peppermint candies, hot chocolate with a peppermint stir, and of course, all the luscious desserts that blend both. It’s essentially a flavor duo that appeals to both the chocolate lover and the peppermint fan in all of us. The magic happens when you combine that deep cocoa flavor with a cool burst of mint — it’s like a sensory symphony, and when done right, it’s downright addictive. My favorite way to enjoy this combo is in baked goods and cookies, where the chocolate melts beautifully and the peppermint lifts everything into a whole new level of yum. Plus, it’s super versatile; you can make everything from cookies to brownies, or even ice cream with this combo. Honestly, it’s one of those flavors that always makes me feel festive, no matter what time of year it is.
Why you’ll love this recipe?
What I love most about this chocolate peppermint recipe is how it makes me feel — cozy, happy, and a little bit gamed up for the holidays or just a lazy Sunday afternoon. These cookies are a total crowd-pleaser, but they’re also perfect for silent midnight snacking when you don’t want to fuss with complicated desserts. The flavor profile is just *heavenly*, with that unmistakable chocolate richness balanced by the brisk, minty freshness — it’s like a breath of cool mountain air combined with a warm embrace. And let’s be honest, these are ridiculously easy to make. No fancy tools needed, just a handful of pantry staples, and you’ll have treats ready in under 30 minutes. Cost-wise, they’re budget-friendly, especially because I usually use chocolate chips I already have in the fridge. Plus, the ingredients are universally loved — who doesn’t get excited about chocolate and peppermint? I’ve made these for family, friends, and even last-minute hostess gifts, and they always get rave reviews. Plus, if you’re into baking with kids or amateur bakers, this recipe is foolproof. Trust me — the smell alone will make your whole house feel like a winter wonderland.
How do I make chocolate peppermint cookies?
Quick Overview
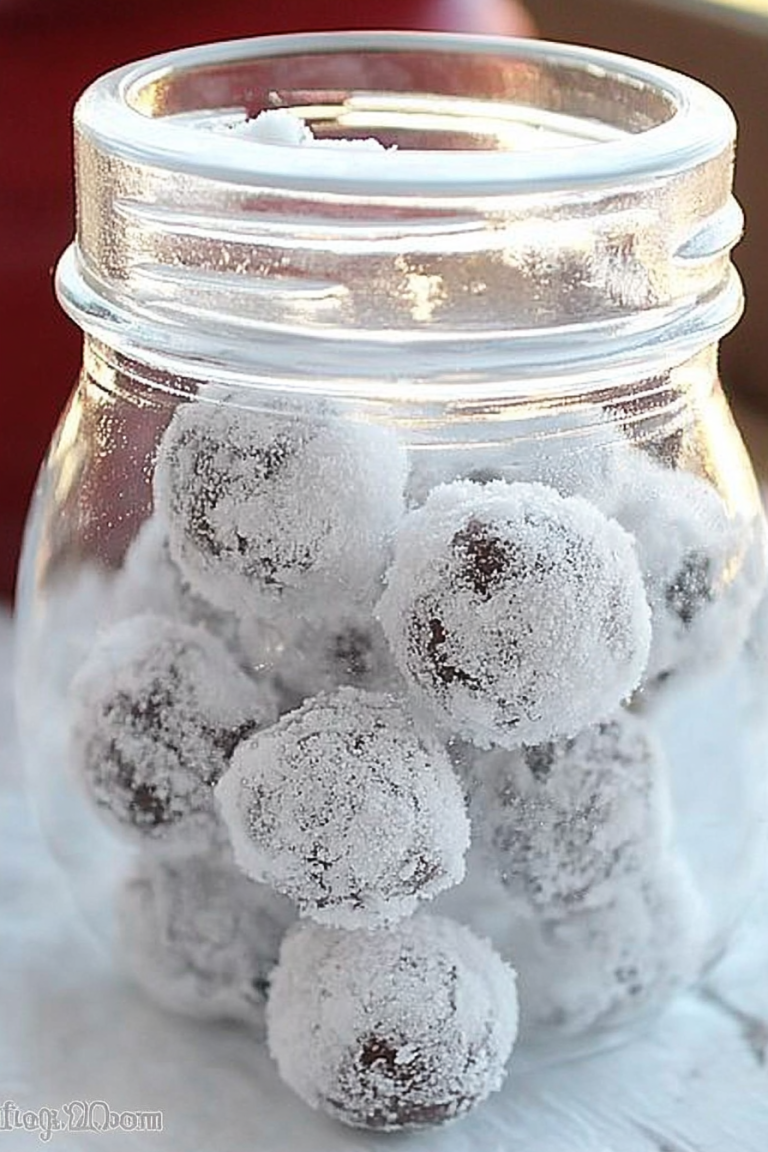
This recipe is all about ease and flavor, starting with a simple cookie dough that’s rolled into balls or shaped by hand. The secret weapon is the addition of peppermint extract and crushed peppermint candies or peppermint chips — which gives the cookies that cool burst of minty flavor. You mix the dough, fold in the peppermint, scoop or shape, then bake until golden. The best part? You can switch up the chocolate—milk, semi-sweet, or dark—and still get incredible results. Once baked, I love pouring a quick chocolate glaze on top for extra richness, but a dusting of powdered sugar or a sprinkle of crushed peppermint is equally festive. This is the kind of recipe that rewards with delicious, bakery-style cookies that look pretty but are so quick to make, you’ll want to whip up a batch every weekend.
Ingredients
For the Main Cookie Dough: For the Main Cookie Dough: For the Main Cookie Dough: For the Main Cookie Dough: For the Main
- 1 cup (2 sticks) unsalted butter, softened — I always use good-quality butter for that rich flavor
- ¾ cup granulated sugar — a little sweetness goes a long way
- ¾ cup packed light brown sugar — adds moisture and depth
- 2 large eggs — room temperature makes for easier mixing
- 1 teaspoon vanilla extract — pure vanilla is best
- 1 teaspoon peppermint extract — the star flavor in this recipe
- 2 ½ cups all-purpose flour — I prefer unbleached for better flavor
- ½ cup cocoa powder — unsweetened, for that deep chocolate kick
- 1 teaspoon baking soda
- ½ teaspoon salt
For the Peppermint Touch:
- ½ cup crushed peppermint candies or peppermint chips — I use candy canes that I crush with a rolling pin, the crunch adds a lovely texture!
For the Optional Chocolate Glaze:
- ½ cup semi-sweet chocolate chips
- 1 tablespoon unsalted butter
- ½ teaspoon peppermint extract (for added punch, if desired)
Step-by-Step Instructions
Step 1: Preheat & Prep Pan
I always start by preheating my oven to 350°F (180°C). Line a baking sheet with parchment paper or a silicone baking mat — makes cleanup a breeze and keeps the cookies from sticking. Set aside, and get ready to do some mixing magic.
Step 2: Mix Dry Ingredients
Whisk together the flour, cocoa powder, baking soda, and salt in a bowl. This step ensures even distribution of the dry elements and prevents clumping. Honestly, I’ve learned the hard way that sifting here isn’t necessary if you whisk thoroughly, but it’s a good habit for smooth cookies.
Step 3: Mix Wet Ingredients
In a large bowl, beat the softened butter with the sugars until creamy and fluffy — about 2-3 minutes. Then, add the eggs one at a time, mixing well after each, followed by vanilla and peppermint extract. The key here is to beat just enough to combine, so the butter stays aerated but not overmixed.
Step 4: Combine
Gradually add the dry mixture to the wet, mixing on low speed or folding gently with a spatula, just until everything is combined. Don’t overmix — this keeps the cookies tender. If the dough feels too soft, pop it in the fridge for 15 minutes. I learned that chilling helps with shaping, especially if your kitchen’s warm or if you’re using softened butter.
Step 5: Prepare Filling
Once your dough is ready, fold in the crushed peppermint candies or chips. I love crushing the candy canes while watching my favorite show — it relaxes me! Feel free to adjust the amount for that perfect minty punch. For a more intense peppermint flavor, add a few drops more of extract, but do watch out for overpowering the chocolate.
Step 6: Layer & Swirl
Using a cookie scoop or just your hands, shape the dough into balls about 1.5 inches wide. Space them evenly on your prepared baking sheet. If you want to get fancy, you can press a few extra peppermint pieces on top or swirl a tiny bit of melted chocolate on the surface before baking.
Step 7: Bake
Bake in the preheated oven for 10-12 minutes, or until the edges look just set but not overly browned. Every oven is different; my tip is to check the first batch closely — they might need an extra minute or two. The smell alone—chocolate and mint—is enough to get everyone in the kitchen. Let the cookies cool on the baking sheet for 5 minutes before transferring to a wire rack.
Step 8: Cool & Glaze
While they cool, melt your chocolate chips with butter and peppermint extract, either in a microwave or double boiler. Drizzle or spread the glaze over cooled cookies — this adds a luscious layer of richness. If you prefer a lighter touch, dust them with powdered sugar or sprinkle more crushed peppermint on top for color.
Step 9: Slice & Serve
These cookies are best enjoyed after they’ve cooled completely. Serve them on a pretty plate, maybe with a mug of hot cocoa, and watch them disappear! I love putting a few aside for when friends drop by — they look festive and taste divine.
What to Serve It With
These chocolate peppermint cookies bring instant holiday cheer, but they’re also incredibly versatile. For breakfast, I love pairing them with a cup of good coffee or espresso — the bitterness of the coffee balances the sweetness nicely. In a brunch setting, they make a lovely sweet addition to a cheese platter or a fruit platter topped with whipped cream. As a dessert, they’re perfect with a scoop of vanilla ice cream or a drizzle of caramel sauce. My family always asks for “the peppermint cookies” during movie nights, especially with peppermint hot chocolate or a glass of milk. I even pack a few into cute tins as gifts — they’re a simple, thoughtful way to spread some holiday joy. These cookies are more than a treat: they’re a small tradition in my house, warming hearts and making memories.
Top Tips for Perfecting Your Chocolate Peppermint Cookies
Shaping and baking cookies is an art, and here are a few lessons I’ve learned over the years to make yours shine:
Zucchini Prep: Not applicable here, but I do recommend crushing candies while waiting for the oven to warm — that way, you don’t rush. Plus, fresh peppermint candies are best — softer candies tend to melt too much, losing crunch.
Mixing Advice: Avoid overmixing once you add the dry ingredients. That’s when cookies can turn out dense or crumbly. Mix just until combined, and don’t forget to chill if your dough is too sticky.
Swirl Customization: For an artsy flourish, melt a little extra dark chocolate, and swirl it on top before baking. Or, after baking, drizzle it over the cooled cookies for a fancy look.
Ingredient Swaps: You can swap peppermint extract with other flavorings like almond or vanilla, but the peppermint is what makes this special. If you’re dairy-free, try coconut oil instead of butter, but note it might affect texture slightly.
Baking Tips: Every oven bakes differently. If your cookies tend to burn edges, try baking at 340°F or baking on the middle rack. For chewier texture, slightly underbake and let cool on a wire rack. Always do the “press test” — if the edges are firm but the centers are soft, they’ll harden as they cool, perfect for that melt-in-your-mouth feel.
Glaze Variations: Experiment with adding a splash of peppermint or orange extract to the glaze for a flavor update. Keep the glaze slightly warm for easier spreading, and avoid making it too thick or it won’t spread well.
After countless batches, I learned that a little patience and a few tweaks make all the difference. Trust your senses — smell, touch, and visual cues are your best friends in the kitchen. These cookies are forgiving, so don’t stress if they’re not *perfect* on the first try. The more you bake them, the better they get!
Storing and Reheating Tips
Once you’ve got your cookies baked and glazed, proper storage makes all the difference in keeping that fresh-out-of-the-oven magic alive:
Room Temperature: Store in an airtight container at room temperature for up to 3 days. Be sure they’re completely cooled before sealing — otherwise, they could get soggy.
Refrigerator Storage: Keep in an airtight container for up to a week. If you want them to stay extra fresh, add a slice of bread in the container — weird, but it works! The cookies actually absorb moisture from the bread, staying soft and tasty.
Freezer Instructions: Wrap each cookie tightly in plastic wrap or place between sheets of parchment in a freezer-safe bag. They’ll last up to 3 months. To reheat, just thaw at room temperature or warm them gently in a 300°F oven for a few minutes — they’ll taste almost as fresh as day one.
Glaze Timing: If you’ve glazed your cookies, best to store them unglazed if you plan to keep them for a while. Add the glaze after reheating or just before serving for maximum shine and freshness.
Frequently Asked Questions
Final Thoughts
If you’re anything like me, a good chocolate peppermint treat can turn any day into a celebration. These cookies have found a special place in my heart — they’re easy to whip up, packed with flavor, and just the right amount of peppermint to refresh your palate. I love how the chocolate melts in your mouth while the peppermint leaves a cool, lingering freshness. Honestly, after making these countless times, I get a little excited every single batch. They remind me of winter mornings when everything feels simple and snuggly. Whether you’re baking for family, friends, or yourself, I hope you find as much joy in making and tasting these as I do. And hey, don’t forget to share your own twists — I’d love to hear what you create!
Chocolate Peppermint Brownies
Ingredients
Method
- Preheat oven to 350°F. Grease a 9x9 inch baking pan.
- In a large bowl, combine melted butter, sugar, eggs, and peppermint extract until smooth.
- Add cocoa powder, flour, baking powder, and salt. Mix until just combined.
- Fold in crushed peppermint candies.
- Pour batter into prepared pan and bake for 30 minutes. Cool before slicing.