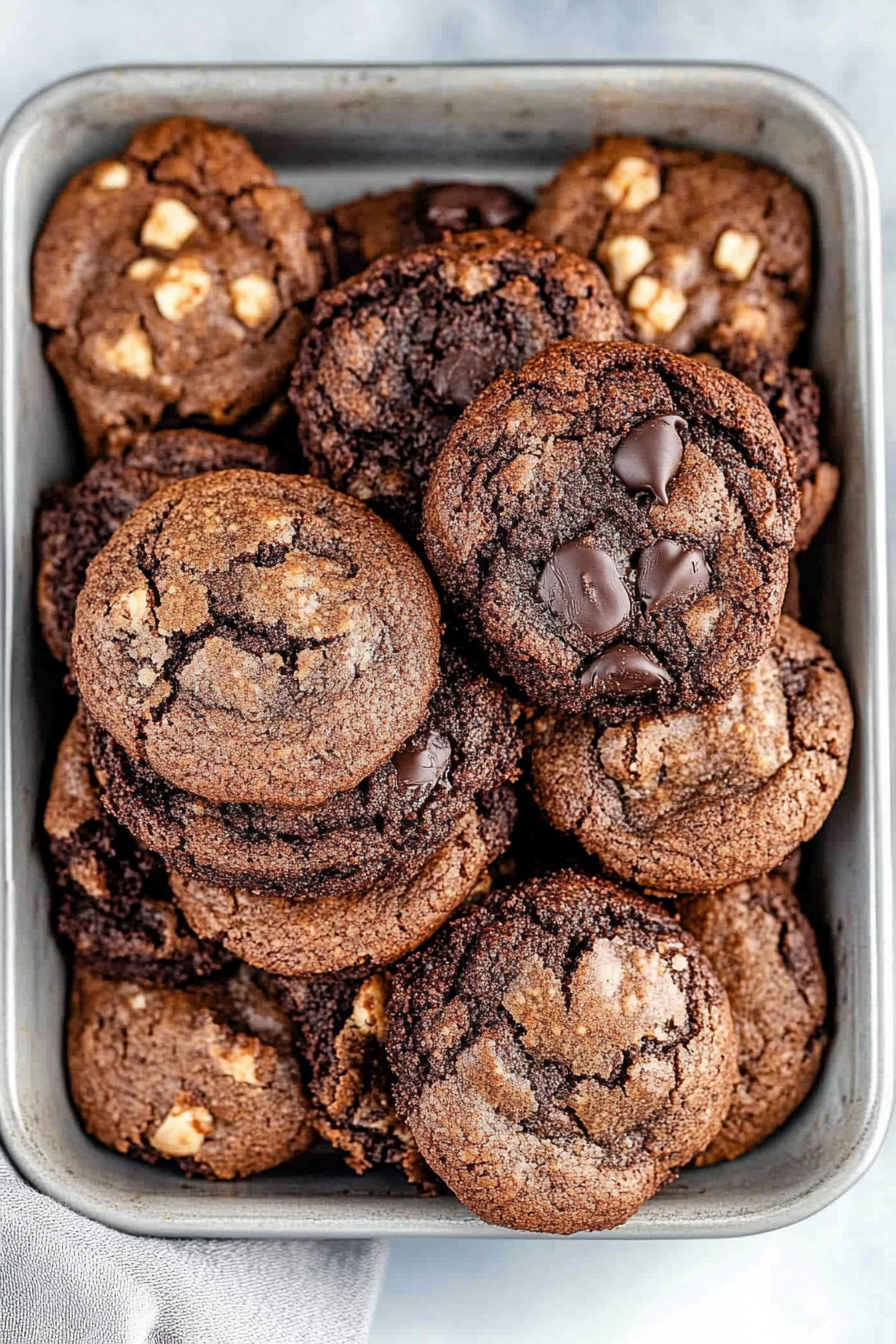
Fudgy Brownie Cookies From Scratch
There’s something about the smell of brownie cookies baking that instantly takes me back to lazy Sunday afternoons at my grandma’s house. I remember her kitchen filled with the rich aroma of chocolate, and how my little hands couldn’t wait to steal a warm cookie. Over the years, I’ve tried countless recipes, but nothing beats this one for its quick prep and melt-in-your-mouth goodness. Honestly, I love how these brownie cookies are like a lovechild of a fudgy brownie and a chewy cookie — a perfect little package of chocolate heaven that’s simple enough for busy weeknights but special enough for weekend bites. My kids ask for these all the time, and I have to admit, I always keep the ingredients handy just so I can whip them up in a flash. If you’re craving something sweet but want to keep it easy and don’t want to turn on the oven for a whole cake, trust me on this — these brownie cookies will disappear faster than you can say “chocolate”! Just wait until you smell the first batch — pure bliss.
What is Brownie Cookies?
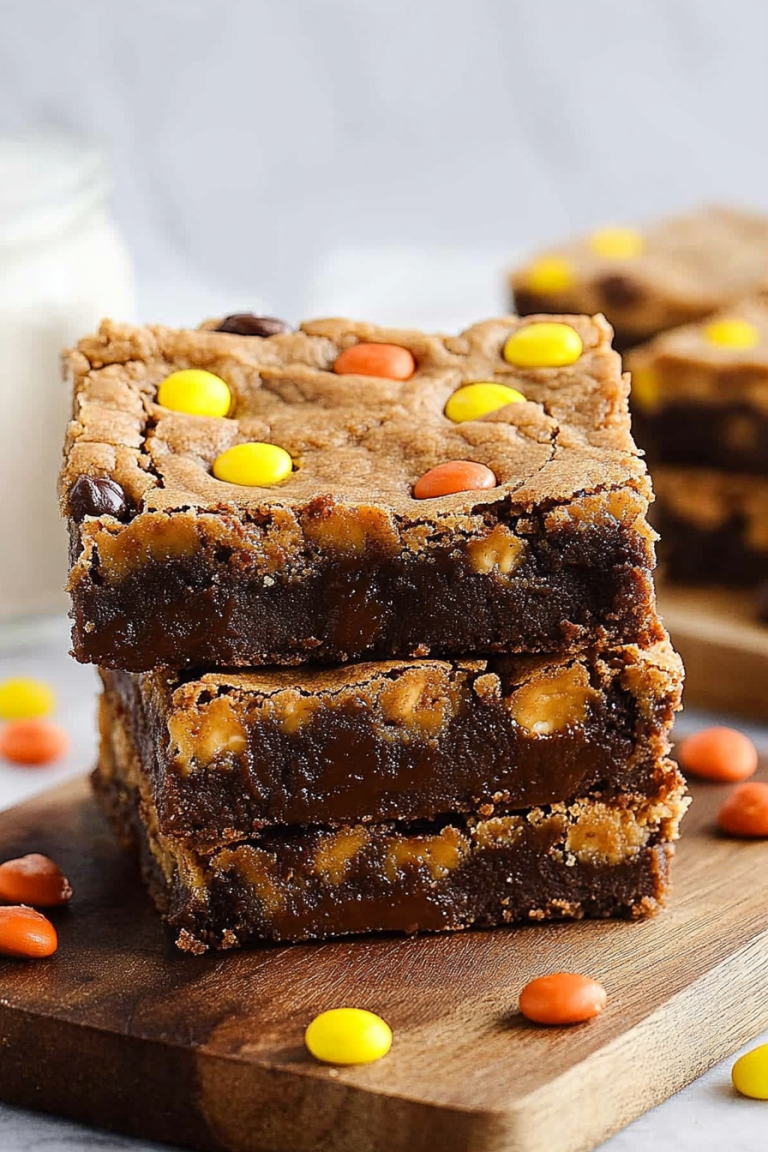
Think of brownie cookies as the adorable, bite-sized version of that thick, gooey brownie you love, but in a cookie form. They’re essentially those fudgy, chewy squares you cut into pieces, but made into individual cookies—each one packed with enough chocolate richness to satisfy any sweet tooth. The name really says it all: a marriage of brownie-like decadence with cookie convenience. These cookies are dense, moist, and delightfully fudgy, with a slightly crisp edge that gives way to that luscious, melt-in-your-mouth center. What’s so fun about them is how uncomplicated they are. You don’t need fancy ingredients or fancy skills — just a handful of pantry staples, a mixing bowl, and a baking sheet. Think of it as a little chocolate love affair between two classic desserts, all in one bite. Once you get the hang of it, you’ll see how endlessly customizable they are — add nuts, swirls of caramel, or a sprinkle of flaky sea salt for extra flair. They’re a true comfort food in cookie form, perfect for sharing or just keeping all to yourself (no judgment here!).
Why you’ll love this recipe?
What I love most about this brownie cookies recipe is how it hits all the marks: super tasty, insanely easy, and versatile enough to make your own. These cookies are pure chocolate bliss — rich, fudgy, with that irresistible gooey center that makes every bite feel like a tiny, indulgent hug. The best part? You can throw them together in under 30 minutes, no mixer required. Just whisk, fold, and bake. They’re budget-friendly too — pantry staples like cocoa powder, butter, and sugar do the trick perfectly. And can we talk about how flexible they are? Want to boost the nuttiness? Mix in some chopped walnuts or hazelnuts. Craving a swirl of peanut butter or caramel? Go ahead! I especially love serving these with a glass of cold milk or espresso — the combination of warm, chocolatey goodness with a hot drink is pure comfort. Plus, these brownie cookies are endlessly adaptable, whether you prefer gooey, cakey, or somewhere in between. They’ve become our family favorite for impromptu dessert, afternoon tea treats, or whenever my sweet tooth strikes. Honestly, once you’ve made these, they’ll become your go-to for every chocolate craving.
How do I make Brownie Cookies?
Quick Overview
This recipe is all about quick, straightforward steps to achieve maximum chocolatey gooeyness. You start by melting butter and mixing it with cocoa powder and sugar — simple, right? Then, you add eggs and vanilla for richness. The dry ingredients come in next, just stirred until combined. For the filling, I often swirl in a little caramel or peanut butter for extra decadence — but that’s optional. Drop spoonfuls onto your baking sheet, swirl or top as you like, bake, cool, and voilà — you’ve got luscious brownie cookies that look fancy but come together in minutes. It’s the kind of recipe that saves busy weeknights and impresses everyone, from kids to grownups. And since these are so forgiving, you can play around with add-ins or toppings without worry. Trust me — once you try this, you’ll never want plain old cookies or brownies again.
Ingredients
For the Main Batter:
– ½ cup (115g) unsalted butter, melted — use good quality butter for the best flavor.
– ⅓ cup (35g) unsweetened cocoa powder — Dutch-process if you like a smoother texture.
– 1 cup (200g) granulated sugar — helps achieve that shiny, crackly top.
– 2 large eggs — room temperature for better incorporation.
– 1 teaspoon vanilla extract — for that warm, rounded flavor.
– ¾ cup (90g) all-purpose flour — spooned, leveled; gluten-free works with special flour, see tips below.
– ½ teaspoon baking powder — just a little to help them set nicely.
– ¼ teaspoon salt — to enhance the chocolate flavor.
For the Filling (optional but a total game-changer):
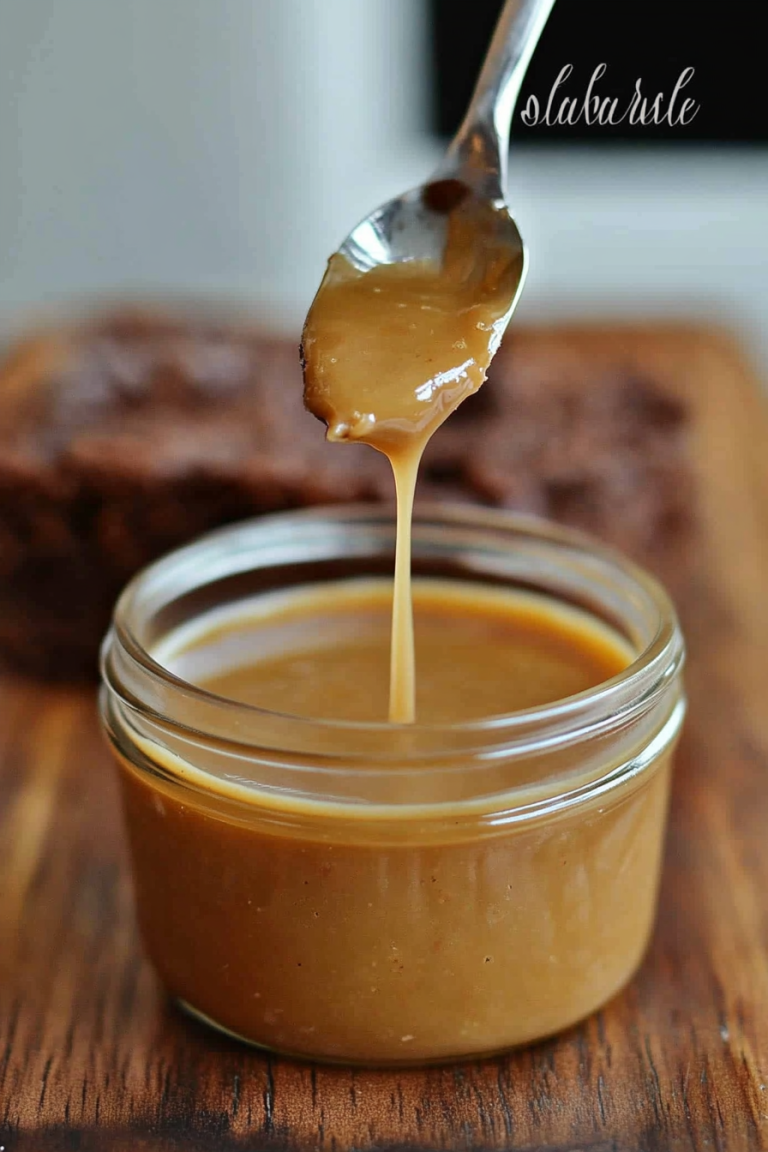
– ¼ cup caramel sauce or peanut butter — swirl into the batter before baking.
– Or chopped nuts if you want some crunch! — about ¼ cup.
For the Glaze (optional):
– ½ cup powdered sugar
– 1-2 teaspoons milk or cream
– A splash of vanilla
– Flaky sea salt or sprinkles for finishing
Step-by-Step Instructions
Step 1: Preheat & Prep Pan
Heat your oven to 350°F (175°C). Line a baking sheet with parchment paper or silicone baking mats — no sticking, no fuss. I always do this first while I gather my ingredients, so I don’t forget later. A little spray of non-stick spray helps if you’re worried about sticking. Keep your ingredients within arm’s reach; baking gets easier when everything’s ready to go!
Step 2: Mix Dry Ingredients
In a small bowl, whisk together the flour, baking powder, and salt. This prevents clumping and makes sure every bite is evenly chocolatey. Set aside. I’ve learned the hard way that overmixing once wet ingredients go in can make the cookies tough — so I keep this step gentle.
Step 3: Mix Wet Ingredients
In a larger bowl, combine the melted butter and cocoa powder, whisking until smooth and glossy. Add the sugar and stir well — it should look thick and shiny. Then, beat in the eggs one at a time, followed by vanilla. You’ll notice the mixture becoming richer and coming together like a luscious chocolate mousse. Pro tip: make sure your eggs are at room temperature; that way, they blend more smoothly.
Step 4: Combine
Fold the dry ingredients into the wet mixture gently, just until you see no streaks of flour. Overmixing can give you dense cookies, so keep it light. If you want to add nuts or mini chocolate chips, fold them in now. The batter should be thick but scoopable — think cookie dough, not cake batter.
Step 5: Prepare Filling
If you’re adding a swirl of caramel or peanut butter, pop it into a piping bag or use a spoon to dollop it in spots on the batter. Use a toothpick or skewer to swirl it in — I love creating marbled effects because they look pretty and taste extra decadent.
Step 6: Layer & Swirl
Scoop heaping tablespoons onto your prepared baking sheet. If you want that beautiful marbled look, gently swirl the filling into the top of each cookie with a toothpick or the tip of a knife. Don’t overdo it — just a few gentle swoops for that lovely pattern.
Step 7: Bake
Slide the tray into the oven and bake for about 10-12 minutes. The edges should look set, but the centers still appear soft and slightly underbaked — that’s what gives you that fudgy, brownie-like texture. Every oven runs a bit differently, so keep an eye on them. If you love your cookies softer, take them out earlier; if you prefer a more cooked center, give them an extra minute or two.
Step 8: Cool & Glaze
Let the cookies cool on the baking sheet for 5 minutes before transferring them to a wire rack. This keeps them from breaking apart. Once cooled, mix together your powdered sugar glaze, adding milk gradually until it’s thick but pourable. Drizzle over the cookies, sprinkle with flaky salt or sprinkles, and let sit for a few minutes to set. Trust me — the glaze makes them look fancy, but it’s so easy!
Step 9: Slice & Serve
If you made a larger cookie or want to serve them all at once, you can cut them into smaller squares once cooled. Or just grab one straight off the rack! These brownie cookies taste divine slightly warm or at room temperature. I love serving them with a cold glass of milk or a steaming cup of coffee — they’re secretly the best pairing.
What to Serve It With
These brownie cookies are so versatile, I’ve found they can fit in anywhere. For a quick breakfast treat, pair them with your morning coffee — the richness complements that bitter kick perfectly. On brunch days, serve a few alongside fresh berries and whipped cream, turning them into a mini chocolate indulgence. As a dessert, they’re just about perfect with a scoop of vanilla ice cream or a drizzle of caramel sauce for that extra wow factor. My family loves to have them as an afternoon snack, especially when little friends come over or after a long day when everyone needs a sweet pick-me-up. A warm cookie and cold milk? Pure nostalgia. I even hide a couple in the freezer, wrapped well, so I can enjoy a chewy, fudgy treat whenever the craving strikes. Trust me, once you master this brownie cookies recipe, it’ll become your secret weapon for quick, homemade happiness.
Top Tips for Perfecting Your Brownie Cookies
Experience has taught me a few tricks for making these cookies absolutely irresistible. First, don’t skip the melting step — that’s what gives them their fudgy texture. Ensure your butter is fully melted and slightly cooled before mixing it with the cocoa and sugar; hot butter can scramble the eggs, and cold butter won’t blend smoothly. When mixing dry ingredients, I always gently fold to keep the batter tender. Overmixing is the biggest enemy here. If you want that beautiful marbled swirl, practice your gentle technique — it makes all the difference visually and flavor-wise. You can swap out some of the flour for almond flour for a slightly nuttier cookie, but I’ve tested and found that you might need to add a little more moisture — perhaps a teaspoon of milk or a tiny bit more butter — to keep the dough soft. Baking times can also vary—remember, ovens are like people, all a little different. Keep a close eye after 10 minutes—you want the edges to be just set but the centers still soft. For glaze variations, try adding a splash of vanilla or a teaspoon of coffee extract for a deeper chocolate flavor. I’ve made these dozens of times, tweaking little things here and there, and I promise, each batch gets better. The most important tip? Have fun with it! Add your favorite nuts, swirl in caramel, or top with sea salt — these cookies are your playground.
Storing and Reheating Tips
These brownie cookies stay fresh for a few days if stored properly. Keep them in an airtight container at room temperature — I like to line the container with parchment paper so they don’t stick together or lose their fudgy texture. They’ll stay good for about 3-4 days, but honestly, they rarely last that long in my house. If you want to keep them longer, pop them in the fridge — just make sure they’re properly wrapped or in an airtight box to prevent dryness. They’re also freezer-friendly. Wrap each cookie individually or stack them with parchment paper in a freezer-safe container. They can last up to a month. To enjoy later, let them thaw at room temperature for just a few minutes or warm them slightly in the microwave — 10 seconds is usually enough to revive that gooey texture. If you added glaze, wait until they’re fully thawed or reheat briefly to prevent melting the glaze too much. I find that reheated brownie cookies taste almost as good as fresh, especially if you serve them slightly warm — pure comfort!
Frequently Asked Questions
Final Thoughts
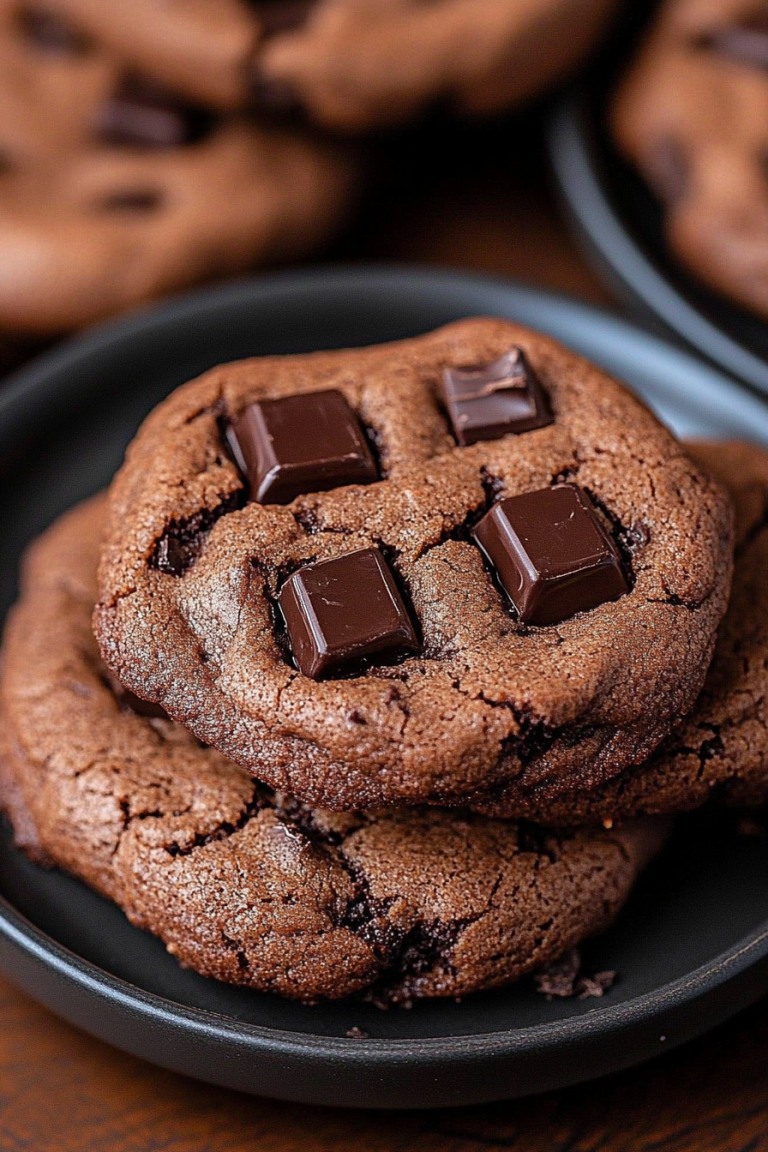
There’s really nothing quite like biting into a warm brownie cookie — the rich, fudgy center with just a hint of crisp around the edges is pure magic. I’ve made these countless times, tweaking and perfecting, and I can honestly say they’re a forever keeper in my recipe box. Whether you’re craving a quick fix for chocolate cravings, looking for a crowd-pleasing treat, or just wanting to indulge in some comfort food, these brownie cookies deliver every single time. They’re forgiving, customizable, and, best of all, downright delicious. Once you try making them, I’m pretty sure you’ll find yourself reaching for the ingredients without hesitation — they’re that good. So go ahead, get mixing, and I can’t wait to hear how yours turn out. Happy baking!
Chocolate Brownie Cookies
Ingredients
Method
- Preheat the oven to 350°F. Line baking sheets with parchment paper.
- Place the brownie mix in a large bowl. Add eggs, flour, and oil. Mix until a thick batter forms.
- Stir in your preferred mix-ins such as chocolate chips or nuts.
- Scoop 2 tablespoon-sized balls of dough onto the prepared baking sheets, spacing them apart.
- Bake for 8-12 minutes until they are just set and glossy. Let cool before serving.