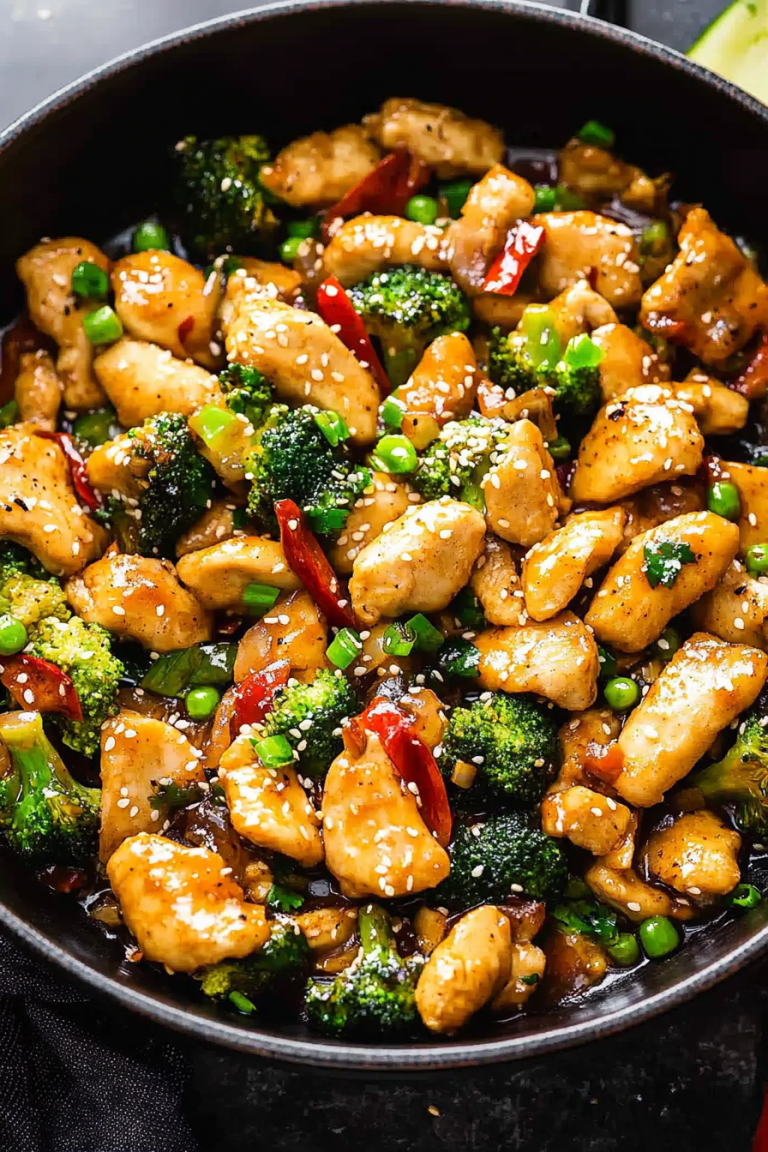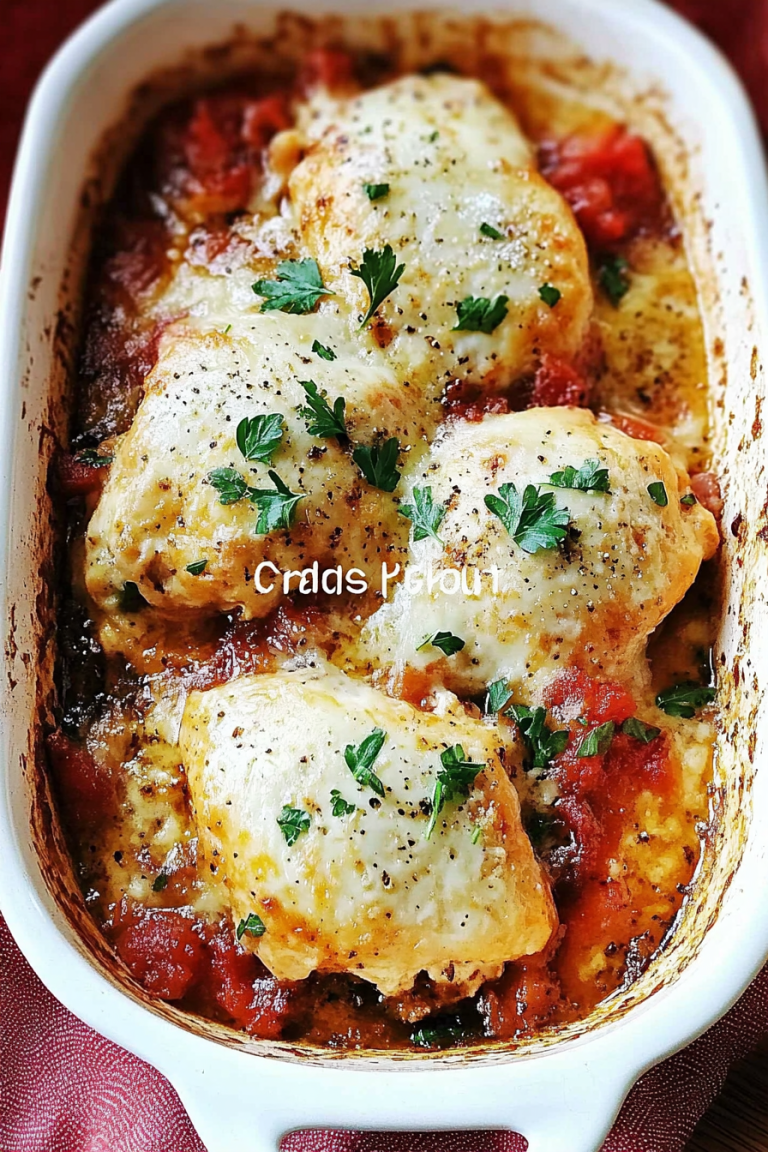
Glorious Chicken Recipe: How to Make It Easy
There’s just something about a dish that feels fancy yet is so easy you can whip it up on a busy weeknight — that’s exactly what Chicken Gloria is for me. I remember the first time I tried it; I was home after a long day, and the smell of garlic, cream, and tender chicken filled my kitchen, instantly lifting my spirits. My family couldn’t get enough, and honestly, neither could I. It’s one of those recipes that sounds impressive but is really straightforward, almost like a culinary hug in a bowl. I always do this when I want comfort food with a little bit of an elegant twist. It’s perfect served over pasta, rice, or even mashed potatoes. And trust me, this one’s a lifesaver on busy nights because it comes together in about 30 minutes and makes everyone think you’ve spent hours in the kitchen. I’ve made this countless times, tweaking little things here and there, and it never fails to impress. The first time I made it, I accidentally used half-and-half instead of cream — and wow, it made it even creamier! If you’re craving something rich, satisfying, and restaurant-worthy, grab your ingredients; this recipe is about to become a staple in your house too.
What is chicken Gloria?
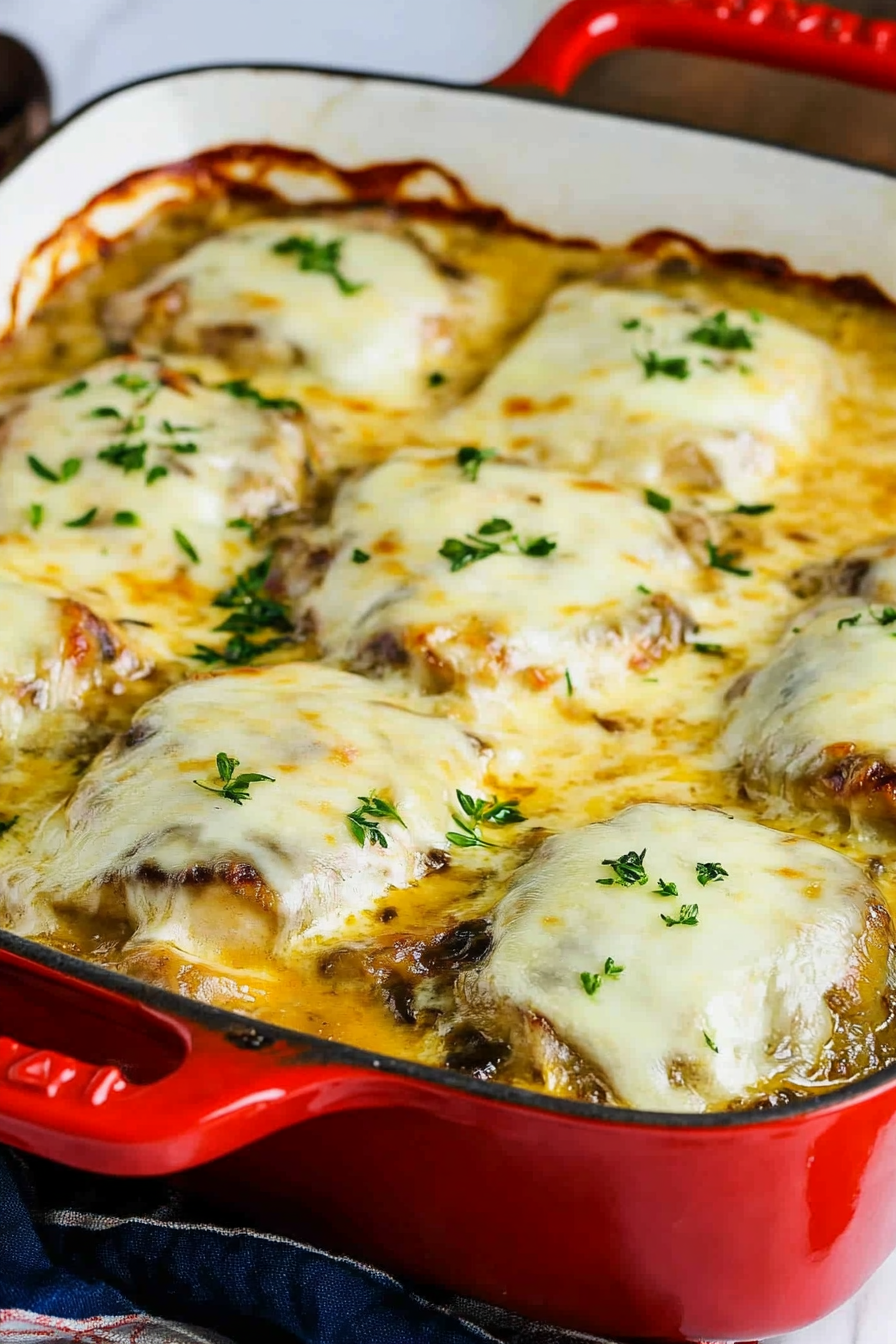
Think of Chicken Gloria as a cozy take on a classic French-inspired chicken dinner, combining tender pieces of chicken with a luscious, buttery garlic sauce. The name “Gloria” gives it a little touch of elegance, but honestly, it’s more about making you feel like a fancy chef in your own kitchen. It’s essentially chicken simmered or sautéed in a rich, creamy sauce—think silky, slightly garlicky, and infused with a hint of herbs. The whole magic happens with just a handful of ingredients that most of us keep around, which makes this dish super accessible. It’s the kind of meal that looks fancy enough to serve guests but is totally doable for a weeknight family dinner. Think of it as a cross between chicken piccata’s zest and a creamy Alfredo, but with its own special charm. My favorite part? The sauce. It’s so velvety—perfect spooned over pasta or even just eaten straight from the pan with a slice of crusty bread. It’s comfort-food-elevated, and I promise, it’ll hook you on it after the first bite.
Why you’ll love this recipe?
What I love most about Chicken Gloria is how it checks all the boxes for a perfect dinner. First off, flavor — oh my gosh, the smell alone makes everyone gather around the table! The garlic and cream combo is timeless, and there’s a slight tang from the lemon that keeps it bright and fresh. It’s rich but not heavy, thanks to the perfect balance of butter, cream, and herbs. Second, the simplicity. I’ve tested this with just a few pantry staples, and I swear it comes together in less than 30 minutes. No complicated techniques, no fuss, just honest-to-goodness delicious food. And let’s talk budget — the ingredients are so basic that you probably already have everything in your fridge or pantry. This recipe is versatile, too. Sometimes I throw in a handful of spinach or a sprinkle of Parmesan for extra flavor. I’ve served this all kinds of ways — over pasta, rice, or even with crusty bread to scoop up that incredible sauce. It’s also kid-friendly and always a hit at my house — my kids ask for seconds every single time. Honestly, once you make this a couple of times, you’ll find yourself reaching for it on those “I don’t know what to cook” nights because it’s just that good.
How do I make chicken Gloria?
Quick Overview
This recipe is all about achieving that perfect, creamy sauce with tender chicken that melts in your mouth. Honestly, it’s as simple as sautéing chicken breasts or thighs until golden, then creating a flavorful sauce in the same pan with garlic, butter, cream, and a splash of lemon. The best part? You swirl everything together just before serving, so every bite is bursting with richness but still balanced with that zing of citrus. You don’t need any fancy equipment or special skills — just a good skillet and a little patience. It’s especially nice because you can batch-cook the chicken ahead if needed and then just reheat with the sauce. The magic comes from the way the ingredients come together so seamlessly, creating a smooth, velvety, comforting dish that I often consider my go-to when I want something satisfying but effortless.
Ingredients
For the main chicken: For the main chicken: For the main chicken: For the main chicken: For the main chicken: For the main chicken: For
– 4 boneless, skinless chicken breasts or thighs (I prefer thighs for juiciness) (I prefer thighs for
– Salt and freshly ground black pepper (to taste)
– 2 tablespoons olive oil or butter for browning
– 3 cloves garlic, minced (don’t skip this — it’s the flavor backbone!)
– 1/2 teaspoon crushed red pepper flakes (optional, for a tiny kick!)
For the Creamy Sauce:
– 1 cup heavy cream (trust me on this; it’s worth the richness)
– 2 tablespoons unsalted butter
– Juice of 1 lemon (brightens everything up)
– 1/4 cup grated Parmesan cheese (my secret weapon)
– 1 teaspoon dried thyme or Italian herbs (or fresh if you have it)
– Salt and pepper to taste
– Chopped parsley (for garnish, and color!)
Step-by-Step Instructions
Step 1: Preheat & Prep Pan
Start by heating your skillet over medium heat. While it warms, pat your chicken dry with paper towels — dry chicken browns better! Season generously with salt and pepper. Once hot, add olive oil or butter. I like butter because it adds flavor, but olive oil keeps things lighter. When the oil’s shimmering (or the butter is frothy), add the chicken. Don’t crowd the pan; give each piece space to sear without steaming. Cook for about 5-7 minutes per side until golden and cooked through. Set aside on a plate while you make the sauce.
Step 2: Mix Dry Ingredients
Not much here — just have your salt, pepper, and herbs ready. I like to sprinkle the herbs over the chicken while it’s cooking for a fragrant kick. Trust me, the aroma alone is worth this step.
Step 3: Mix Wet Ingredients
In a small bowl, whisk together the heavy cream, lemon juice, and Parmesan. This combo is what makes the sauce so luscious and tangy. I tested this with a splash of white wine once, and it added a tiny bit more complexity — but honestly, the cream and lemon are enough.
Step 4: Combine
Once the chicken is out, turn down the heat to low and toss in the minced garlic. Sauté for about a minute until fragrant — be careful not to burn it. Pour in the cream mixture, stirring gently to scrape up all those flavorful browned bits from the pan. Let it simmer for 3-5 minutes until slightly thickened. Adjust salt and pepper as needed.
Step 5: Prepare Filling (Optional)
If you want a little veggie twist, stir in some sautéed spinach or mushrooms now. I love tossing in a handful of baby spinach — it wilts down quickly and adds freshness.
Step 6: Layer & Swirl
Return the chicken to the pan, spooning sauce over it. To get those beautiful swirls, use a spoon or spatula to gently swirl the sauce around the chicken without disturbing the sear too much. Some people like to add a few lemon slices here for extra visual pop.
Step 7: Bake
While you can just serve this straight from the stove, I often pop the skillet into a preheated 375°F (190°C) oven for about 10-15 minutes. It ensures the chicken stays juicy, and the sauce gets extra velvety. But leftovers are just as delicious reheated on the stovetop.
Step 8: Cool & Glaze
Once cooked through, remove from heat and let it rest for a few minutes. If you want an extra glossy finish, stir in a tiny bit more butter or Parmesan right before serving. And maybe sprinkle with fresh parsley for that beautiful green touch.
Step 9: Slice & Serve
Slice the chicken against the grain, plate it up, and spoon that glorious sauce all over. Serve hot, with a side of your favorite carbs. Trust me, this dish is best enjoyed with a glass of white wine and some good company. My kids always ask for seconds, and I love the way the sauce soaks into the pasta or rice, making every bite perfect.
What to Serve It With
This dish shines with a simple side or two. For breakfast, I’ve done it over eggs for a savory start — but honestly, it’s more of a dinner hero. For a laid-back brunch, serve it alongside some crusty French bread and a crisp green salad with vinaigrette. It’s also divine over buttered noodles or fluffy rice — whichever you prefer. If you’re feeling fancy, a sprinkle of extra Parmesan and a squeeze of lemon just before serving elevates it even more. When I want something cozy, I love boxing up leftovers with a dollop of extra sauce tucked on top — it makes the reheated dish taste just as indulgent. And hey, adding a side of roasted veggies, like asparagus or green beans, makes it feel even complete. Leftovers disappear in minutes at my house, and I never mind reheating a plate of this magic. It’s the kind of meal that makes everyone ask, “Can I have more?” every single time.
Top Tips for Perfecting Your Chicken Gloria
Over the years, I learned a few tricks to make this dish really shine every single time. First, don’t skip patting your chicken dry — moist chicken won’t brown nicely, and that crisp sear is key. I always recommend using thighs if you want it extra juicy, but breasts work too if you prefer a lighter feel. When browning, resist the urge to move the chicken too early — patience pays off here. When it’s golden, it’ll release easily from the pan. As for the sauce, adding lemon juice at the end really brightens everything — trust me on this. I’ve also experimented with swaps, like coconut cream instead of heavy cream for a dairy-free version, which turns out surprisingly rich, or using fresh thyme instead of dried. Just remember, the sauce should be velvety and coat the back of a spoon. Don’t overthink the thickness; if it’s too thin, simmer a little longer. Too thick? Stir in a splash of broth or water. I’ve found that adding Parmesan last keeps it melty and flavorful without becoming grainy. And for a pop of color, fresh parsley just before serving is my go-to — it makes the whole dish look just as good as it tastes. Trust your nose and taste buds — this recipe is forgiving once you get the hang of those little adjustments.
Storing and Reheating Tips
This dish holds up beautifully in the fridge for up to 3 days. Keep it in an airtight container, and if the sauce thickens too much, stir in a splash of warm broth or milk when reheating to bring it back to silky perfection. When it’s cold and you’re ready to eat again, I recommend reheating gently on the stove over low heat, stirring often so it doesn’t curdle. It’s easy to overheat the cream, so patience is key. If you’re freezing leftovers, transfer everything into a sturdy freezer-safe container, leave a little space for expansion, and it’ll keep for up to a month. Thaw it overnight in the fridge, then reheat on the stove, adding a splash of water or broth if needed. I usually add a quick squeeze of lemon and a sprinkle of Parmesan before serving to freshen things up. When you reheat, the flavors get even better — kind of like how a stew develops more depth overnight. Just watch the heat and stir often, and you’ll have a restaurant-quality dish every time, even after a few days. And my secret? Sometimes I freeze the sauce separately from the chicken, so I can reheat just the sauce and quickly cook fresh chicken — it’s a game changer when you’re in a pinch!
Frequently Asked Questions
Final Thoughts
If you’re like me and love a meal that’s deceptively simple but feels like a special treat, Chicken Gloria should definitely be in your rotation. It’s rich, creamy, and full of flavor, yet it’s so forgiving and adaptable — I’ve even made it dairy-free with great results. The magic really lies in that velvety sauce that coats the chicken and makes everything taste a little bit decadent. Plus, it’s a one-pan wonder that saves time and clean-up, which is a blessing after a busy day. I honestly think this dish pairs beautifully with just about anything you’ve got— pasta, rice, or even veggies for a lighter meal. My advice? Double the recipe when you can because leftovers are just as heavenly. I can’t wait to hear how yours turns out—whether you serve it over fettuccine, with a squeeze of lemon, or just straight from the pan, I’m sure it’ll become a favorite. Happy cooking, friends! And don’t forget to share your own twists and photos — I love seeing how everyone makes it their own.

Creamy Chicken Alfredo
Ingredients
Method
- Cook the fettuccine pasta according to package instructions until al dente. Drain and set aside.
- Season the chicken breasts with salt and pepper. In a large skillet, melt 1 tablespoon of butter over medium heat. Cook the chicken until golden brown and cooked through, about 6-8 minutes per side. Remove from skillet and slice.
- In the same skillet, melt remaining butter over medium heat. Add minced garlic and sauté for 1 minute until fragrant.
- Pour in heavy cream and bring to a simmer. Stir in Parmesan cheese until melted and sauce is smooth.
- Add cooked pasta and sliced chicken to the sauce. Toss to coat evenly and heat through for 3-4 minutes.
- Serve immediately, garnished with additional Parmesan cheese if desired.