Graham Cracker Cookies How to Make S’mores Bliss
You know those warm, gooey s’mores you love to make around the campfire? Well, I’ve got a secret for you—these Smores cookies are basically the delicious, nostalgic cousin you didn’t see coming. I remember the first time I whipped up a batch of these during a rainy weekend, and I swear, the entire house smelled like a bonfire and chocolate heaven. My kids couldn’t wait to dig in, and honestly, neither could I. They’re the kind of treat that’s just as good for a quick dessert as it is when you want something sweet and satisfying after dinner. Plus, I’ll admit, I love how easy they are to throw together—no roasting marshmallows over a flame or waiting for the fire to die down. Just a few simple ingredients and an oven, and you’re in s’mores paradise. Trust me, once you try these, they’ll become a staple in your recipe box—and the best part? They disappear in minutes at my house!
What are Smores Cookies?
Think of Smores cookies as a soft, chewy, chocolatey cookie layered with marshmallow goodness and a touch of graham cracker crunch. It’s essentially the flavors of a s’mores treat but transformed into a handheld dessert that’s perfect for any occasion. The name is pretty straightforward—“Smores” with a playful twist, and they definitely deliver all those classic campfire vibes in cookie form. These cookies usually start with a tender chocolate cookie dough, topped with melted marshmallows, crushed graham crackers, and a drizzle of chocolate for that extra indulgence. The idea? To capture the cozy, sweet, chocolatey, and marshmallow-y magic of s’mores without the fuss of building a campfire. Whether it’s for a family movie night, a summer picnic, or just a spontaneous sweet craving, these Smores cookies make everything better!
Why you’ll love this recipe?
What I love most about these Smores cookies is how they combine all the best parts of s’mores into one bite-sized treat. The flavor profile hits all the right notes: rich chocolate, toasty marshmallows, and that satisfying graham cracker crunch. It’s a flavor combo that transports me straight back to childhood camping trips, sitting around a fire with sticky fingers and happy hearts. Plus, these cookies are incredibly easy to make—no complicated techniques or hard-to-find ingredients. Just mix, layer, and bake. They’re also super budget-friendly, relying on pantry staples like chocolate chips, marshmallows, and graham crackers. And the versatility? Oh yes, you can tweak them in so many ways—use dark chocolate, add some peanut butter, or sprinkle sea salt on top for a gourmet touch. What I particularly love is how these cookies are perfect for both casual family snacks and party desserts. They’re a crowd-pleaser, and I always do this when I want to impress with minimal effort.
Honestly, once you make these a couple of times, you’ll find yourself reaching for the ingredients whenever a sweet tooth strikes. They’re the kind of treat that feels fancy enough for guests yet simple enough for a weeknight craving. And trust me, once you get that first bite, you’ll be hooked. My kids ask for these all the time, and I don’t blame them—it’s like biting into a cozy, melty, chocolatey dream.
How do I make smore cookies?
Quick Overview
This recipe is a delightful combination of a soft chocolate cookie base topped with gooey marshmallows, crushed graham crackers, and a drizzle of chocolate. The secret to making these magic lies in layering everything just right and baking until the marshmallows are perfectly toasted—nothing beats that caramelized, smoky flavor. The process is surprisingly straightforward: you prepare the cookie dough, press it into your pan, add the toppings, and bake. In under an hour, you’ve got a tray of fudgy, crunchy, marshmallow-loaded goodness that’s best enjoyed warm. The trick is to watch the marshmallows carefully—once they puff and turn golden, you know they’re done. The best part? No need to buy fancy ingredients or spend hours in the kitchen—these are your new go-to for whenever you want an instant hit of comfort.
Ingredients
For the Main Batter:
– 1 cup all-purpose flour (I always use unbleached for better flavor)
– 1/2 cup unsweetened cocoa powder (Dutch-processed if you have it)
– 1/2 teaspoon baking soda
– 1/4 teaspoon salt
– 1/2 cup unsalted butter, softened
– 1/2 cup brown sugar
– 1/4 cup granulated sugar
– 1 large egg
– 1 teaspoon vanilla extract
For the Filling:
– 2 cups mini marshmallows (I like to toast a few on the side for extra flavor)
– 1/2 cup crushed graham crackers (about 4 full sheets)
– Additional mini marshmallows for topping (optional)
For the Glaze:
– 1/3 cup semi-sweet chocolate chips
– 1 tablespoon heavy cream (or milk, if you prefer a thinner drizzle)
– Optional: sprinkle of sea salt or crushed graham for extra flair
Step-by-Step Instructions
Step 1: Preheat & Prep Pan
Set your oven to 350°F (175°C). Line a baking sheet with parchment paper or a silicone baking mat—trust me, this makes clean-up way easier and keeps the cookies from sticking. If you’re making a thicker cookie bar rather than individual cookies, a greased 9×9-inch pan works perfectly. A quick tip: give the pan a light spray or butter if you’re not using parchment, just to prevent any sticky messes.
Step 2: Mix Dry Ingredients
In a medium bowl, whisk together the flour, cocoa powder, baking soda, and salt. I always do this first so everything gets evenly distributed and the batter turns out perfectly moist and fudgy later. It also prevents lumps, which nobody likes in their cookie dough.
Step 3: Mix Wet Ingredients
In a large bowl, beat the softened butter with brown and granulated sugar until the mixture is light and fluffy—about 2-3 minutes. I love using a handheld mixer for this step. Then, add in the egg and vanilla, mixing until everything’s combined and glossy. The smell alone is enough to make me start craving chocolate!
Step 4: Combine
Gradually add the dry ingredients into the wet mixture, stirring gently just until combined. Do not overmix—overmixing can make the cookies tough instead of tender. Once mixed, the dough should be thick but spreadable. If it looks too runny, give it a minute—sometimes the cocoa can make it a touch stiffer.
Step 5: Prepare Filling
In a small bowl, gently toss the mini marshmallows with half of the crushed graham crackers. If you want extra marshmallow gooeyness, reserve some to sprinkle on top before baking. For a fun twist, I sometimes fold in mini chocolate chips or chopped peanut butter cups into this layer—be creative!
Step 6: Layer & Swirl
Press the cookie dough into your prepared pan, creating an even layer. Spread the marshmallow mixture evenly on top, then sprinkle with remaining crushed graham crackers. For a prettier finish, I like to add a few mini marshmallows on top—don’t press them down, just scatter loosely. Then, take a toothpick or skewer and swirl the marshmallows through the dough for that marbled effect—it looks gorgeous and tastes even better.
Step 7: Bake
Bake in the preheated oven for about 20-25 minutes. Keep an eye on the marshmallows—they should be puffed and golden with a little caramelization. If they start to burn or puff up too much, just take the pan out early—nothing ruins these like overbaked marshmallows. The edges of the cookie will look set, and the marshmallows should be melted through and slightly toasted—perfection!
Step 8: Cool & Glaze
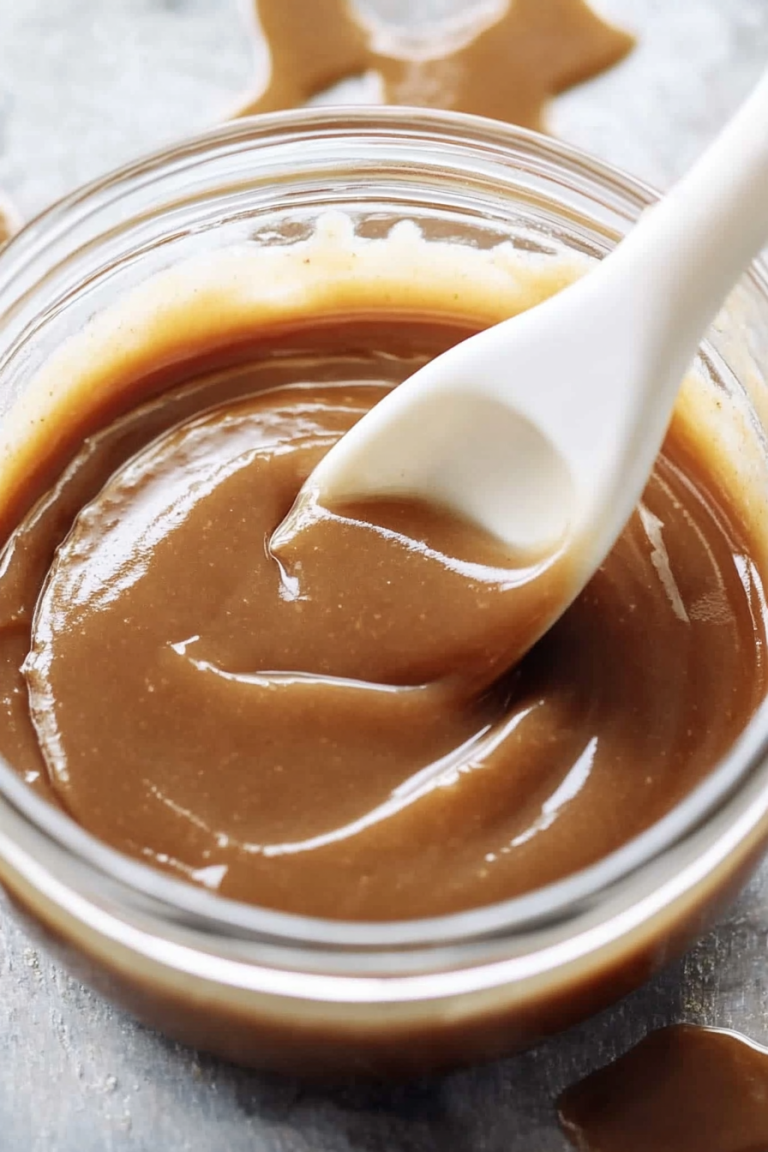
Let the whole thing cool in the pan for about 10 minutes. Then, melt your chocolate chips with heavy cream in a microwave-safe bowl, stirring until silky smooth. Drizzle this luscious chocolate glaze all over the top, following your artistic instincts. If you like, sprinkle a touch of sea salt over the glaze—trust me, it balances the sweetness beautifully. Allow the glaze to set for another 10-15 minutes before slicing.
Step 9: Slice & Serve
Use a sharp, warm knife to cut into squares or bars. Warming the knife slightly in hot water helps with clean cuts. Serve these warm for maximum gooeyness, or at room temperature if you prefer a firmer texture. These cookies are a showstopper paired with a glass of cold milk or hot coffee—whatever makes you feel cozy.
What to Serve It With
My favorite way to enjoy these Smores cookies is with a tall glass of milk—classic, right? But they’re also fantastic served with a scoop of vanilla ice cream on top or alongside fresh berries for a bit of tartness. During summer barbecues, I’ll sometimes cut them into small squares and pile them on a platter with slices of ripe watermelon or strawberry shortcake. They make a beautiful, crowd-pleasing dessert that looks fancy but is truly effortless. For brunch, I love pairing these with a hot latte or a cold glass of almond milk—it’s a sweet treat that can even double as breakfast if you’re feeling adventurous. Honestly, these cookies are versatile enough to be the star of any dessert table or just a cozy night-in snack. My family always asks for seconds—and I always happily oblige!
Top Tips for Perfecting Your Smores Cookies
Having made these dozens of times, I’ve picked up a few tricks that I swear by:
- Zucchini Prep: Actually, I meant marshmallows—just kidding! But if you want a little extra moisture, you can fold in some grated zucchini into the dough. It adds a touch of freshness and moisture, and you won’t even notice it as long as you drain the excess water.
- Mixing Advice: Be gentle when folding in the marshmallows and graham crumbs—overmixing can deflate everything, and the cookies won’t be as tender.
- Swirl Customization: Try using different pattern techniques—spirals, zigzags, or even a toothpick drag for a more artistic look. It makes each batch unique and fun!
- Ingredient Swaps: Feel free to swap dark chocolate chips for white chocolate or peanut butter for an added layer of yum. Keep ratios similar—about 1/3 cup chocolate or added goodies for best results.
- Baking Tips: Every oven is different. Check the marshmallows around the 20-minute mark, and if they’re browned but the cookie base isn’t quite done, give it a couple more minutes. Letting it cool slightly before cutting keeps everything neat and prevents melting messes.
- Glaze Variations: For a rich caramel flavor, mix in a tablespoon of caramel sauce into the melted chocolate. Or, sprinkle crushed pretzels on top for a salty crunch. Play around, and trust your taste buds!
Over the years, I’ve learned that patience and a watchful eye make all the difference. These cookies are forgiving but pay off big when you nail the marshmallow toastiness and gooeyness. My biggest lesson? Don’t rush the cooling—breaking into a warm, just-baked cookie is fine, but waiting until it’s slightly cooled and the glaze is set makes for picture-perfect slices.
Storing and Reheating Tips
Leftovers? No problem. These Smores cookies are actually pretty good the next day—if they last that long! Store them in an airtight container at room temperature for up to 2 days. The marshmallows might get a little chewy if they sit out too long, but that’s part of the charm. For longer storage, I recommend refrigerating them—just pop them into an air-tight container for 3-4 days. If you want to keep them even longer, place them in a freezer-safe bag, and they’ll stay fresh for up to a month. To reheat, microwave on low for about 15 seconds or warm in a 300°F oven for 5-7 minutes—trust me, they taste almost like freshly baked when warm. If you added extra glaze or toppings, reapply once reheated to keep that shiny, irresistible look. A quick reheat and some fresh drizzle, and you’re good to go. This way, you can enjoy a taste of nostalgia whenever the mood strikes!
Frequently Asked Questions
Final Thoughts
If you love the idea of combining cozy campfire flavors into a warm, satisfying cookie, then these Smores cookies are your new best friend. They’re forgiving, fun, and absolutely addictive—the kind of treat I keep coming back to whenever I need a little comfort or a quick dessert fix. Over the years, I’ve tried tweaking ingredients and techniques, and honestly, this recipe has become a family favorite in my house. It never fails to bring a smile and a whole lot of “Can I have seconds?” from my kids. So, gather your ingredients, let your creativity run wild, and don’t forget to enjoy every gooey, chocolatey bite. Happy baking! And I’d love to hear how yours turn out—drop your comments and cake tales below. Cheers to sweet memories and even sweeter treats!
Chocolate Chip Cookies
Ingredients
Method
- Preheat your oven to 350°F. Line baking sheets with parchment paper.
- In a bowl, whisk together flour, baking soda, and salt. Set aside.
- In a large mixing bowl, beat softened butter, granulated sugar, and brown sugar until creamy. Add eggs one at a time, then vanilla and mix well.
- Gradually add the dry ingredients to the wet ingredients, mixing until just combined.
- Stir in chocolate chips until evenly distributed.
- Drop spoonfuls of dough onto the prepared baking sheets, spacing them apart.
- Bake for 15 minutes or until edges are golden. Cool on wire racks.