Simple Butter Cake Bars Delight
Honestly, I don’t think I’ve ever met a dessert that can evoke so many happy, nostalgic feelings quite like butter cake bars do. They remind me of lazy Sunday afternoons at my grandma’s house—warm, cozy, and fragrant with the smell of butter melting into sweet, buttery goodness. My kids ask for these all the time, especially when I need something quick and comforting on busy weeknights. And trust me, with just a handful of ingredients and a little love, these buttery bars come together faster than you can say “dessert time!” The best part? They’re so versatile—you can enjoy them with a cup of coffee or toss in some fruit or chocolate chips for a fun twist. Once you make these, they’ll become a staple in your family too — I promise, once you try my butter cake bars, there’s no going back! I always keep a batch in the fridge because they disappear in minutes at my house. Truly, this is one of those recipes you’ll keep coming back to, especially when you’re craving something sweet but don’t want to fuss in the kitchen for hours.
What is Butter Cake Bars?
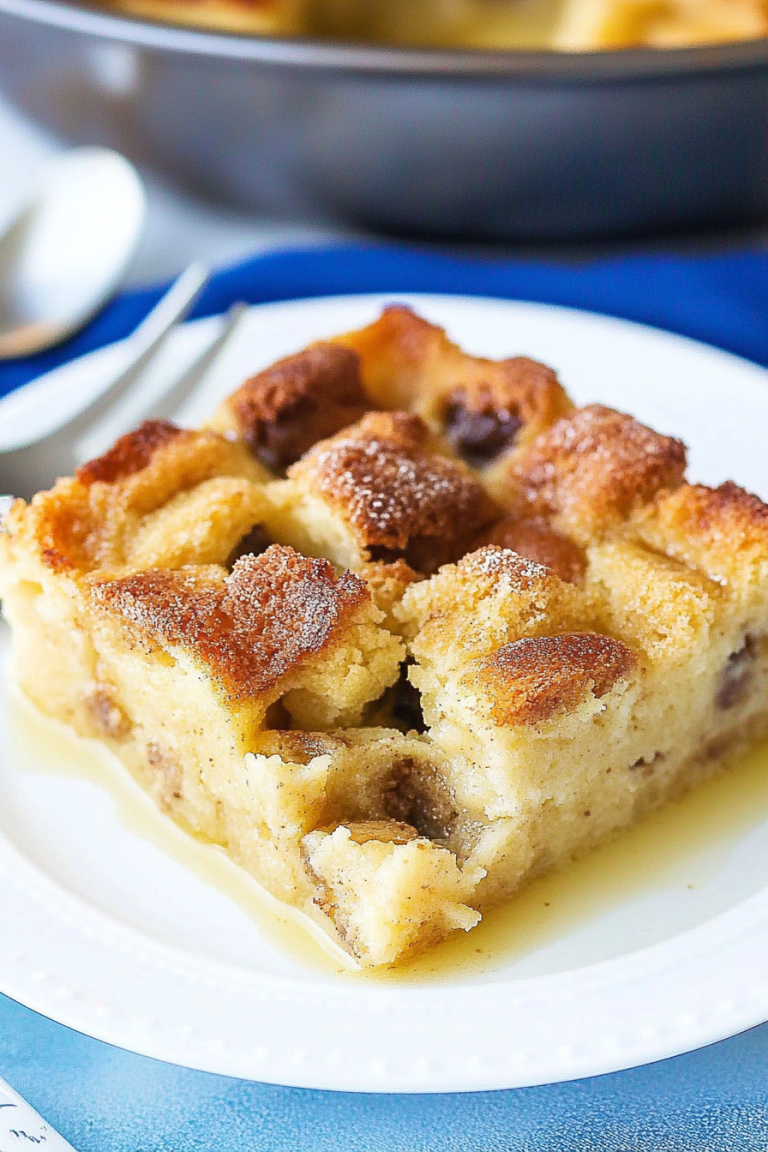
Think of butter cake bars as a cross between a chewy cookie and a soft, crumbly cake—kind of like the lovechild of a butteryShortbread and a gooey dessert bar. They’re essentially a tender, buttery base topped with a luscious, slightly crispy crust that melts in your mouth. The name “butter cake bars” comes from the rich butter flavor that’s front and center in every bite—trust me, it’s pure comfort food. These bars are a hit at potlucks, family dinners, and even as a quick treat to have on hand when that sweet tooth hits late at night. They’re super forgiving too, which makes them perfect for bakers of all skill levels. Just throw together some simple ingredients, mix everything up, and you end up with a dessert that’s cozy, satisfying, and somehow feels like a warm hug. Think of it as the ultimate midweek pick-me-up—easy, indulgent, and downright addictive.
Why you’ll love this recipe?
What I love most about these butter cake bars is how effortlessly they turn out soft, buttery, and just sweet enough every single time. It’s like comfort food on steroids, packed with flavor but so simple to whip up. The smell alone will draw everyone into the kitchen—it’s that rich aroma of butter and vanilla that makes your house smell like a bakery! Plus, they’re a budget-friendly option, since the ingredients are staples—think butter, sugar, flour, and eggs—nothing fancy or hard to find. You can also get creative with mix-ins; add a handful of chocolate chips, swirls of fruit preserves, or even a sprinkle of chopped nuts for some crunch. They’re versatile enough to serve at any occasion—breakfast (why not?!), brunch, afternoon snack, or even a quick dessert after dinner. What I really love is how forgiving this recipe is; overmixing is a common mistake I used to make with other baked goods, but these are super resilient. I tested this many times with slight variations, and honestly, it’s the kind of recipe that makes me feel like a seasoned baker every time I make it. Plus, they’re so delicious that I hesitate calling them “simple”—they’re more like little bites of heaven. And when you taste that buttery, melt-in-your-mouth texture, you’ll understand why I keep making these over and over. It’s one of those recipes that just makes life a little sweeter.
How do I make butter cake bars?
Quick Overview
This recipe is a breeze—start by mixing the buttery, sweet base with a few pantry staples, then layer in your chosen filling or swirl. Bake it until golden and set, then top with a quick glaze or dusting of powdered sugar. It’s honestly so straightforward that you’ll be surprised at how professional it looks and tastes. I love that you can prepare these in one bowl and bake directly in a pan—less mess, less fuss. They come together in about 45 minutes, and wow, the smell alone will have everyone asking when they’ll be ready. Perfect for those nights when you want a satisfying treat without spending hours in the kitchen. Trust me, once you get the hang of it, you’ll be making a batch almost every weekend. The best part? A warm slice melted with a pat of butter on top is pure bliss—though they’re just as good cooled and sliced neatly for sharing. These bars are totally foolproof—just a little bit of mixing, a little patience, and a whole lot of deliciousness!
Ingredients
For the Main Batter:
– 1 ½ cups all-purpose flour (I always use unbleached for a richer flavor)
– ½ teaspoon baking powder (for a tiny lift)
– ¼ teaspoon salt (brings out the sweetness)
– ¾ cup unsalted butter, softened (so important for flavor and texture)
– ¾ cup granulated sugar (for just the right sweetness)
– 2 large eggs (at room temperature—they mix better)
– 1 teaspoon vanilla extract (the magic ingredient that makes it taste bakery-fresh)
For the Filling:
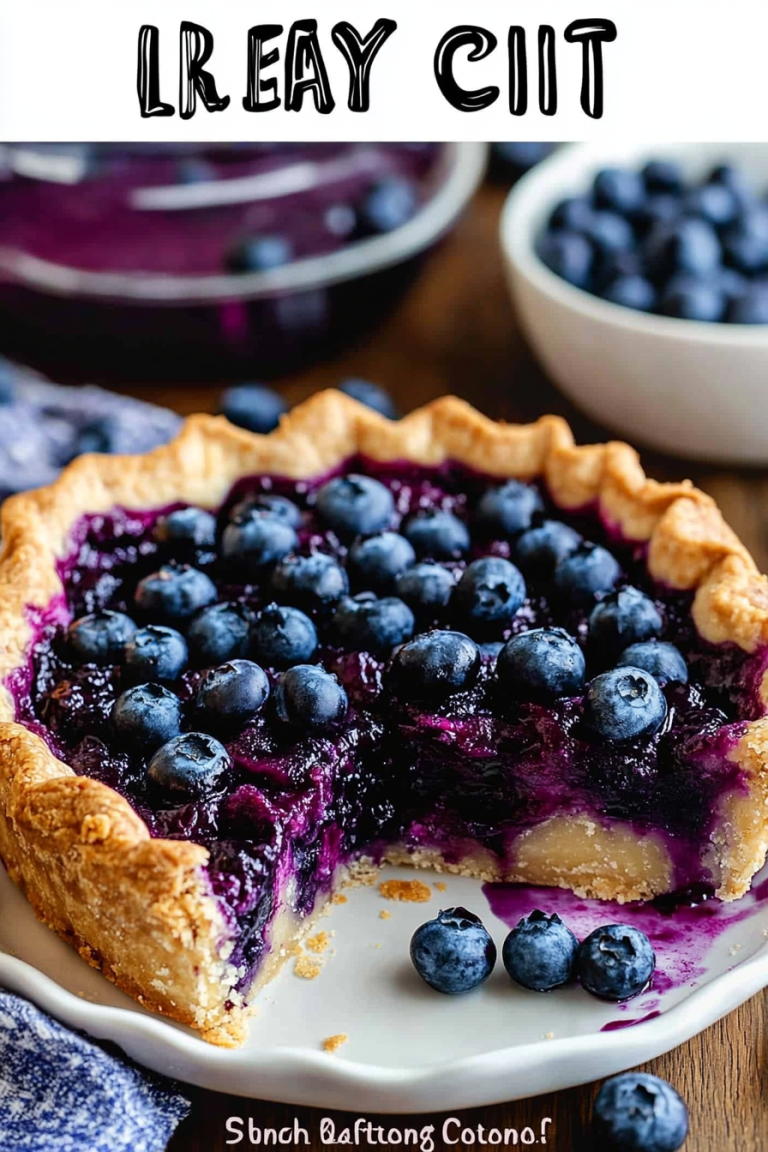
– ½ cup fruit preserves or jam (strawberry, raspberry, or apricot work beautifully)
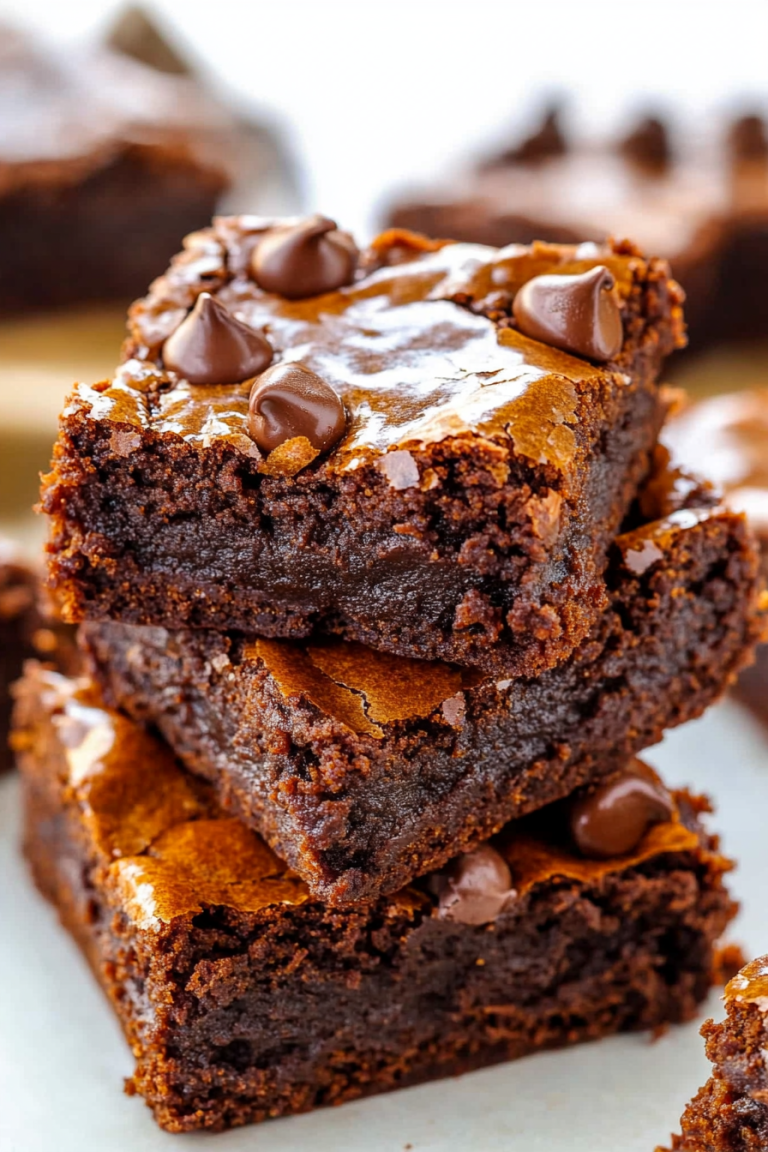
– Or, for a swirl of chocolate, use ½ cup chocolate chips or chunks
For the Glaze:
– ½ cup powdered sugar
– 1-2 tablespoons milk or cream (adjust for desired consistency)
– A splash of vanilla extract (optional but nice)
Step-by-Step Instructions
Step 1: Preheat & Prep Pan
Set your oven to 350°F (180°C). Line a 9×9-inch square baking pan with parchment paper or lightly grease it with butter—this makes removing the bars so much easier. I always do this first because, trust me, sticking isn’t fun, and I like to see that perfect, clean edge once they’re baked.
Step 2: Mix Dry Ingredients
In a small bowl, whisk together the flour, baking powder, and salt. This step ensures everything is evenly distributed and prevents any pesky flour clumps in your batter. It’s a quick step but makes a big difference in getting that light, tender crumb.
Step 3: Mix Wet Ingredients
In a large mixing bowl, beat the softened butter and sugar together until it’s light and fluffy—about 2-3 minutes. I always use a hand mixer for this; it helps aerate everything nicely. Then, add the eggs one at a time, beating well after each addition. Finish with the vanilla. The mixture should be smooth and shiny, like satin.
Step 4: Combine
Gradually add the dry ingredients to the wet mixture, mixing on low speed just until combined. Be careful not to overmix here—that’s the best way to keep the bars tender. If you see streaks of flour, stop mixing; a gentle fold with a spatula can help keep the batter smooth.
Step 5: Prepare Filling
If you’re using jam or preserves, set it aside. For chocolate or other add-ins, gently fold these into the batter or set aside to layer later. This is where you can get creative—try dulce de leche or lemon curd for a tangy twist!
Step 6: Layer & Swirl
Pour about two-thirds of the batter into your prepared pan, spreading evenly. Drop spoonfuls of your jam or preserves on top, then gently swirl with a toothpick or skewer — this creates that beautiful marbled effect. Add the rest of the batter on top, smoothing it out with a spatula. For extra visual flair, you can swirl a little more jam or chocolate across the surface before baking.
Step 7: Bake
Pop it into your preheated oven for about 25-30 minutes. The edges should be golden, and a toothpick inserted in the center should come out clean. Every oven is different, so start checking at 25 minutes; you want that soft, slightly chewy center, not dried out.
Step 8: Cool & Glaze
Let the bars cool in the pan for about 15 minutes — patience is key here. Once cooled, drizzle with your glaze or dust with powdered sugar. That glossy glaze adds just the right touch of sweetness and a little bit of elegance. If you prefer, skip the glaze and dust with powdered sugar for a rustic look.
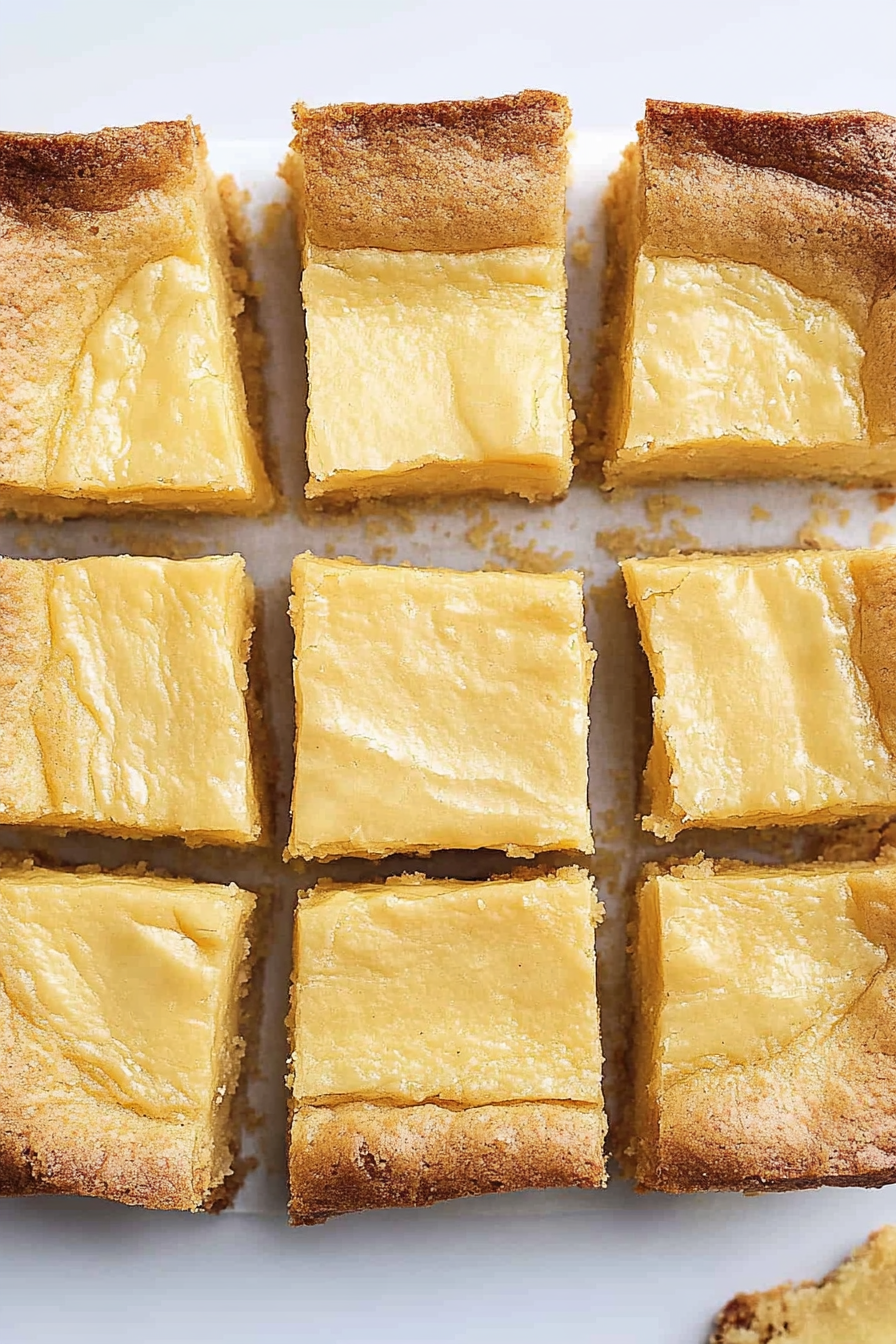
Step 9: Slice & Serve
Use a sharp knife to cut into squares—wiped clean after each cut for perfect edges. These are best served slightly warm or at room temperature. I love serving mine with a cup of coffee or a glass of cold milk for the full cozy experience. Honestly, I always sneak a few the night I make them—they’re dangerously addictive. If you have leftovers, store them in an airtight container at room temperature for a day or two, or in the fridge for up to a week. They also freeze beautifully wrapped tightly in plastic wrap and stored in a zip-top bag. Thaw at room temperature or warm in the microwave for a few seconds — quick and tasty every time.
What to Serve It With
These butter cake bars are downright versatile, and I love pairing them in different ways depending on the occasion. For breakfast, they’re fantastic alongside a cup of black coffee or a latte—think of it as an upscale muffin. My kids like to enjoy them as a quick afternoon snack, maybe with a glass of milk or a fruity tea. When I serve them at brunch, I like to add a dollop of whipped cream or a handful of fresh berries on top for some contrast. They’re such a hit as a dessert too—warm slices with a scoop of vanilla ice cream or a drizzle of caramel sauce take them to the next level. For cozy nights in, pairing a piece with hot cocoa feels like a warm hug. Honestly, these bars are so forgiving that they’re perfect for impromptu gatherings or a quiet night in with the family. Plus, they keep well and travel easily if you want to bring a little sweetness to a picnic or potluck. They’re definitely my “go-to”—a recipe I turn to whenever I want to impress my friends or just treat myself.
Top Tips for Perfecting Your Butter Cake Bars
Over the years, I’ve learned a few tricks to elevate these simple bars into something truly spectacular. First, always use softened butter; it blends better and helps create a tender crumb. Trust me on this one—I once used melted butter and the texture suffered. When mixing the batter, avoid overmixing once you add the dry ingredients—this keeps the bars tender and not tough. If you want a more intense buttery flavor, slightly upping the butter amount works beautifully, but be careful not to make the batter too loose. I’ve tested adding a splash of almond extract or lemon zest—delicious! For swirl patterns, I like to create a marbled look by dropping dollops of jam and running a skewer or toothpick through in gentle circles. It makes each piece look unique and inviting. Ingredient swaps are fun, too. Instead of regular sugar, you can try coconut sugar or honey, but reduce other liquids slightly to compensate. Baked these at different rack levels, and I found the middle rack gives a perfect golden crust without burning. Remember to check your oven’s actual temperature with an oven thermometer—sometimes, those gages are off. When glazing, I recommend starting with less milk and adding more if needed—thick enough to hold shape but fluid enough to drizzle. A little vanilla or citrus zest in the glaze adds a nice depth of flavor. Most importantly, don’t rush the cooling process; patience ensures that perfect cut every time. These little tips come from many baking experiments, and I promise, they’re worth it to see that beautiful, flaky, buttery finish every time!
Storing and Reheating Tips
If you’re like me, you’ll want these bars to stay fresh as long as possible. At room temperature, they’re good for about 2 days if covered tightly with foil or stored in an airtight container—just don’t leave them exposed. After that, I recommend refrigerating them; they’ll last up to a week but will firm up a little. For longer storage, pop them in the freezer—wrap each piece individually in plastic wrap, then place in a zip-top bag. When you’re ready to enjoy, just thaw at room temperature for a few minutes or warm in the microwave for a quick treat. The microwave works best with a damp paper towel underneath to keep them moist. If you added glaze, it’s best to re-glaze after reheating, as the glaze can melt or slide off during storage. I’ve found that these bars freeze really well—so if I bake a big batch, I can enjoy it over several weeks. Just remember, the fresher they are, the better they taste, so I try to eat them within a few days of baking. Keep them in a cool, dry place away from direct sunlight, and you’ll get the most out of every crumb.
Frequently Asked Questions
Final Thoughts
If you’re searching for a dessert that’s cozy, comforting, and tastebud-pleasing, look no further than these butter cake bars. I’ve tested and tweaked this recipe countless times—each batch better than the last—and I can honestly say, they’re a guaranteed crowd-pleaser. From their melt-in-your-mouth texture to that irresistible buttery aroma, these bars feel like a warm hug straight from the oven. They’re perfect for family gatherings, lazy weekends, or even just because you deserve a little sweetness. Plus, they’re so forgiving—you can add your favorite extras or keep them simple, and they’ll still turn out amazing. For me, the best part is how versatile they are; a quick vanilla glaze or a splash of lemon zest and they become something new every time. So, grab your flour, butter, and a big smile, and let’s get baking! And hey, I’d love to hear how yours turn out—share your tweaks, pictures, or stories in the comments below. Happy baking!
Decadent Butter Cake Bars
Ingredients
Method
- Preheat oven to 350°F and line a 9x13-inch baking dish with parchment paper.
- In a large bowl, combine flour, confectioners' sugar, salt, and melted butter. Mix until crumbly. Press firmly into the bottom of the prepared pan.
- Bake the crust for 20 minutes, then remove and let cool to room temperature.
- In a mixing bowl, beat cream cheese and softened butter until smooth and creamy.
- Gradually add confectioners' sugar, eggs, egg yolks, and vanilla extract. Beat until well combined.
- Pour the cream cheese mixture over the cooled crust and spread evenly.
- Bake for an additional 30 minutes or until the filling is set and slightly golden.
- Let cool completely before slicing into bars and serving.