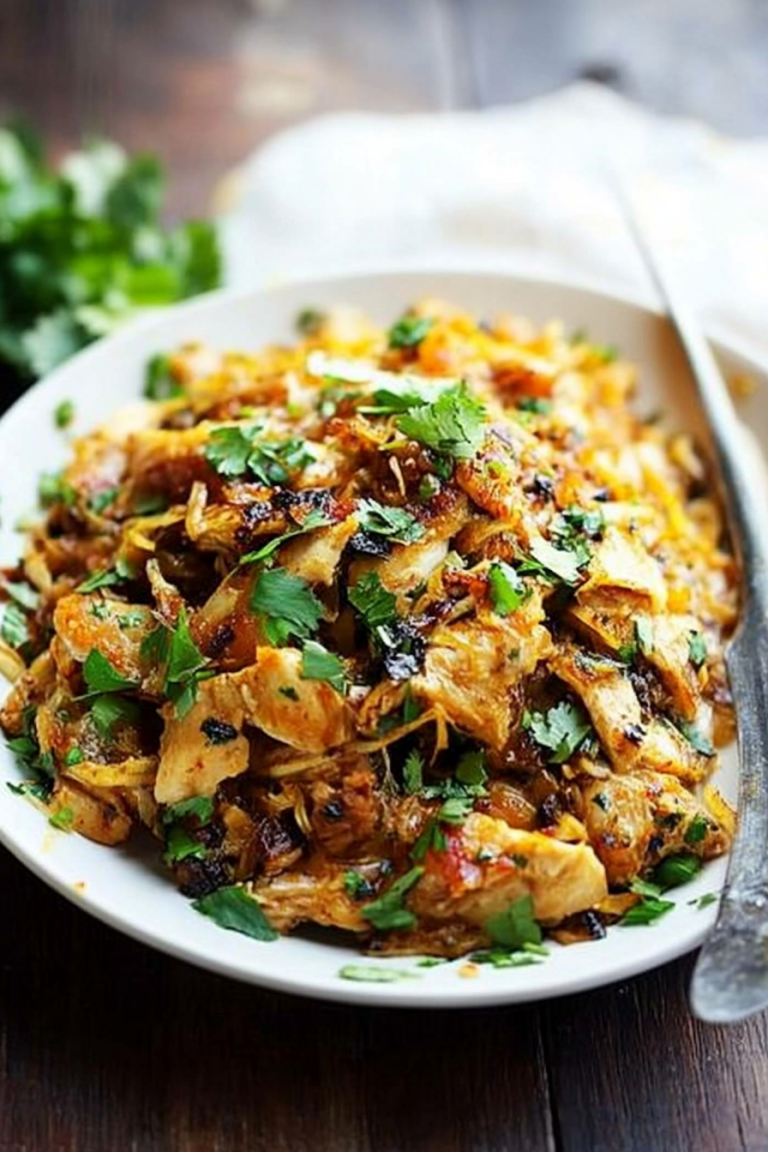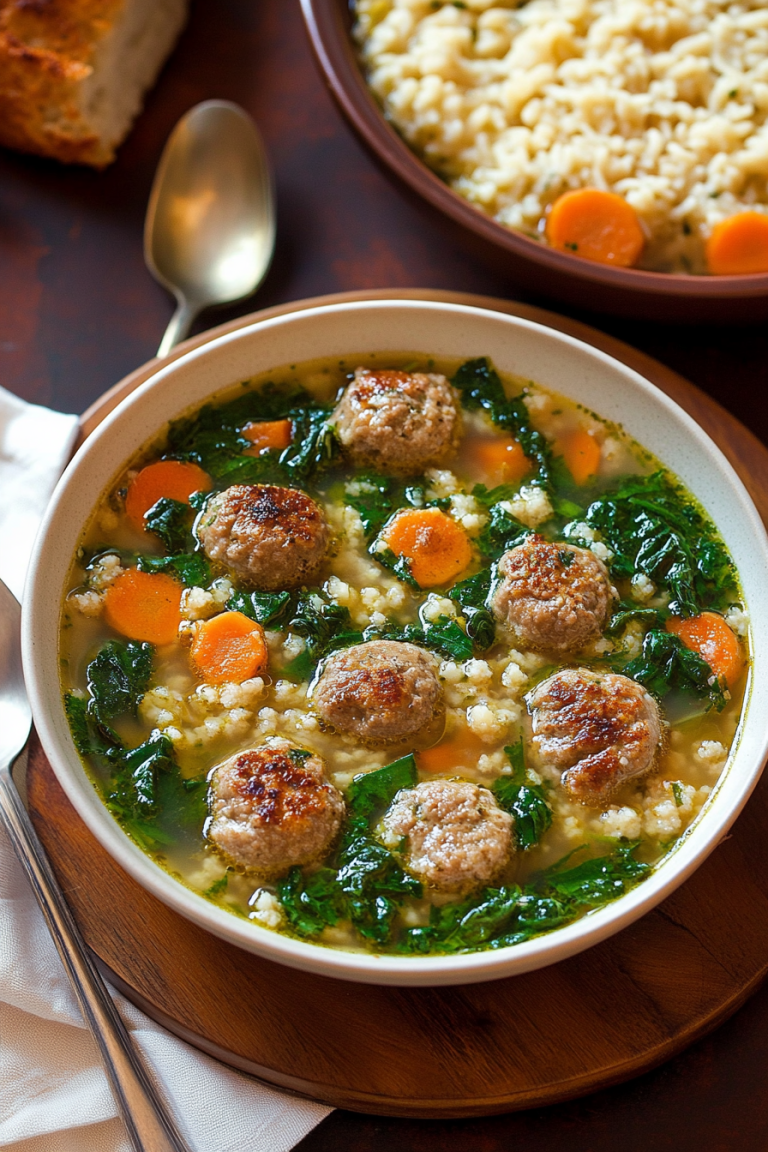
Simple Italian Skillet Supper Recipe
Let me tell you a little secret — I’ve got this dish that’s become my go-to on so many busy nights. It’s a one-pan wonder, full of rich flavors, and best of all, it’s honestly so simple to pull off. It’s kind of like a cheesy, savory casserole but with a rustic Italian twist, and once you try it, I promise you’ll be hooked. I always do this when I want something warm, comforting, and packed with flavor but don’t want to spend hours in the kitchen. My kids ask for it all the time, and it’s disappeared in minutes at my house. I’ve even tested this with different cheese variations and a splash of white wine — trust me, each version is just as delicious. It’s like comfort food, but elevated enough to serve guests without feeling like you’re slaving away. So, grab your skillet — it’s about to become your best friend too!
What is an Italian Skillet?
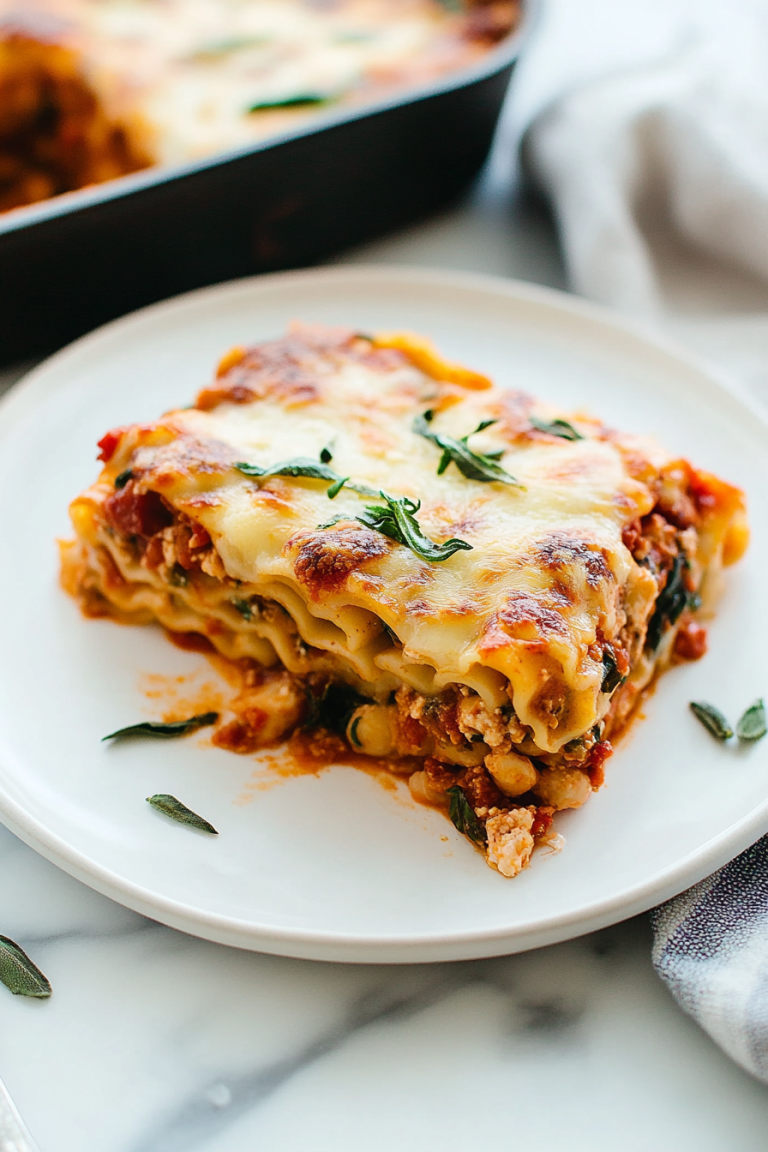
This Italian Skillet is essentially a hearty, cheesy casserole cooked right in your favorite skillet — think of it as a cross between baked ziti and a rustic frittata. It’s a warm, bubbling dish with layers of flavors, from savory herbs to melty cheese, all cooked together in one skillet. The name “Italian Skillet” really captures the spirit of the dish — it’s rustic, comforting, and full of vibrant Italian flavors. Think of it as a country-style preparation where everything comes together in a single pan, making cleanup a breeze. It’s friendly for weeknights, casual weekend dinners, or even special occasions when you want to impress without stressing. The best part? You can customize it endlessly — adding veggies, meats, or different cheeses depending on what you’ve got in your fridge. It’s a true home-cooked classic, and once you make it, it’ll be on your regular rotation for sure.
Why you’ll love this recipe?
What I love most about this Italian Skillet is how effortlessly it combines comfort and flavor. The smell alone when it’s baking — all that garlic, herbs, and melting cheese — it’s practically a hug in a pan. Plus, it’s surprisingly easy to prepare, which is perfect for weeknights when time is tight but you still want great food. It’s budget-friendly too; most of the ingredients are staples in my pantry and refrigerator. I’ve made this with leftover cooked pasta, fresh basil, and even a sprinkle of chili flakes to spice things up — and let me tell you, it’s flexible enough to adapt to what you love or have on hand. And the best? It’s versatile enough for any occasion. Serve it with a crisp salad for a light dinner or add a side of crusty bread to make it a heartier meal. Honestly, it’s become a family favorite because it’s so satisfying, yet so straightforward. And when I make it, I know everyone’s going to go back for seconds — that’s how good it is.
How do I make Italian Skillets?
Quick Overview
This dish comes together in just a few simple steps — sauté some aromatics, stir in cooked pasta and fresh ingredients, layer your cheeses, and bake until everything is golden and bubbly. What makes this special is that everything goes into the same skillet, so the flavors meld beautifully without extra dishes. Once the filling is ready, you just pop it in the oven, and in about 20-25 minutes, you’re rewarded with a cheesy, crispy-topped masterpiece. Perfect for those nights when you don’t want to fuss but still want a hearty, flavorful meal. It’s a one-pan wonder that’s practically foolproof — I’ve tested this with friends and family, and each time it turns out perfectly.
Ingredients
For the Main Filling:
- 2 cups cooked pasta (penne, rigatoni, or ziti — whatever you have on hand)
- 1 cup ricotta cheese — full-fat for creaminess
- 1 cup shredded mozzarella — I like to mix part fresh and part shredded
- ½ cup grated Parmesan — freshly grated makes a huge difference
- 2 cloves garlic, minced — the aroma when this hits the pan is heaven
- 1 small onion, chopped
- 1 cup cherry tomatoes or sun-dried tomatoes, chopped
- Fresh basil leaves, chopped — a handful for brightness
- Olive oil, salt, pepper — to taste
For the Filling Layers:
- Extra shredded mozzarella or provolone for topping
- Optional: cooked sausage, sautéed mushrooms, spinach for variation
For the Glaze:
- 1 egg for a nice golden crust (optional)
- A pinch of red pepper flakes or Italian seasoning for extra flavor (optional)
Step-by-Step Instructions
Step 1: Preheat & Prep Pan
Set your oven to 375°F (190°C). While it warms up, grab your skillet — I love using a cast iron for that rustic look and even heat distribution. Lightly oil the skillet or spray with non-stick spray. Having everything ready beforehand makes the process smooth.
Step 2: Mix Dry Ingredients
Here, there’s not much to do with dry ingredients since most of it is already cooked pasta and cheese. But I always like to prep my cheeses and herbs first, so I can quickly assemble without rummaging in the fridge during the last minute.
Step 3: Mix Wet Ingredients
In a bowl, combine ricotta, a splash of olive oil, minced garlic, salt, pepper, and chopped basil. Sometimes I add a teaspoon of Italian seasoning or a pinch of red pepper flakes — depends on my mood. Mix until smooth and fragrant.
Step 4: Combine
In a big mixing bowl, toss the cooked pasta with your ricotta mixture, cherry tomatoes, and half of the mozzarella. Taste and adjust seasoning — I always do a quick taste test here to make sure it’s flavorful enough before layering.
Step 5: Prepare Filling
If you want to add cooked sausage or veggies, stir them into the mixture now. I love adding sautéed spinach or mushrooms for extra earthiness. It’s your call — this dish is all about customizing to your taste buds.
Step 6: Layer & Swirl
Pour the pasta mixture into your skillet and spread it out evenly. Then sprinkle generously with the remaining mozzarella and Parmesan. For an even more beautiful look, I sometimes swirl in a bit of leftover pesto or fresh basil on top before baking.
Step 7: Bake
Pop it into the oven and bake uncovered for 20-25 minutes until bubbling and golden. Keep an eye on it after 20 minutes — you want that crispy, cheesy crust but not burnt. If the top isn’t as brown as you’d like, broil for 1-2 minutes, but watch it like a hawk!
Step 8: Cool & Glaze
Take the skillet out and let it rest for about 5 minutes. If you’re using an egg glaze, whisk it with a little water and brush it over the top before returning to the oven for a few minutes to get a shiny, golden finish.
Step 9: Slice & Serve
Use a sharp spatula or knife to cut into slices — the cheese should be gooey and the edges crispy. Serve hot with a fresh salad or crusty bread, and enjoy the aroma that will draw everyone to the table.
What to Serve It With
This dish is pretty much a meal in itself, but I love to serve it with a simple green salad dressed with olive oil and lemon for a fresh contrast. Freshly baked Italian bread or garlic knots are always a hit. For drinks, a chilled glass of white wine or sparkling water with lemon complements the richness perfectly.
In my family, we also have a tradition of adding a drizzle of good olive oil and extra basil on top before serving — it just makes everything taste even more vibrant. If I’m feeling fancy, I’ll sprinkle some crushed red pepper flakes for an extra kick. This skillet is also great for leftovers — just reheat in the oven or on the stovetop, and it’s just as delicious the next day.
Top Tips for Perfecting Your Italian Skillet
Over the years, I’ve learned a few tricks that take this dish from good to really great. First, don’t skip salting your pasta water — it flavors the pasta so it absorbs the taste from the dish. When I make the ricotta mixture, I always taste it first — it should be well-seasoned because the cheese itself isn’t salty. Trust me on this one, because bland cheese makes the whole thing fall flat.
For the cheese topping, I’ve tried everything from mozzarella to provolone, and honestly, a blend of cheeses creates the best meltability and flavor. If you want more of that crispy topping, broil for a minute or two at the end, but keep a close eye — it burns fast! I’ve also experimented with swapping pasta types, like using ziti or penne — as long as it’s cooked al dente, it works beautifully.
If you’re short on time, you can prepare the cheese and veggie fillings ahead and assemble quickly before baking. I’ve learned that layering ingredients evenly ensures every bite is flavorful and that swirling in pesto or adding a sprinkle of chili flakes right before serving adds a lovely touch of extra flavor. The key is balancing richness with freshness; I’ve made mistakes by overdoing cheese and ending up grease-heavy, so now I always keep that in check. And honestly, the more you make it, the better you get at customizing it to your family’s taste.
Storing and Reheating Tips
This dish is fantastic for leftovers — it tastes just as good reheated as fresh out of the oven. Keep any leftovers in an airtight container in the fridge — I like using glass ones because it keeps things fresh longer. It’s best to consume within 2-3 days, though. When reheating, I prefer the oven for an even heat and crispy edges; just cover it loosely with foil and bake at 350°F for about 15 minutes. If you’re in a hurry, the microwave works too, but expect soft cheese instead of crispy crust.
If you want to freeze this, let it cool completely, then wrap tightly with plastic wrap and foil. It keeps well for up to 2 months. When ready to eat, thaw overnight in the fridge and reheat in the oven or microwave. I usually add a splash of water or broth when reheating to keep things moist. If you notice the cheese isn’t as melty, just pop it under the broiler for a quick finish.
Frequently Asked Questions
Final Thoughts
If you’re like me and love recipes that are hearty yet straightforward, this Italian Skillet is a total winner. It’s one of those dishes that makes you feel good — bubbling cheese, fragrant herbs, and crispy edges — all cooked in one pan with minimal fuss. It’s perfect for cozy nights, impromptu dinners, or even when you want to impress without stress. I’ve made it so many times, tweaking ingredients here and there, and each version is just as beloved as the last. I hope you give it a try and love it as much as my family does. Don’t forget to share your variations or tips in the comments — I’d love to hear how yours turns out! Happy baking, and enjoy every cheesy, savory bite.
Italian Shrimp Skillet
Ingredients
Method
- Heat olive oil in a large skillet over medium heat. Add minced garlic and cook until fragrant, about 1 minute.
- Add the shrimp to the skillet, season with salt, black pepper, and red pepper flakes. Cook until pink and opaque, about 3-4 minutes per side.
- Stir in chopped parsley and lemon juice. Cook for another minute.
- Serve immediately, garnished with additional parsley and lemon wedges if desired.