Simple Paper Poultry Craft for Kids
There’s something about the quiet magic of a perfect snack that just sticks with you, isn’t there? I remember as a kid, sitting at my grandma’s kitchen table, watching her unfold this little paper package that held what she called a “paper chick.” Somehow, even now, that name makes me smile — it’s such a simple, charming way to describe something that feels like a burst of happiness wrapped in paper. For years, I’ve been obsessed with finding that same joy in my own kitchen, and let me tell you — making your own paper chick is a game-changer. This one’s a lifesaver on busy nights when the kids come home hungry and I need something quick but homemade. Trust me on this, it’s one of those recipes that feels like a warm hug, even when it’s just you and a cup of tea. Plus, the smell alone — oh my gosh, it’s heavenly. I always do this when I want a little nostalgic magic, and my family, especially the little ones, ask for it all the time. Once you get the hang of it, it’s practically effortless and totally addictive. Ready to make your own? Let’s dive into this cozy, delectable paper chick!’
What is a paper chick?
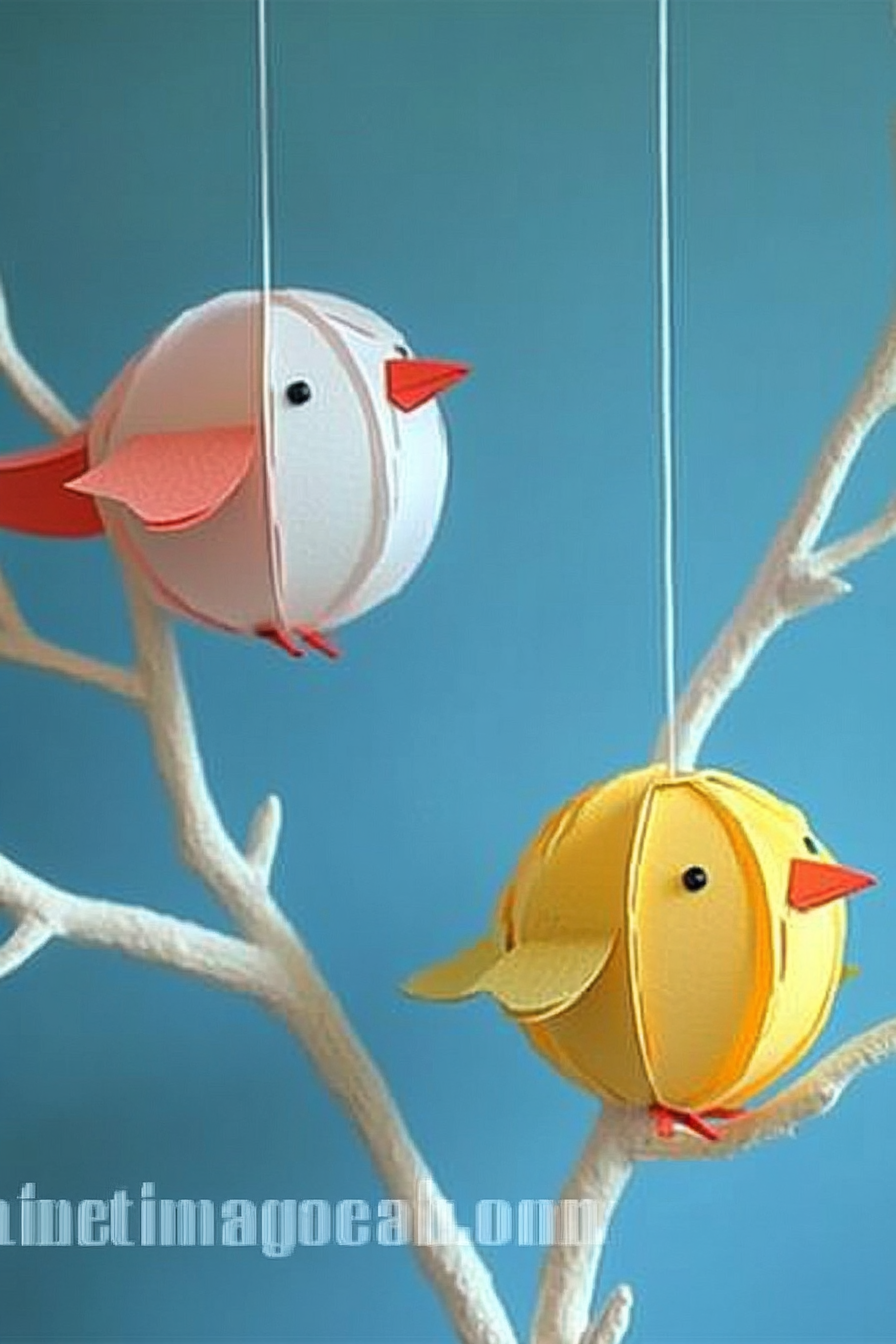
Think of a paper chick as a sweet, flaky pastry treat, often filled with a fruity or creamy delight, wrapped up in a paper-thin layer that kinda reminds you of wrapping paper or parchment. The name “paper chick” is a nod to its delicate, almost paper-like exterior and the tender yolk-like center — charming, right? It’s essentially a handheld dessert or snack that you can customize with all kinds of fillings, from sweet jams to spiced apples or even a little custard. The “paper” part comes from the thin dough that encloses everything, baked until crisp but still tender inside. It’s a comforting, nostalgic recipe that’s been passed around families for generations, mostly in cozy kitchen stories and childhood memories. What I love most about it is how versatile it is — you can make it as sweet or savory as you like, and it’s always a hit at gatherings or quiet nights alone. Simple to make, yet impressive enough to wow anyone who tries it, paper chick has quickly become a personal favorite I can’t keep to myself anymore.
Why you’ll love this recipe?
First, let me just say — the flavor! Nothing beats that melt-in-your-mouth crust combined with a surprise burst of sweetness or spice in the middle. I always do this when I crave comfort food that’s also fun to eat. The best part? It’s a total breeze to whip up. No complicated techniques or fancy ingredients here — just some basic pantry staples and a bit of love. Plus, it’s a budget-friendly delight. I tested this with different fillings, from berry jam to apple cinnamon, and honestly, every variation is addictive. What really makes this special is how adaptable it is; I’ve even experimented with a vegan version using coconut oil and plant-based filling, and it turned out just as delicious. This recipe is perfect when you want that warm, homemade feeling but don’t want to spend hours in the kitchen. And my kids? They ask for this all the time — especially when friends come over, because it’s basically a little edible hug. It’s one of those recipes that tastes like a special treat but is so simple, you’ll want to make it every week. Trust me, once you try it, it’ll become a go-to comfort snack in your house too.
How do I make a paper chick?
Quick Overview
This recipe is surprisingly easy, built around a super flaky dough that comes together quickly, filled with your favorite sweet or savory surprise, then baked to perfection. I love that you can prep everything in under 30 minutes, and in just a little more time, you’ve got a beautiful, golden paper chick ready to serve. The secret is handling the dough gently — don’t overmix, or it’ll turn tough. Once you’ve layered and sealed your filling, it bakes up crisp on the outside, with a soft, flavorful center that’s worth the little effort. The best part? No complicated steps or ingredients, just good old-fashioned baking with a cozy twist. Perfect for a family treat, a quick snack, or even a fun activity with the kids. The oven does most of the work — you just get to watch and smell everything turn irresistible!
Ingredients
For the Main Dough:
– 2 cups all-purpose flour (I always use unbleached for a richer flavor)
– 1/2 teaspoon salt
– 1/2 cup cold butter or vegan margarine, cubed
– 1/4 cup ice-cold water (a splash more if needed)
– 1 teaspoon apple cider vinegar (trust me, it keeps the dough tender)
For the Filling:
– 1/2 cup fruit jam (strawberry, raspberry, or apricot work beautifully)
– Or, try chopped apples with cinnamon and sugar for a warm filling
– Optional: a spoon of cream cheese or ricotta for a richer option
– Feel free to experiment with nut butters or even savory fillings like cheese and herbs!
For the Glaze:
– 1 egg wash (beaten egg with a splash of water) or plant-based milk for brushing
– Powdered sugar glaze or honey drizzle if you want an extra sweet touch
– Optional: a sprinkle of coarse sugar or sesame seeds for added texture
Step-by-Step Instructions
Step 1: Preheat & Prep Pan
Set your oven to 375°F (190°C) and line a baking sheet with parchment paper — the paper chick’s best friend. I always do this early because it saves me from sticky messes and makes cleanup a breeze. Also, lightly flour your work surface and rolling pin to keep the dough from sticking. Keep everything cold — that’s the secret to flaky layers!
Step 2: Mix Dry Ingredients
In a large bowl, whisk together the flour, salt, and vinegar. I always do this with a fork until it’s well combined. This step is kind of like the foundation — get it right, and your dough will be tender and flaky. If you have time, pop the dry ingredients in the fridge for 10 minutes — it really helps keep the dough chill while you work.
Step 3: Mix Wet Ingredients
In a small bowl, toss the cold butter into the flour mixture, then quickly use your fingers or a pastry cutter to incorporate it until the mixture looks like coarse crumbs. Then, add water a tablespoon at a time, mixing gently until the dough just comes together. Don’t overwork it — a few cold butter blobs in the dough are actually what make it flaky!
Step 4: Combine
Turn the dough onto your floured surface, press into a disc, and wrap it in plastic. Chill for about 15-20 minutes. This relaxes the gluten and makes rolling easier — plus, it keeps the butter cold, so the layers stay distinct.
Step 5: Prepare Filling
While the dough chills, prepare your filling. For a fruity twist, stir your jam or chopped apples with a dash of cinnamon and sugar. For a creamier feel, mix in a spoon of cream cheese. I love customizing this part — sometimes I sprinkle chopped nuts or a few chocolate chips. It’s such a personal touch!
Step 6: Layer & Swirl
Roll out the dough on your floured surface to about 1/8-inch thickness. Cut out circles with a glass or cookie cutter — about 4-6 inches across. Place a spoonful of filling in the center, then fold the edges over to enclose it, pinching gently to seal. For the “paper chick” look, I like to twist the top lightly to resemble a little chick head, but that’s optional. Once filled, transfer to your prepared baking sheet.
Step 7: Bake
Brush the top with egg wash or plant-based milk for that shiny, golden finish. Bake for 20-25 minutes or until the edges are crisp and the filling is bubbling. Keep an eye on them — every oven is a little different, and I’ve had occasions where they browned a bit faster. When you see a beautiful golden hue, they’re ready!
Step 8: Cool & Glaze
Let your paper chicks cool on a wire rack for about 10 minutes — they’re best served warm, but not scorching hot. If you want to add a glaze or drizzle honey, do it now while they’re still slightly warm so everything sticks beautifully.
Step 9: Slice & Serve
Serve them on a pretty plate, maybe with a dusting of powdered sugar or a little fresh fruit on the side. These are perfect with a cup of tea or coffee. My kids love to eat them straight from the paper, acting all fancy — “Look, mine’s a little paper chick!” — and I just smile because I know they’re making memories in their own tiny way. Trust me, once you try making your own paper chick, it’ll turn into a weekly ritual — that simple, cozy joy you’ll never want to be without.
What to Serve It With
This little treat pairs beautifully with so many things, depending on the mood. For breakfast, I love brewing a strong cup of coffee or a lightly sweetened latte, letting the warm aroma fill the kitchen. Sometimes, I add a splash of cream or a cinnamon stick — it makes the morning feel special, even on a busy weekday. For brunch, I serve these with a fresh fruit salad or a simple yogurt parfait; they’re just the right size to nibble on alongside a glass of orange juice or bubbly prosecco for weekend mornings. As a dessert, a scoop of vanilla ice cream or a drizzle of caramel on top kicks it up a notch. If you’re craving something cozy, I actually love these with a warm mug of spiced tea or hot chocolate, especially on chilly evenings. In our family, these paper chicks are a staple whenever we sit down for a relaxed snack — I sometimes fill a small basket, and everyone pounces on them like it’s a treasure hunt. They’re so versatile that no matter when or how you serve them, they always bring a smile and a little sense of home.
Top Tips for Perfecting Your Paper Chick
After making these dozens of times, I’ve picked up a few tricks that really make a difference. First, when handling the dough, keep everything as cold as possible — warmth melts the butter, and then your layers won’t be as flaky. I learned the hard way that overmixing the dough makes it tough, so mix just until it comes together, and if it feels sticky, dust with a bit more flour. When rolling out, avoid pressing down too hard — gentle strokes give the best thin, even layers. As for fillings, experiment with texture: chunky fruit bits add a lovely bite, while smoother jams create a glossy, velvety finish. I tested mixing a little lemon zest into the filling and loved how it brightened the overall flavor. For the swirl pattern, I suggest stacking two or three filled circles, then twisting or folding them slightly before sealing to add a layered effect — it looks impressive when baked! One mistake I used to make was putting too much filling — then it leaks out and makes a mess. Now, I stick to a tablespoon or so, just enough to give a pop of flavor without spilling over. When baking, rotate your sheet halfway through for even coloring, and check doneness early if your oven runs hot. And for the glaze? I often add a splash of vanilla or a pinch of cardamom for a little extra punch. Honestly, I’ve learned that patience and a gentle touch make all the difference. The thicker the dough or filling, the more baking time you might need, so keep an eye out. Overall, the best tip? Have fun with it. This recipe is forgiving, and the imperfections just make each paper chick unique — kind of like little edible pieces of art.
Storing and Reheating Tips
These paper chicks keep surprisingly well, especially if you know how to store them right. If you’re planning to enjoy them later in the day, I recommend letting them cool completely, then storing them in an airtight container at room temperature — they stay fresh for about 1 day this way, covered loosely with a cloth if needed. For longer storage, pop them in the fridge in a sealed container for up to 3 days. The fridge helps preserve the filling and keeps everything tasting fresh, but I suggest reheating briefly in the oven or a toaster oven at 350°F for about 5 minutes. This revives that crispy exterior beautifully. If you want to freeze them, wrap each paper chick tightly in plastic wrap, then place them in a freezer-safe bag for up to 2 months. When ready to eat, thaw at room temperature for about 30 minutes, then heat in the oven or microwave. I find that a quick reheat in the oven preserves the flaky texture best. If you’re adding glaze or honey, sprinkle or drizzle that on just before serving to keep everything looking glossy and delicious. A little planning makes these treats last longer without sacrificing flavor or crunch — but honestly, they’re so good fresh, it’s hard to resist just popping one in your mouth straight out of the oven!
Frequently Asked Questions
Final Thoughts
If you’re craving something that’s both nostalgic and wonderfully cozy, giving this paper chick a try is a no-brainer. Over the years, it’s become one of those recipes I turn to not just because it’s delicious, but because it instantly transports me back to simpler, sweeter days. The flaky, tender crust paired with whatever filling you choose makes it endlessly adaptable — it can be an elegant dessert, a hearty snack, or a spontaneous weekend project with the kids. I’ve made countless versions, learned from tiny mistakes, and now I can confidently say that this recipe never fails to bring smiles around my table. The joy of crafting something from scratch, watching it turn golden in the oven, and sharing it with loved ones — that’s what makes the paper chick so special. If you decide to give it a shot, I can’t wait to hear how yours turns out! Drop a comment, share your favorite fillings, or just let me know if it becomes part of your family tradition. Happy baking! — and if you feel inspired, try mixing in your own secret ingredient. After all, that’s what makes every paper chick uniquely yours.
Simple Chicken and Rice
Ingredients
Method
- Heat olive oil in a large skillet over medium-high heat. Season chicken breasts with salt and pepper, then cook until golden brown and cooked through, about 6-7 minutes per side. Remove from skillet and set aside.
- Add rice to the same skillet and sauté for 2 minutes. Pour in chicken broth, bring to a boil, then reduce heat to low. Cover and simmer for 15 minutes.
- Slice chicken breasts and serve over the cooked rice. Garnish with herbs if desired.