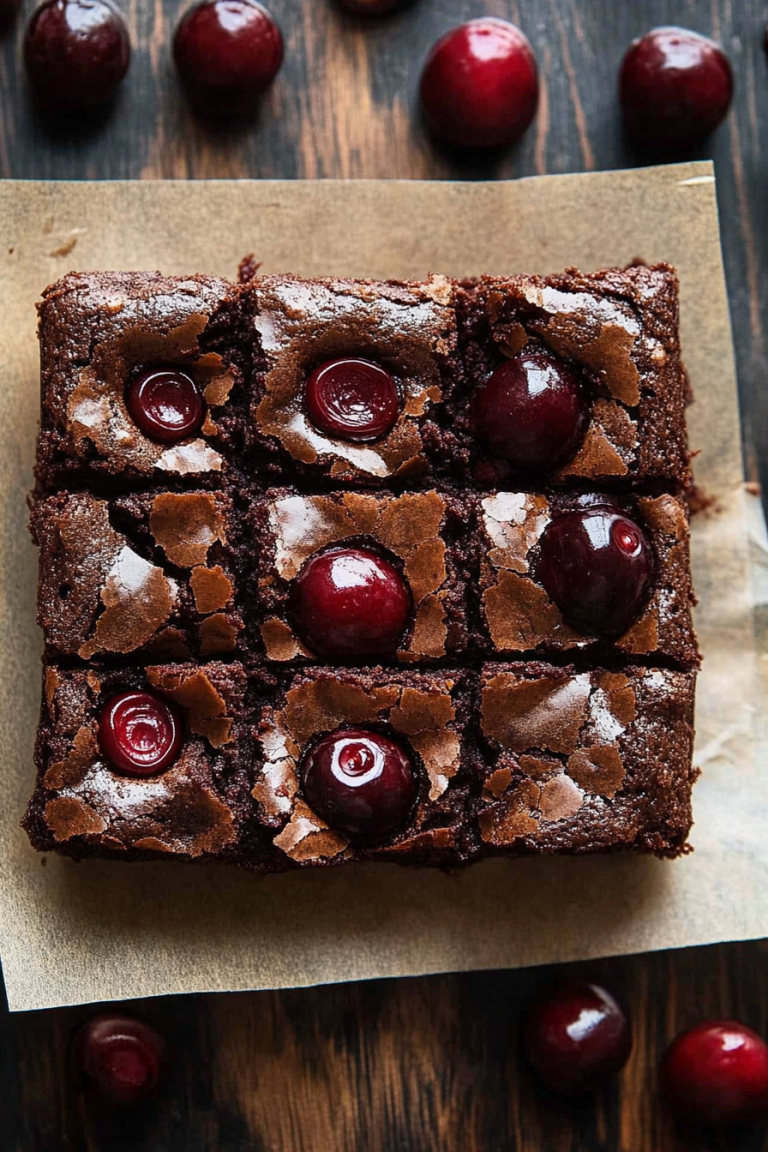
Spooktacular Halloween Treats You’ll Love
There’s just something magical about Halloween, isn’t there? The crisp air, the flickering jack-o’-lanterns, and the wild excitement of kids and grown-ups alike dressing up in costumes. And let’s not forget the treats—a mountain of sugary delights that make the night feel truly special. I’ve got a soft spot for homemade Halloween treats that are fun to make, delightful to eat, and even better when shared with family and friends. Honestly, I’ve spent years perfecting a few recipes that tick all those boxes, and I promise, these treats *disappear* in minutes at my house. Imagine a cozy evening, the scent of cinnamon and chocolate swirling through the kitchen, and everyone asking for seconds. That’s what makes these Halloween treats a such a staple during October! This one’s a lifesaver on busy nights when you want something festive but don’t want to spend hours in the kitchen. Trust me, once you try these, they’ll become your go-to for spooky parties and quick family snacking alike. Ready to get started? Let’s do this—your next favorite Halloween treat is just a few steps away!
What are Halloween treats?
When I say “Halloween treats,” I’m talking about those fun, creative, and sometimes spooky little bites that get everyone excited for October 31st. Think of them as a mix between childhood nostalgia and culinary adventure—little morsels that play up the spooky vibe but taste so good, they’re hard to stop at just one. These treats come in all shapes and sizes—think homemade candies, cute cupcakes decorated like monsters, or even festive cookies shaped like bats and pumpkins. The best part? They’re super customizable, so you can make them as simple or as elaborate as you like. Honestly, I love crafting my own Halloween treats because it brings out my inner kid—everything from decorating with bright orange and black icing to adding creepy googly eyes. It’s essentially a sweet, spooky celebration that you can tailor to your family’s tastes. Whether you’re hosting a party or just want some fun snacks to enjoy during a movie marathon, these treats fit the bill perfectly. And don’t worry if you’re not a pro baker—these recipes are straightforward and packed with flavor. Think of it as a creative spin on your usual sweets, with a dash of spooky fun!
Why do you love this movie?
What I love most about these Halloween treats is how they turn simple ingredients into something totally playful and festive. First, the flavor—imagine rich chocolate, cozy cinnamon, or tart fruit blending with just a hint of spooky color. These treats are not only delicious but also look like they came straight from a bakery, yet they’re surprisingly easy to whip up. And speaking of easy, most of these recipes take under 30 minutes, making them perfect for last-minute ideas or busy weeknights when the kids ask, “Can we make Halloween treats today?” Plus, they’re budget-friendly. No need for fancy ingredients or expensive décor—just good, honest pantry staples transformed into something extraordinary. I often tell my friends, “This one’s a lifesaver on busy nights,” especially when I want to surprise my kids or friends with a little Halloween magic without hours of effort. What’s really fun is the versatility—think beyond sweets: spiced popcorn treats, mini pumpkin cheesecakes, or even spooky fruit skewers with yogurt dip. These treats are forgiving, customizable, and so much fun to create. And, honestly, they taste just as good as they look—sometimes even better, because of that personal touch! If you’re anything like me, these treats will become your go-to for making Halloween extra special without the stress.
How do I make a Halloween treat?
Quick Overview
In a nutshell, making these Halloween treats is all about combining simple ingredients, adding a touch of creativity, and having fun in the kitchen. Most recipes involve mixing, baking or setting, and then a little decoration—a sprinkle of spooky charm. What makes this process so great is that you can tweak everything to suit what you have on hand or what your kids love. From easy no-bake cookies to quick cupcakes, I’ve got something here for everyone. Just a heads-up—prepare your workspace with some fun Halloween decorations or quirky gadgets because that extra touch makes the process even more delightful. And don’t worry about perfection; the charm of homemade treats is in their homemade touch. When I make these, I always do a little taste check along the way because, let’s be honest, that’s the best part! Once your treats are baked or assembled, finishing with a spooky drizzle, sprinkles, or candy eyes makes all the difference. So, settle in, turn on some Halloween tunes, and let’s get cooking—this is going to be fun!
Ingredients
For the Main Batter:
– 1 ½ cups all-purpose flour (or gluten-free flour if you prefer)
– ½ cup cocoa powder (unsweetened, for that chocolate kick)
– 1 teaspoon baking powder
– ½ teaspoon salt
– ½ cup softened butter or coconut oil
– 1 cup sugar (or coconut sugar for a healthier twist)
– 2 large eggs
– 1 teaspoon vanilla extract
– ½ cup milk (dairy or almond milk, I tested with almond milk and it’s deliciously creamy!)
For the Filling (think of this as your spooky surprise!):
– 1 cup cream cheese, softened
– ¼ cup powdered sugar
– 1 teaspoon vanilla
– Food coloring (orange, black, or green—whatever spooky hue you like!)
– Optional: mini chocolates, candies, or fruit for filling
For the Glaze:
– 1 cup powdered sugar
– 2-3 tablespoons milk or lemon juice
– Food coloring or edible glitter for extra creepy sparkle
– A dash of cinnamon or pumpkin spice for a cozy finish
Step-by-Step Instructions
Step 1: Preheat & Prep Pan
Set your oven to 350°F (175°C). Grease a baking pan or line it with parchment paper—trust me, this saves so much cleanup later. If you’re making cupcakes or cookies, prepare those pans now, so you’re ready to go once the batter is mixed. I always do this first because once the batter is ready, I just want to pop it in the oven without any fuss. Also, gather your ingredients: measure everything beforehand—mise en place, as they say in fancy kitchens. It makes the whole process so much smoother, especially when you’re in a fun, spooky mood!
Step 2: Mix Dry Ingredients
In a large bowl, whisk together the flour, cocoa powder, baking powder, and salt. This step ensures your dry ingredients are evenly distributed, so your treats bake uniformly. The smell of cocoa and baking powder mixing together? Always drives my kids wild—they love to poke at the bowl and ask if it’s a magic potion. Make sure there are no clumps; sifting is optional but helpful if you want that super smooth batter.
Step 3: Mix Wet Ingredients
In a separate bowl, cream together the butter and sugar until fluffy—I usually do this with a hand mixer for about 2-3 minutes. Add the eggs one at a time, beating well after each addition, then stir in vanilla and milk. This is the moment when everything comes together, and the batter starts to look silky and inviting. I’ve learned that using room temperature eggs helps everything blend more smoothly, so I always take mine out when I start cooking.
Step 4: Combine
Now, add your dry ingredients gradually into the wet mixture. Mix on low speed or gently fold with a spatula—overmixing can make your treats dense, which nobody wants. Aim for just combined; a few lumps are okay. If your batter seems too thick, a splash more milk will do the trick. It should be smooth, and if you lift your spatula, it should fall off in gentle ribbons.
Step 5: Prepare Filling
If you’re adding a filling, whip up the cream cheese with powdered sugar, vanilla, and food coloring. I usually make this my own little color palette—orange for pumpkins, green for monsters, or black for a ghostly vibe. The texture should be smooth but firm enough to hold a spoonful, kinda like thick frosting. Personal tip: for a gooey surprise, add a little melted mini chocolate or caramel sauce into the filling. Yum!
Step 6: Layer & Swirl
Pour half of the batter into your pan, then dollop spoonfuls of your colored filling on top. Cover with the remaining batter, then use a skewer or toothpick to swirl the filling into the batter—think of it as creating spooky marbled effects. This step is so much fun because no two treats look exactly the same, and that’s part of the charm. I actually try to make little patterns, but honestly, the mischievous kid inside me loves just swirling wildly for that spooky effect.
Step 7: Bake
Pop your pan into the oven and bake for about 20-25 minutes, or until a toothpick inserted in the center comes out clean. Watch for that irresistible smell—cocoa and spice wafting through the kitchen—that’s my cue it’s ready. Every oven is different, so I start checking at 20 minutes. If the surface is cracked or the edges are slightly pulled away, you’re good to go. Cool the treats in the pan for about 15 minutes, then transfer to a wire rack to cool completely before glazing or decorating. Patience is key—don’t rush the cooling, or your treats might crumble when sliced.
Step 8: Cool & Glaze
Once your treats have cooled, prepare your glaze. Mix powdered sugar with a little milk or lemon juice until it’s thick but pourable. Divide into small bowls and tint with food coloring for extra spookiness. Drizzle over your treats with a spoon or pipe with a piping bag for a more controlled look. If you want fuzzy or shiny layers, add a sprinkle of edible glitter or sprinkles immediately after glazing. Tip: if you’re making layered treats, wait until the first layer of glaze is set before adding another, or it will melt and blend away!
Step 9: Slice & Serve
Use a sharp serrated knife to cut your Halloween treats into squares or fun shapes. Wipe the knife clean between cuts for clean edges. Serve on your best plate, add a little extra spooky decoration—maybe a candy eye or a mini plastic spider—and enjoy. These treats are best enjoyed at room temperature, but I find they’re equally delicious served chilled, especially if you love that refreshingly cold bite. My kids always ask for seconds, and I love watching their faces light up when they see a goofy monster or cute pumpkin staring back at them from their plate.
What to Serve It With
This treat is a showstopper on its own, but combining it with other festive bites turns your Halloween into a real party. For breakfast (why not?), serve a slice with some hot cocoa and a spooky mug—chocolate really makes a great pairing here. For brunch, arrange pieces on a platter with caramel apples, spooky cheese balls, and colorful fruit skewers. As a dessert, these treats shine on a dessert table paired with pumpkin pie, caramel popcorn, or mini cheesecakes decorated as ghosts and bats. If you’re opting for a cozy movie night, pair slices with a mug of warm apple cider or a spooky themed cocktail (my favorite is a black vodka punch!). I love making a little platter decorated with faux cobwebs, plastic spiders, and candlelight—it turns a simple treat into a festive experience your whole family will remember.
Top Tips for Perfecting Your Halloween Treats
Every time I make these, I learn something new. Here are some tricks I swear by. First, when working with zucchini or other moist veggies (you can sneak some into the batter if you want!), make sure to squeeze out as much excess moisture as possible—trust me, soggy treats are no fun. I’ve tested with different flours, and whole wheat works surprisingly well if you want a healthier version, just add a little extra oil or milk to keep things moist.
Mixing is key—overmixing can create dense, tough treats, so fold gently and only until combined. When swirling your filling, start from the center and work your way out—this creates that beautiful marbled effect and offers a bit of artistic challenge. For ingredient swaps, almond flour or oat flour are good options, but I recommend reducing liquids slightly when you do. Want a super gooey filling? Try adding a touch of honey or caramel sauce—just a teaspoon at a time until you get the right consistency. And don’t skip the cooling step! Hot treats will melt your glaze or decorations, so patience pays off.
Oven placement matters too; positioning your tray in the middle ensures even baking. Keep an eye on your treats after 20 minutes—baking time can vary depending on your oven’s quirks. And the glaze? Adjust the thickness by adding a bit more powdered sugar if it’s too runny, or a splash of milk if it’s too stiff. The secret to a beautiful finish? Patience and a light touch with your decorating tools. I’ve definitely ruined a batch by rushing, but hey, it’s all part of the fun!
Storing and Reheating Tips
Once your treats are cooled and decorated, you might wonder how long they stay fresh. I keep mine covered in an airtight container at room temperature for up to 2 days—if they last that long! For longer storage, pop them into the fridge in an airtight container—just bring them back to room temp before serving to keep that soft, melt-in-your-mouth experience. If you want to freeze them, wrap each piece tightly in plastic wrap and store in a freezer bag for up to a month. Thaw at room temperature for best results, then add a quick glaze or sprinkles to freshen them up. A tip? If you’ve added a lot of glaze or decoration, wait until just before serving to do the final touch, especially if you’re freezing—some toppings may get sticky or lose their vibrancy.
Personally, I think these treats are best enjoyed fresh, but with proper storage, they hold up really well. Just be cautious with moisture—if they get too humid, the glaze may soften or the filling may weep slightly. A quick tip for reheating: if some treats are best warm, microwave them for about 10-15 seconds—just enough to melt the chocolate or soften the filling. It’s like getting a fresh-baked moment all over again!
Frequently Asked Questions
Final Thoughts
Honestly, these Halloween treats have become a staple in my home because they bring so much joy—from the first whiff of baking to the squeals of delight when my kids see those spooky swirls and bright colors. They’re simple enough for a weeknight project but special enough to wow guests at any party. I love how versatile they are—you can make them more decadent, healthier, or even super spooky to match your theme. Every time I make these, I feel a little bit of that childhood magic—reminding me of carving pumpkins with my family or trading candy with friends. The best part? Watching everyone’s faces light up when they take their first bite. So, gather your ingredients, get creative with your decorations, and have a blast in the kitchen. These treats aren’t just sweets—they’re memories waiting to be made. Can’t wait to hear how yours turn out—happy baking, and happy Halloween! Don’t forget to leave your comments and share your own spooky twists—let’s keep the festive spirit alive!

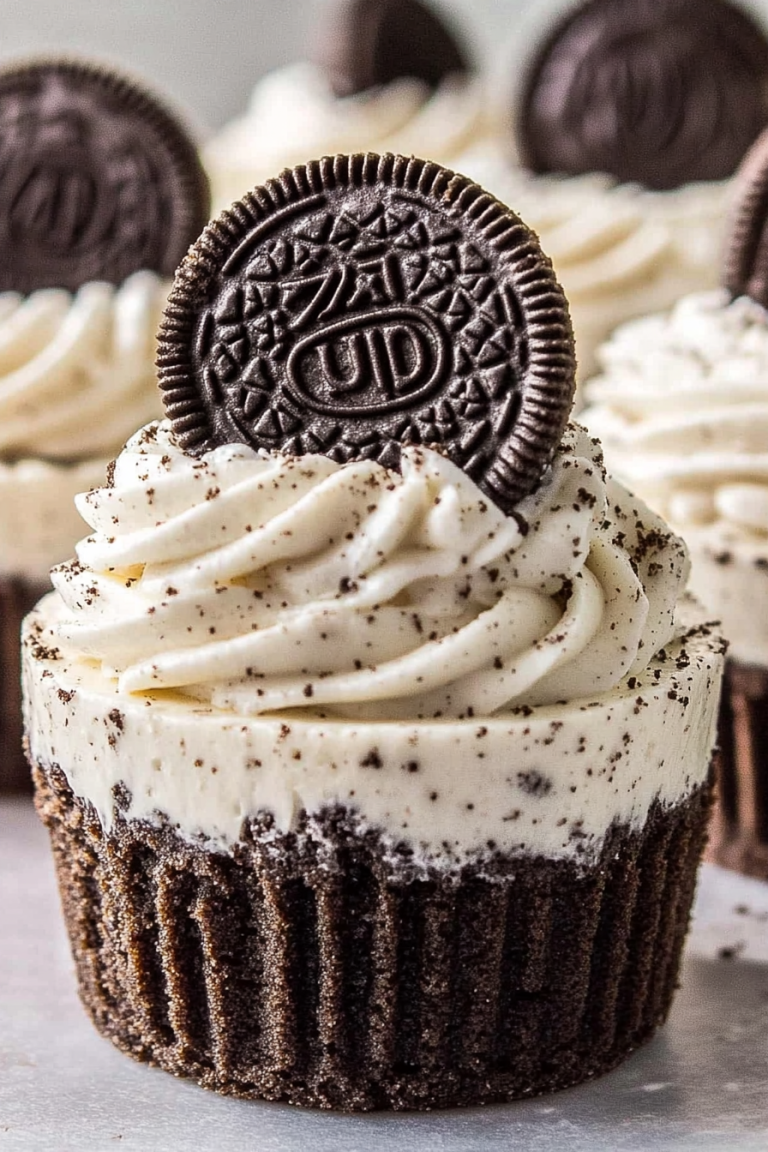
Spooky Halloween Chocolate Cupcakes
Ingredients
Method
- Preheat oven to 350°F. Line a muffin tin with paper liners.
- In a large bowl, mix flour, sugar, cocoa powder, baking soda, and salt.
- Add buttermilk, vegetable oil, eggs, and vanilla extract. Mix until smooth.
- Pour batter into lined cupcake tins, filling each about 2/3 full.
- Bake for 20-25 minutes or until a toothpick inserted into the center comes out clean. Cool completely.
- Decorate cupcakes with spooky icing and halloween toppings.