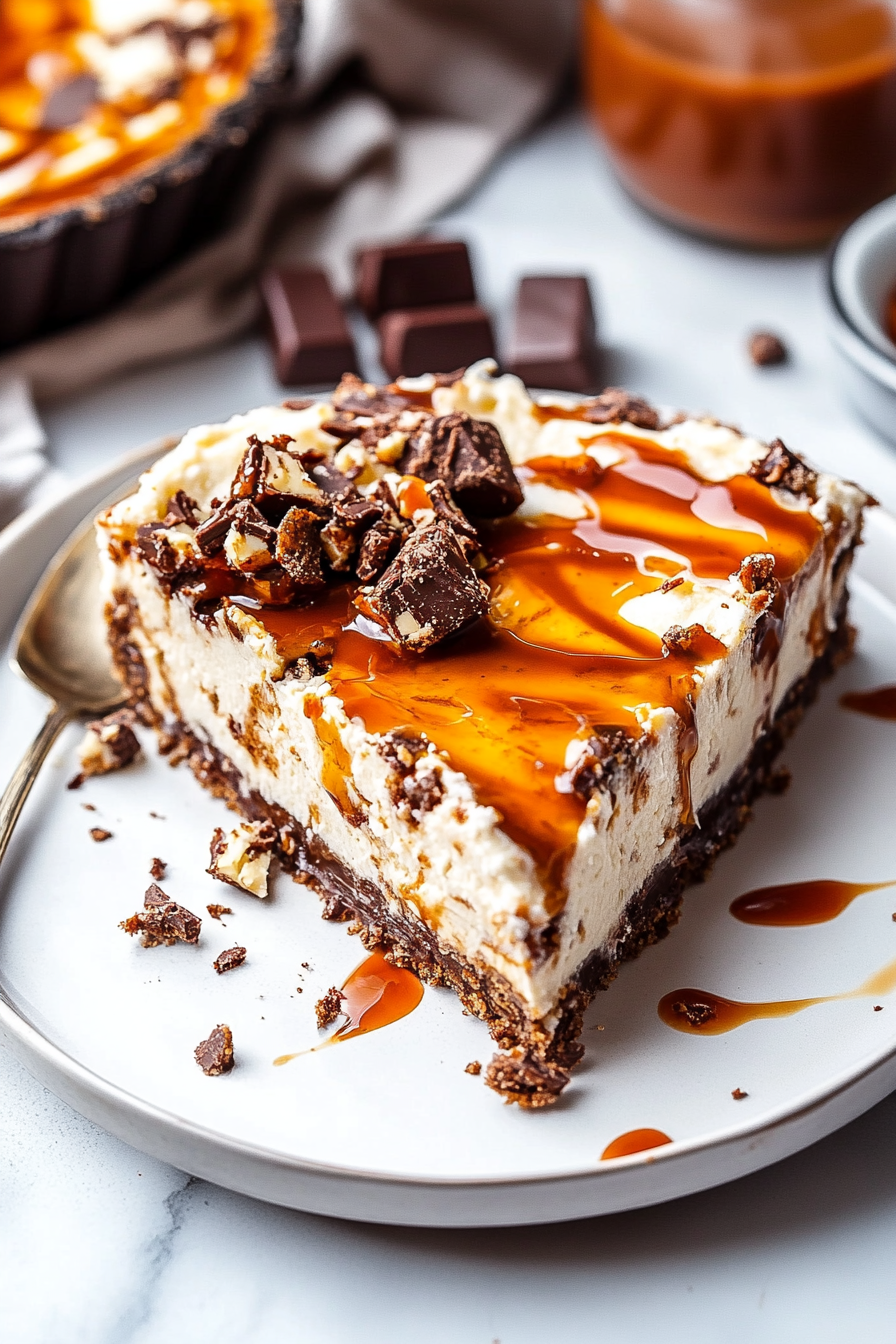
Sweet Snickers Caramel Pie Recipe
Okay, I have to tell you about this little thing I whipped up last weekend — it’s basically the adult version of a candy bar explosion in your mouth. I’m talking about a Snickers pie that’s so rich, so gooey, and just the right amount of sweet that my kids practically fought over the last slice. The smell alone will pull everyone into the kitchen — think toasted caramel, melting chocolate, and that irresistible hint of roasted peanuts. I’ve made this recipe more times than I can count, and honestly, it’s one of those that’s perfect when you want something decadent but don’t want to spend hours baking. It’s that one dessert I always do on busy nights or last-minute sweet tooth emergencies — because, trust me, this one’s a lifesaver. What I love most about it is how easily you can customize the fillings and toppings, making it your own little masterpiece each time. Plus, it’s a total crowd-pleaser at parties and family gatherings. So, pull out that bag of Snickers, and let’s get started — I promise you’ll want this in your recipe box forever.
What is a Snickers Pie?
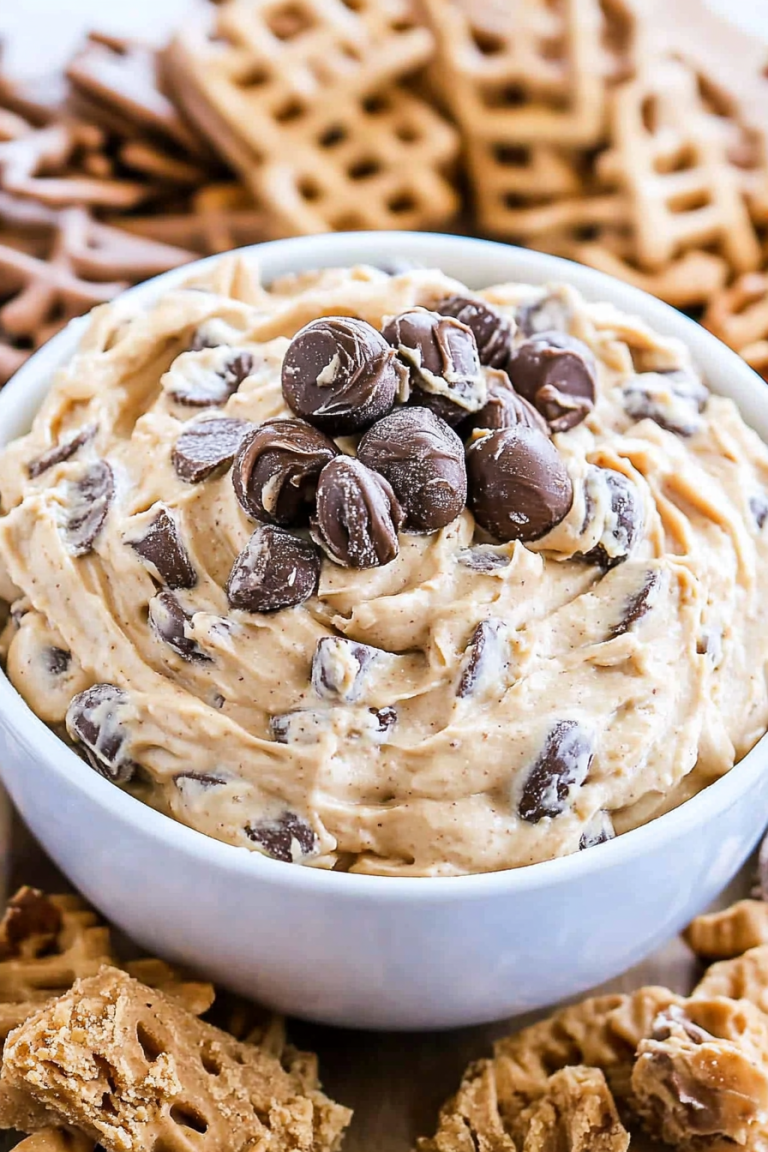
This Snickers pie isn’t your average dessert — it’s basically a hybrid of all my favorite things wrapped into one delicious, no-bake treat. Think of it as a creamy, peanut buttery, chocolatey slice of heaven that takes only minutes to put together. Essentially, it’s a pie made with a sturdy crust, a luscious filling that mimics the gooey inside of a Snickers bar, and a shiny caramel and chocolate glaze to finish it off. The name’s pretty straightforward — it’s inspired by the legendary candy bar, but in pie form, which makes it perfect for sharing at birthdays, potlucks, or just because you deserve a sweet escape after a long week. What’s truly special about this recipe is how it combines textures — the crunchy crust, the smooth filling, and the chewy caramel bits — all in one heavenly bite. And since it doesn’t require any baking, it’s my go-to when I want dessert fast but don’t want to compromise on flavor.
Why you’ll love this recipe?
Let me start by saying, if you’ve ever had a Snickers bar and thought, “This is good, but I wish I could have this in a dessert with a little more wow,” then hold onto your spatula because this pie hits all the right notes. The flavor? Oh, it’s straight-up nostalgic — warm caramel, roasted peanuts, melty chocolate, and that perfect hint of saltiness that balances out all the sweetness. The best part? This recipe is insanely easy. You don’t need fancy gadgets or hours in the kitchen. I always do this when I’m short on time but craving something decadent — it’s basically assembly line magic, and I promise, anyone can do it. Plus, it makes enough for a crowd or leftovers for days (if you’re lucky enough to have any!). It’s budget-friendly, too — with ingredients you probably already have sitting around — which is a huge bonus. What I love most about this is how versatile it is. You can switch up the nuts, use dark chocolate for a richer flavor, or even add a dash of sea salt on top for a gourmet touch. It’s a recipe that’s fun to tweak and perfect according to your mood and taste buds—trust me on this one, it’s a keeper.
How do I make a Snickers Pie?
Quick Overview
This Snickers pie is basically a layered assembly job. Start with a buttery graham cracker crust — or whatever crust you like — press it into the pan, and chill. Meanwhile, whip up a simple filling that mimics the caramel, nougat, and chocolate goodness from a Snickers bar. Pour that into your crust, dollop with chopped Snickers or peanut butter for extra oomph, then chill in the fridge until it’s firm enough to glisten with a rich chocolate glaze on top. That’s it! No baking required, just a little patience to let everything set. The beauty of this recipe is how straightforward it is — you really just need to assemble and relax while it firms up. And the end result? A dessert so good, it disappears in minutes at my house, and I always have requests for more.
Ingredients
For the Crust:
Graham cracker crumbs — about 1 1/2 cups (or digestive biscuits if you’re international), melted butter, a pinch of
For the Filling:
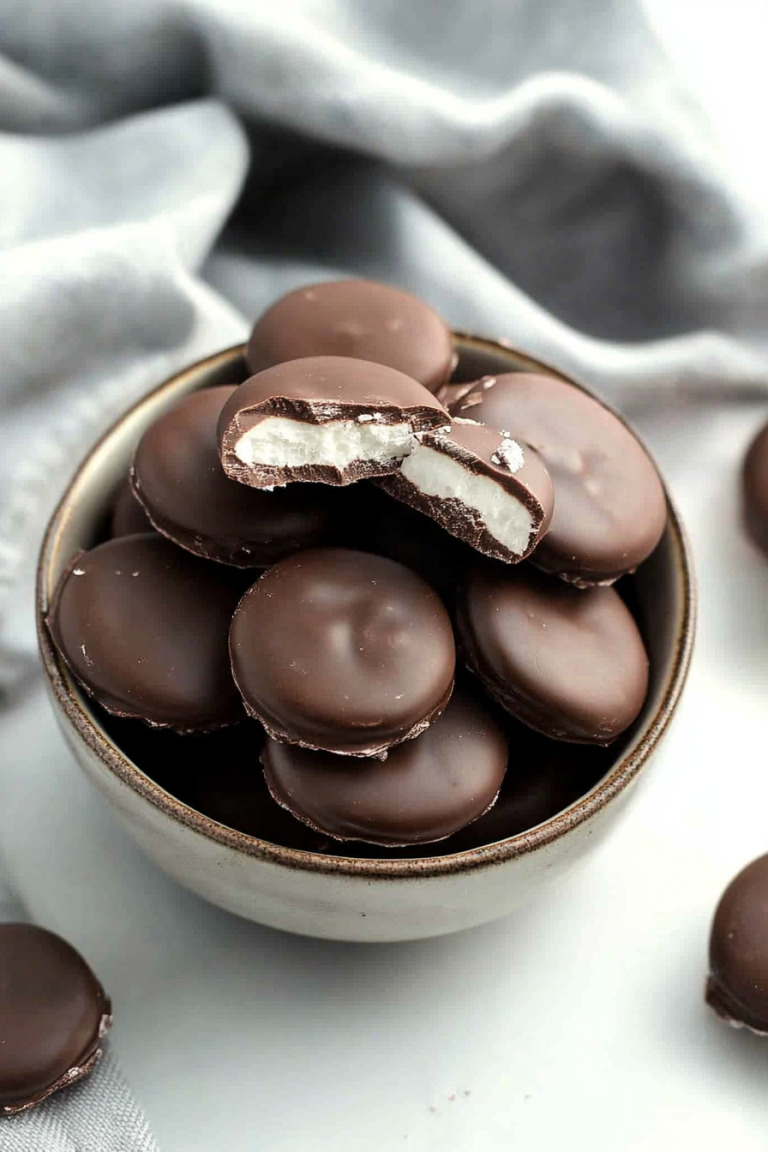
Cream cheese — 8 oz softened, sweetened condensed milk — 1 can, or heavy cream if you prefer a lighter touch, vanilla extract, chopped Snickers bars, and optional peanut butter for that extra gooey factor.
For the Glaze:
Chocolate chips (semi-sweet or dark), heavy cream or coconut milk for a dairy-free option, a pinch of salt, and a splash of vanilla. Sometimes I add a drizzle of caramel sauce if I want that extra caramel punch.
Step-by-Step Instructions
Step 1: Preheat & Prep Pan
Since no baking is involved, all you need is to line a 9-inch pie dish with parchment if you want easy removal. Chill the dish briefly so the crust sticks nicely when you press it in. No oven preheating required, just gather your ingredients and get ready for some fun!
Step 2: Mix Dry Ingredients
Combine the graham cracker crumbs with a pinch of salt and sugar in a bowl. I always do this first so I can get that perfect, buttery crumb base. Then, pour in melted butter and mix until crumbly but moist enough to press into your pan. Trust me, don’t skip the butter — it makes all the difference in holding everything together.
Step 3: Mix Wet Ingredients
In a separate large bowl, beat the softened cream cheese with sweetened condensed milk and vanilla until smooth and creamy. I’ve tried making this with just whipped cream once, but honestly, the cream cheese gives it that rich, fudgy feel I love.
Step 4: Combine
Fold in chopped Snickers or peanut butter for extra flavor if you’re feeling adventurous. Be gentle so you keep some texture. Pour that luscious filling onto your crust and smooth the top with a spatula. At this stage, it already smells amazing — like a candy shop in your kitchen.
Step 5: Prepare Filling
If you want to add more texture, scatter extra chopped Snickers or peanuts on top before chilling. This step is totally optional but makes the pie look beautiful and adds a little crunch.
Step 6: Layer & Swirl
Here’s where the fun starts. If you’re feeling artistic, you can do swirls with peanut butter or caramel before the final chill. Use a toothpick or skewer to swirl through the filling for that marbled effect. It’s Instagram-worthy and honestly, my kids ask for this part just to see the pretty patterns.
Step 7: Bake
Actually, you don’t bake! Just cover the pie with plastic wrap and pop it in the fridge for at least 4 hours or overnight — the longer, the better. This lets all the flavors meld. If you’re in a rush, even 2 hours works, but the texture is best when it’s chilled thoroughly.
Step 8: Cool & Glaze
In a small saucepan, melt the chocolate chips and cream over low heat, stirring constantly. Pour the glossy glaze over the chilled pie and let it set for about 15 minutes. For a prettier finish, you can pipe on extra caramel or Nutella, or sprinkle chopped nuts on top for crunch.
Step 9: Slice & Serve
When it’s time to cut, use a sharp knife dipped in hot water for clean slices. Serve straight from the fridge for that perfect fudgy, gooey bite. Trust me — people will ask for seconds, and you’ll be tempted to hide a slice or two for yourself!
What to Serve It With
This Snickers pie is a showstopper on its own, but a few finishing touches make it even better. For breakfast (hey, no judgment!), pair it with a strong black coffee or a glass of milk — yes, milk counts! If you’re hosting brunch, consider serving it alongside fresh berries and whipped cream because the tartness balances the richness. As an after-dinner treat, add a dusting of cocoa powder and a drizzle of caramel sauce, then serve with espresso for that perfect combo of sweet and bitter. For a casual snack, enjoy a small slice with a cold glass of almond milk or even a scoop of vanilla ice cream — trust me, it’s divine. I’ve made this for family barbecues and kids’ sleepovers, and it always becomes the star of the show. My husband actually asks for this as his birthday cake now — I guess I’ve got a new tradition going!
Top Tips for Perfecting Your Snickers Pie
Now, after making this thing more times than I can count, I’ve picked up some secrets to making it truly spectacular. First, when preparing the crust, don’t skimp on the butter — it’s what keeps everything together and gives you that crisp, melt-in-your-mouth crunch. If you’re avoiding gluten, swap out the graham crackers for gluten-free digestive biscuits—just look for ones with minimal additives. For the filling, I’ve tested this with full-fat cream cheese and also with mascarpone — both work beautifully, so pick what you love or have on hand. When adding chopped Snickers, I recommend freezing the bars first — it makes chopping easier and prevents melting during assembly. If you want to make it even richer, stir in a tablespoon of peanut butter into the filling. And here’s a pro tip: always taste your glaze before pouring — if it’s too thick, warm it up a little to get that perfect pour-and-glide finish. I’ve learned that the key to aesthetic swirls is patience — go slow, and a toothpick helps create beautiful marbling. Lastly, don’t overmix your filling or it’ll turn too airy; just fold everything gently to keep it nice and creamy. Trust me, little tweaks like these elevate the whole dessert from good to wow.
Storing and Reheating Tips
This pie is best enjoyed fresh after a good chill, but I totally get it — sometimes leftovers happen (rarely in my house!). Keep leftovers covered tightly with plastic wrap or in an airtight container. In the fridge, it stays fresh for 2-3 days without losing its texture — the caramel might get a little firmer, but honestly, it’s still dreamy. If you want to keep it longer, wrap it well and freeze for up to a month. To reheat, I don’t recommend microwaving the whole pie, but if you want a warm slice, pop a piece in the microwave for about 10-15 seconds — just enough to soften the chocolate and caramel. If you’re planning ahead, wait to add the glaze until just before serving so it stays shiny and smooth. When thawing, leave it in the fridge overnight, and it’ll regain that luscious, fudgy consistency. Oh! And if you’ve added any toppings like nuts or caramel drizzle, add those fresh right before serving to keep everything looking and tasting perfect.
Frequently Asked Questions
Final Thoughts
If there’s one dessert I could recommend to everyone, it’s this Snickers pie. It’s nostalgic, indulgent, and surprisingly simple to make. No fancy skills needed — just a few pantry staples and a love for all things sweet. I’ve shared this recipe with friends, family, even neighbors, and every time it’s met with smiles and requests for seconds. The best part? You can customize it endlessly — salt, nuts, different chocolates — whatever tickles your fancy. It’s become my “go-to” when I want to impress without stress, or when I simply need a little taste of childhood comfort. So go ahead, gather your ingredients, get that crust ready, and prepare for a slice of happiness. And hey, don’t forget to tell me how yours turned out — I love hearing your variations! Happy baking, my friend, and may your kitchen always smell like sweet success.
Snickers Pie
Ingredients
Method
- In a mixing bowl, combine graham cracker crumbs with melted butter for the crust. Press the mixture into the bottom and up the sides of a 9-inch pie plate.
- Toast the pecans over medium heat for about 3 minutes, shaking frequently. Remove from heat and set aside to cool.
- Beat together softened cream cheese, sugar, and peanut butter until smooth.
- Fold in whipped topping and half of the toasted pecans.
- Spread caramel topping evenly over the crust.
- Add the cream cheese mixture over the caramel layer and refrigerate for 2-3 hours.
- Sprinkle remaining pecans on top of the pie.
- Melt chocolate in microwave in 30-second intervals, stirring until smooth. Drizzle over the pie.
- Drizzle additional caramel on top. Chill for 1 more hour before serving.
- Remove from refrigerator about 10 minutes before slicing and serving.