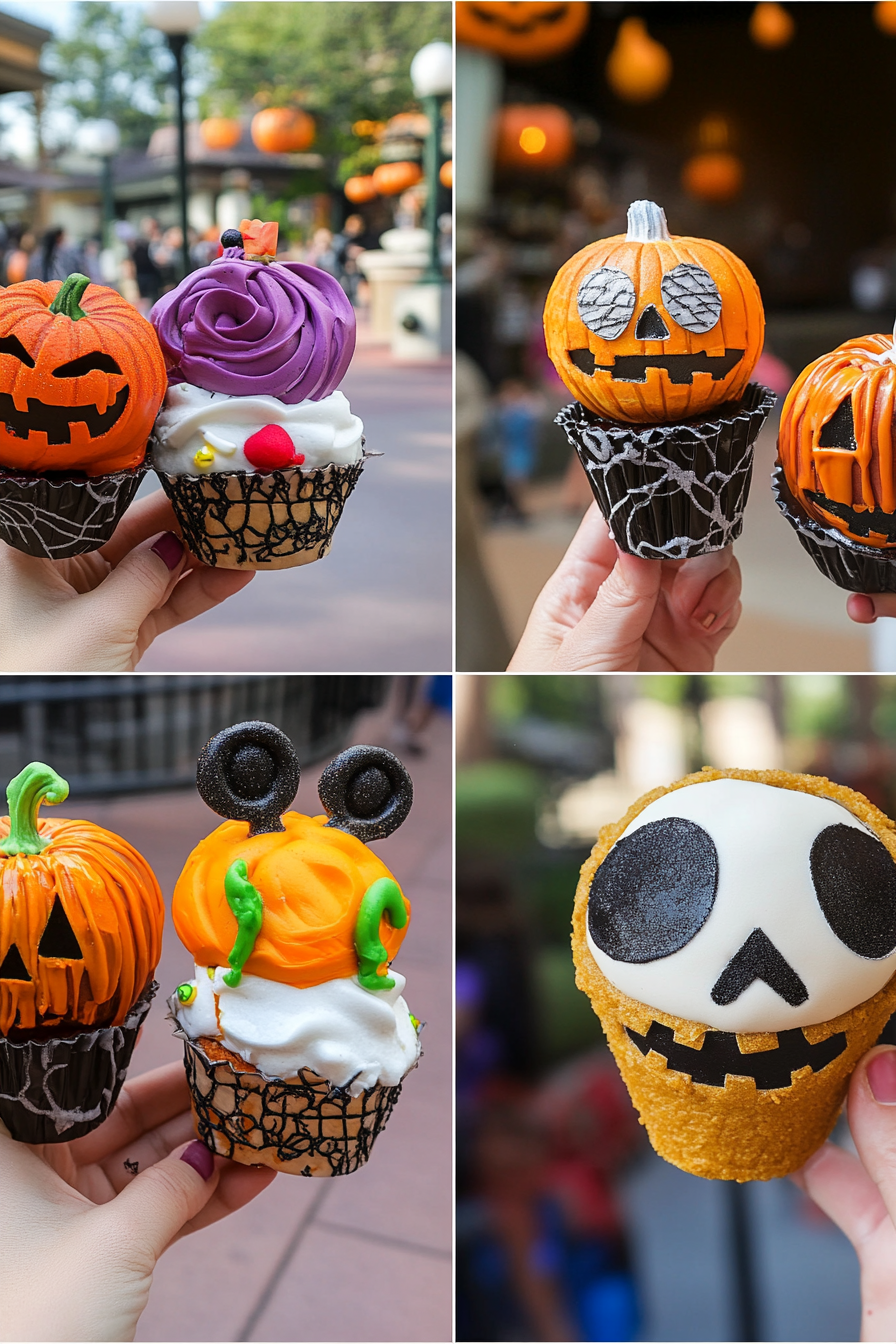
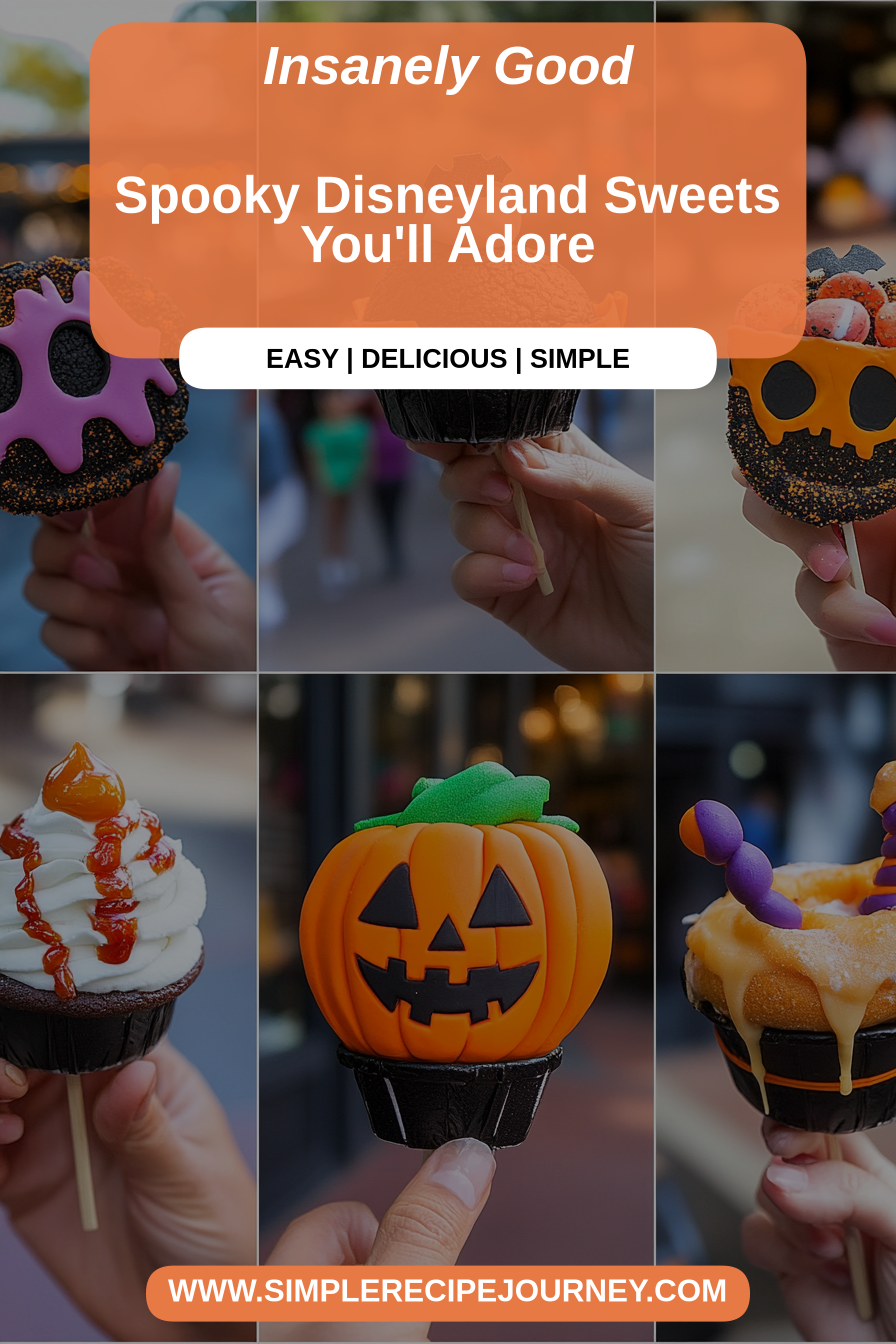
Spooky Disneyland Sweets You’ll Adore
If you’ve ever wandered through Disneyland around Halloween, you know it’s like stepping into a fairy tale—just without the glass slippers and royal ball. The magic isn’t just in the rides or the decorations; it’s also in the treats. Oh, the treats! There’s something about those spooky-themed, candy-laden goodies that make Halloween feel extra special, right? I swear, the smell of caramel apples, pumpkin-flavored everything, and those adorable Mickey-shaped chocolates just hit differently when you’re strolling the park with kids or even just reminiscing about days gone by. But honestly, after a few trips, I started thinking — why wait until October to indulge? I wanted to bring a piece of that magic into my own kitchen, and that’s when I discovered how simple and fun it is to create Disneyland Halloween treats at home. Trust me, once you taste these, you’ll never go back to store-bought. Plus, they’re perfect for spooky parties, cozy nights, or even just satisfying that craving to feel a little whimsical during the fall. So, grab your apron—let’s make some Disney-inspired magic together!
What are some Disneyland Halloween treats?
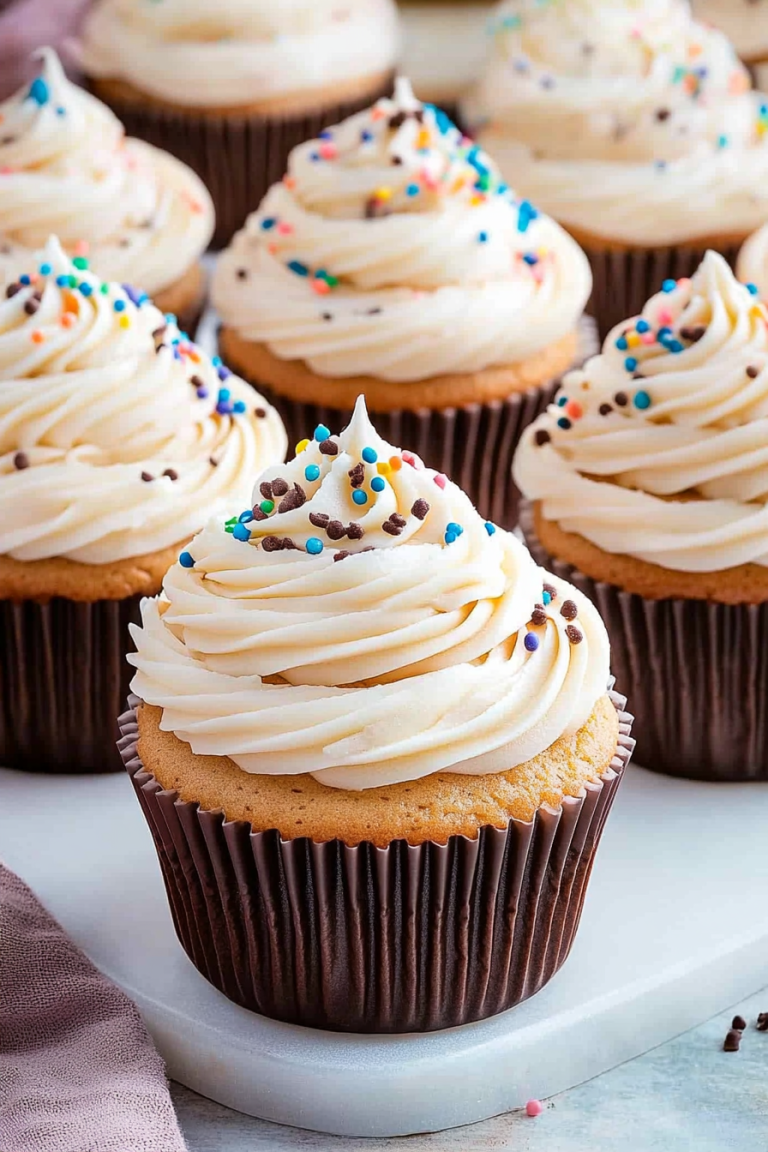
Think of Disneyland Halloween treats as those enchanting, theme park-inspired goodies that combine fun colors, clever shapes, and flavors that scream fall festivity. They’re basically the edible embodiment of the Halloween spirit mixed with Disney’s magic — from spooky cupcakes decorated with iconic characters to caramel apples coated in glossy, sweet perfection. These treats are designed to delight both kids and adults (because let’s be honest, I love a good spooky snack just as much as my kids do). What’s really special about them is that they often feature clever touches that nod to Disney characters, spooky movies, or seasonal themes, all while being surprisingly easy to whip up at home. No need for fancy ingredients; most of us have what it takes right in the pantry. It’s essentially DIY Disneyland treats, so you can enjoy that sweet, nostalgic magic anytime—whether it’s for a Halloween party, after trick-or-treating, or just an autumn weekend roast!
Why do you love this movie?
There’s a little magic in every bite of these Disneyland Halloween treats, and what I love most about this is how they instantly turn a normal day into a festive celebration. First, the flavor—think buttery caramel, rich chocolate, cinnamon-spiced everything, and just a hint of pumpkin that isn’t overwhelming, making your taste buds dance with joy. These treats are also crazy simple to make, even on short notice, which is a lifesaver when you’re hosting last-minute guests or want a fun activity with the kids. I’ve made these countless times, and they never fail to bring smiles all around. Plus, they won’t break the bank; most ingredients are pantry staples, and you can get creative with decorations and flavors. Not to mention, they’re versatile—swap out the fillings, add sprinkles, or change the glaze to match your mood or party theme. Honestly, what I love most is how these treats carry that nostalgic Disney magic into my home, making every occasion a little more special. Trust me, once you try them, they’ll become your new Halloween tradition too.
How do you make Disneyland Halloween treats?
Quick Overview
This is one of those recipes where the magic happens in the assembly! Most of the work involves preparing a few simple components—like a sturdy, chocolatey base or gooey caramel filling—and then bringing everything together with a little sprinkle of Disney magic. The best part? You can customize these treats to your heart’s content, making it playful or sophisticated depending on your mood. I always do this when I want something sweet but don’t want to spend hours baking. Plus, I love how easily they come together—they’re perfect for a quick weekend project or when you’re craving something festive. The end result is a delightful mix of textures and flavors—crunchy, chewy, creamy—all perfectly balanced, wrapped in adorable Disney-inspired shapes and colors!
Ingredients
For the Main Base:
– 1 ½ cups all-purpose flour (or gluten-free flour if you prefer) — look for high-quality or organic if you can
– ½ cup unsweetened cocoa powder — I like Dutch-processed for a richer color
– 1 teaspoon baking powder
– ¼ teaspoon salt
– ½ cup unsalted butter, softened — or coconut oil for dairy-free
– ¾ cup granulated sugar
– 2 large eggs
– 1 teaspoon vanilla extract
For the Filling:
– ½ cup caramel sauce — homemade or store-bought, I sometimes warm it up slightly for easier spreading
– ½ cup mini chocolate chips or chunks
– Optional: crushed pretzels or chopped nuts for texture
For the Glaze:
– 1 cup semi-sweet chocolate chips
– 2 tablespoons heavy cream or coconut cream
– Optional: sprinkles, edible glitter, or Disney-themed decorations
Step-by-Step Instructions
Step 1: Preheat & Prep Pan
Set your oven to 350°F (175°C) and line a baking sheet with parchment paper. If you’re making layered treats or bars, a baking dish works perfectly. Lightly grease if needed, but parchment does most of the work. I always do this first so that everything’s ready by the time I’m done with my prep—no rushing!
Step 2: Mix Dry Ingredients
In a medium bowl, whisk together your flour, cocoa powder, baking powder, and salt. This ensures even distribution, which is essential for that fudgy, tender texture we’re aiming for. I always sift the cocoa and flour if I have a few extra minutes; it keeps the batter smooth and lumps-free.
Step 3: Mix Wet Ingredients
In a large bowl, cream the softened butter and sugar until it’s light and fluffy—about 2-3 minutes. Then beat in the eggs one at a time, followed by vanilla. The mixture should look smooth and slightly airy—that’s when you know it’s ready to combine.
Step 4: Combine
Gradually add your dry ingredients into the wet mixture, folding gently—don’t overmix! Overmixing can make the treats dense instead of tender. A few streaks of flour are fine; it’ll all come together nicely at the end.
Step 5: Prepare Filling
If using caramel sauce, just keep it slightly warmed so it’s easy to spread or swirl. Mix in the mini chocolate chips and optional crunchy bits. I love adding crushed pretzels—they bring a little saltiness that balances the sweetness beautifully. Feel free to get creative here: peanut butter, crushed candies, or even cookie crumbs work wonders.
Step 6: Layer & Swirl
Pour half of your batter into the prepared pan. Then add dollops of caramel and sprinkle with chocolate chips. Cover with the rest of the batter and swirl gently with a toothpick or skewer—this creates those beautiful marbled effects Disney is known for. It’s kind of like creating a mini magic show in your kitchen!
Step 7: Bake
Place in the oven and bake for about 25-30 minutes. Check for doneness with a toothpick—if it comes out with moist crumbs, you’re good. If you prefer fudgier treats, take it out a minute earlier. Every oven varies, so keep an eye on it—these treats are forgiving and easy to adjust.
Step 8: Cool & Glaze
Let your treats cool completely in the pan before glazing. This prevents the chocolate from melting off or smudging the decorations. Melt your chocolate chips with cream, stir until glossy, and pour evenly over the cooled treats. Add any cute sprinkles or Disney-themed toppers now if you like. The wait is the hardest part, but the glossy, decadent top makes it worth it!
Step 9: Slice & Serve
Once set, use a sharp knife to cut into squares or fun shapes. I love using cookie cutters for those special touches—mice, pumpkins, or Mickey ears. Serve at room temperature or chilled for a firmer bite. These treats disappear quickly at my house, especially when I set out a little extra caramel drizzle for good measure!
What to Serve It With
If I’m honest, these treats are pretty perfect just on their own, but they pair beautifully with a cup of coffee or warm apple cider. For breakfast or brunch, a little dusting of powdered sugar turns them into a delightful morning surprise. If you want to make it a full Disney-themed spread, serve alongside pumpkin smoothies, spooky fruit salads, or mini Halloween quiches. And for a cozy family movie night? Pop some popcorn, light some candles, and let these treats be the star of the show! I’ve also made little dessert boards, adding mini marshmallows, candy eyeballs, and edible glitter for extra fun—kids love the interactive element. No matter how you serve them, these treats bring a touch of Disneyland magic into your home, creating new traditions and sweet memories.
Top Tips for Perfecting Your Disneyland Halloween Treats
After making these countless times, I’ve learned a few tricks that make all the difference. First, when preparing the base batter, don’t overmix—just stir until everything is combined; this keeps them tender and fudgy. If your batter feels too thick when spreading, I found warming the caramel slightly helps it spread more evenly without tearing the batter. For swirling, use a toothpick or skewer to create those beautiful marbled effects—trust me, the pattern looks more professional when you swirl gently, not too vigorously. If you want to add a splash of color, mix in some orange or black food coloring into the glaze or batter—just a few drops make a big impact. Want a richer chocolate flavor? Substitute part of the cocoa with melted dark chocolate or add a few more chocolate chips into the batter. For a gluten-free version, swap out the flour with a good-quality gluten-free blend and add a teaspoon of xanthan gum if needed—that way, your treats stay nice and chewy without crumbling apart. Remember, every oven is different, so keep an eye on your treats around the 25-minute mark. And always let your glazed goodies sit for at least 30 minutes to let the chocolate set—patience is key for that perfect shiny finish. Oh, and don’t forget: a sprinkle of sea salt on top when the glaze is still warm amplifies the sweetness in the best way. Experiment and have fun—that’s what makes baking these treats truly magical!
Storing and Reheating Tips
Keeping your Disneyland Halloween treats fresh is pretty straightforward. For short-term storage, I usually keep them in an airtight container at room temperature for up to two days. Just make sure it’s covered, and they’ll stay moist and delicious. If you’re making these a day ahead or want to keep them longer, pop them into the fridge. A glass, airtight container is best—it prevents that stale flavor from creeping in. They’ll last about 4-5 days refrigerated, and the fridge actually helps keep the chocolate glaze nice and shiny. When you’re ready to serve, you can add a fresh drizzle of melted chocolate or a quick sprinkle of decorations to make them look just as festive. If you want to freeze these, wrap individual pieces tightly in plastic wrap, then store in a freezer-safe container for up to a month. Thaw at room temperature for about 30 minutes, and you’re good to go. A little tip—I prefer reheating in the microwave for about 15 seconds, just enough to soften the chocolate a bit, but I don’t recommend heating them too long or they can get weirdly dried out or too melty. And if you’re storing the glazed treats, it’s best to add a fresh glaze or decoration after thawing for that perfect shiny look.
Frequently Asked Questions
Final Thoughts
There’s just something about creating these Disneyland-inspired Halloween treats that makes the season even more magical. Whether it’s the rich chocolate, gooey caramel, or the fun Disney touches, every bite reminds me of those safety-capped park moments, the squeals of kids on rides, and the cozy feeling of a Halloween night at home. The best part? These treats are so easy and forgiving—they’re practically foolproof for bakers of all skill levels. Plus, making them with family or friends turns baking into a festive event, sparking laughter, giggles, and a few spills here and there—because that’s all part of the fun. My kids ask for these all the time, especially when Halloween is around the corner, and I love how excited they get to help decorate or choose the character toppers. If you’re craving a bit of Disney magic, I highly recommend giving these a try. Once you do, I bet they’ll become part of your Halloween tradition, too. Happy baking, everyone! Can’t wait to see your creations—promise me you’ll share your photos and stories? It’s the best way to keep spreading the magic!
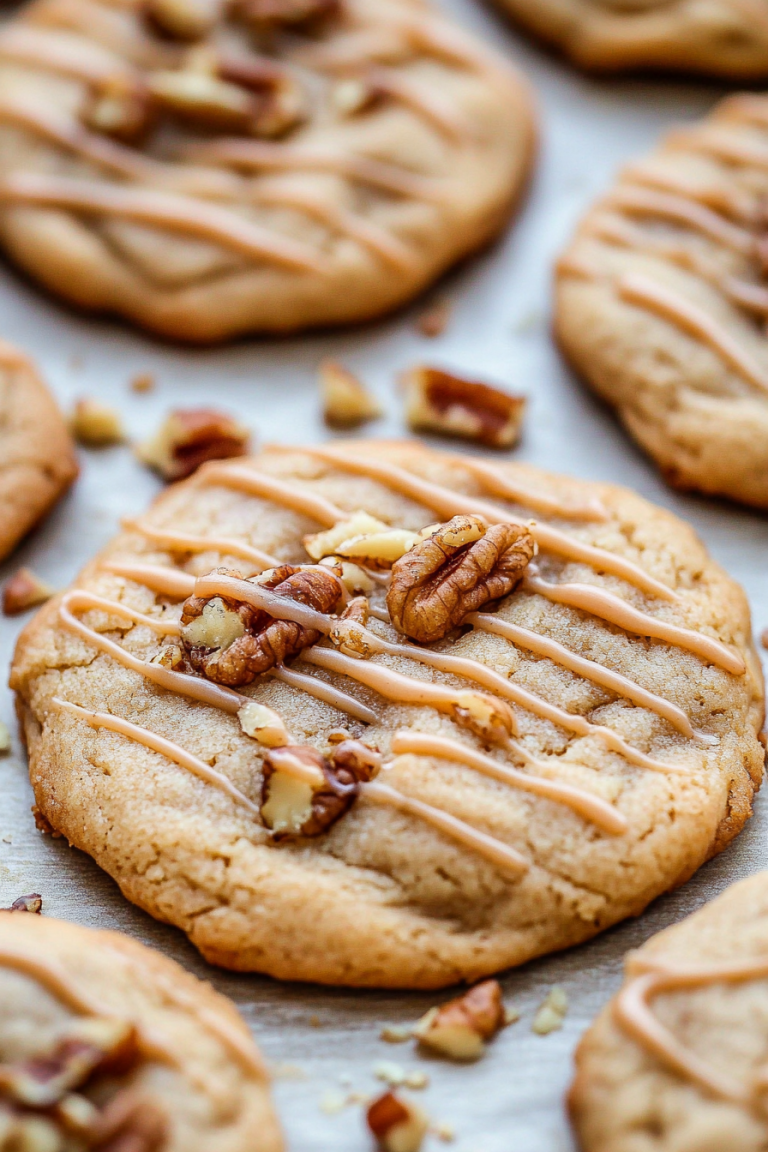
Spooky Halloween Cookies
Ingredients
Method
- Preheat your oven to 350°F and line a baking sheet with parchment paper.
- In a large bowl, cream together the softened butter and sugar until light and fluffy.
- Add the egg and vanilla extract to the mixture and beat until well combined.
- Gradually add the flour and mix until a dough forms.
- Roll out the dough on a floured surface to about 1/4 inch thickness.
- Cut into spooky shapes using cookie cutters and place on the prepared baking sheet.
- Bake for 12-15 minutes or until edges are golden brown.
- Allow cookies to cool completely before decorating with icing and sprinkles.